The deep, jammy color of the roasted tomatoes as they collapse into themselves, that’s the first thing I notice every single time. It’s not just the smell (though that fills the whole house) — it’s the way the skins wrinkle and the flesh turns translucent, practically begging to be crushed. And that’s the whole point of this homemade roasted tomato and garlic pasta sauce for canning.
I started making this sauce years ago, not because I had some grand Italian grandmother’s recipe, but because I got tired of the jarred stuff tasting like metal and regret. One August, I had a ridiculous amount of tomatoes — like, a “what was I thinking” amount — and I figured roasting them had to be easier than standing over a boiling pot of water for hours. Turns out, I was right.
The garlic gets soft and sweet, almost buttery, and the herbs just melt into everything. You don’t need to chop or peel anything fancy. You just let the oven do the heavy lifting. And when you finally run that immersion blender through the pan? Honestly, it feels a little like cheating.
This sauce became my go-to because it’s not fussy. It’s the kind of recipe that lets you preserve summer without turning your kitchen into a disaster zone. And when you open a jar in the middle of January, you get that one quiet moment of “yeah, I did that.” That’s what keeps me coming back.
Why You’ll Love This Recipe
This isn’t just another pasta sauce recipe — it’s the one I’ve tested and tweaked over three separate canning seasons to get exactly right. I’ve learned that roasting, not simmering, is the secret to deep, concentrated flavor without babysitting a pot all day.
- Simple Ingredients : You only need tomatoes, garlic, onions, olive oil, and herbs. No weird preservatives or sugar bombs.
- Oven-Friendly : The oven does most of the work. You barely stand over the stove, which matters when you’re doing big batches.
- Perfect for Canning : This sauce is naturally acidic enough for water bath canning, so you can stock your pantry safely.
- Crowd-Pleaser : I’ve served this to picky kids and fancy dinner guests, and it disappears every time.
- Freezer-Friendly Too : If canning feels intimidating, just freeze it. The flavor holds up beautifully.
What makes this different from other recipes is the double-roasting method. I roast the tomatoes and garlic first, then I blend them and roast the sauce again to concentrate the flavor without scorching it. That extra step gives you a sauce that tastes like it simmered all day, when really you just walked away twice.
This is the kind of sauce that makes you close your eyes after the first bite. It’s comfort food, preserved at its peak — healthier, more flavorful, and completely yours.
What Ingredients You Will Need
This recipe uses simple, honest ingredients that work together to create a sauce with layers of sweetness, acidity, and savory depth. Most of these are pantry staples during tomato season.
- Roma tomatoes (10 pounds, halved lengthwise) — These are my go-to for canning because they’re meaty and have fewer seeds. If you use beefsteak or heirlooms, just know you’ll have more liquid to cook off.
- Garlic (2 whole heads, cut in half crosswise) — Roasting the garlic whole mellows it out completely. You won’t get that sharp, raw bite.
- Yellow onions (2 large, quartered) — Adds a subtle sweetness that balances the tomato acidity. Sweet onions like Vidalia work great here too.
- Extra virgin olive oil (⅓ cup, plus more for drizzling) — Use a good quality one since it’s a core flavor. I prefer California Olive Ranch for roasting.
- Fresh basil leaves (1 cup, packed) — Adds that classic Italian note. You can substitute 2 tablespoons dried basil if fresh isn’t available.
- Fresh oregano (2 tablespoons, chopped) or 1 teaspoon dried — I use fresh when I have it, but dried works fine in a long-cooked sauce.
- Salt (2 teaspoons, plus more to taste) — I use kosher salt. If you use table salt, cut back to 1½ teaspoons.
- Black pepper (1 teaspoon, freshly ground) — Don’t skip this; it rounds out the flavors.
- Balsamic vinegar (2 tablespoons) — This is my secret trick. It deepens the tomato flavor without making the sauce taste like vinegar. (I use Napa Valley Naturals brand.)
- Lemon juice, bottled (2 tablespoons per quart jar) — This is mandatory for safe canning to ensure proper acidity. Do not skip or substitute fresh lemon juice here.
If you’re feeling adventurous, you can toss in a couple of chopped carrots when roasting — they add natural sweetness and help thicken the sauce without sugar.
Equipment Needed
You don’t need a professional kitchen to make this sauce, but having the right tools makes the process smooth and safe.
- Large roasting pans (2 half-sheet pans or 1 large turkey roaster) — You need enough surface area to spread the tomatoes in a single layer.
- Immersion blender or countertop blender — I prefer an immersion blender because you can blend right in the pot. Less mess, less cleanup.
- Large stockpot (at least 8 quarts) — For simmering the blended sauce and heating it for canning.
- Water bath canner or a deep pot with a rack — You need something deep enough to cover jars by at least 1 inch of water.
- Canning jars (quart or pint size) with new lids and bands — Always inspect jars for cracks or nicks. I reuse Ball or Kerr jars year after year.
- Jar lifter and canning funnel — These are non-negotiable for safety. Trust me, trying to grab a hot jar with tongs is a disaster waiting to happen.
- Clean kitchen towels — For resting jars after processing.
If you don’t have a water bath canner, you can use a deep stockpot with a folded kitchen towel at the bottom to keep jars from rattling. It’s not fancy, but it works.
Preparation Method
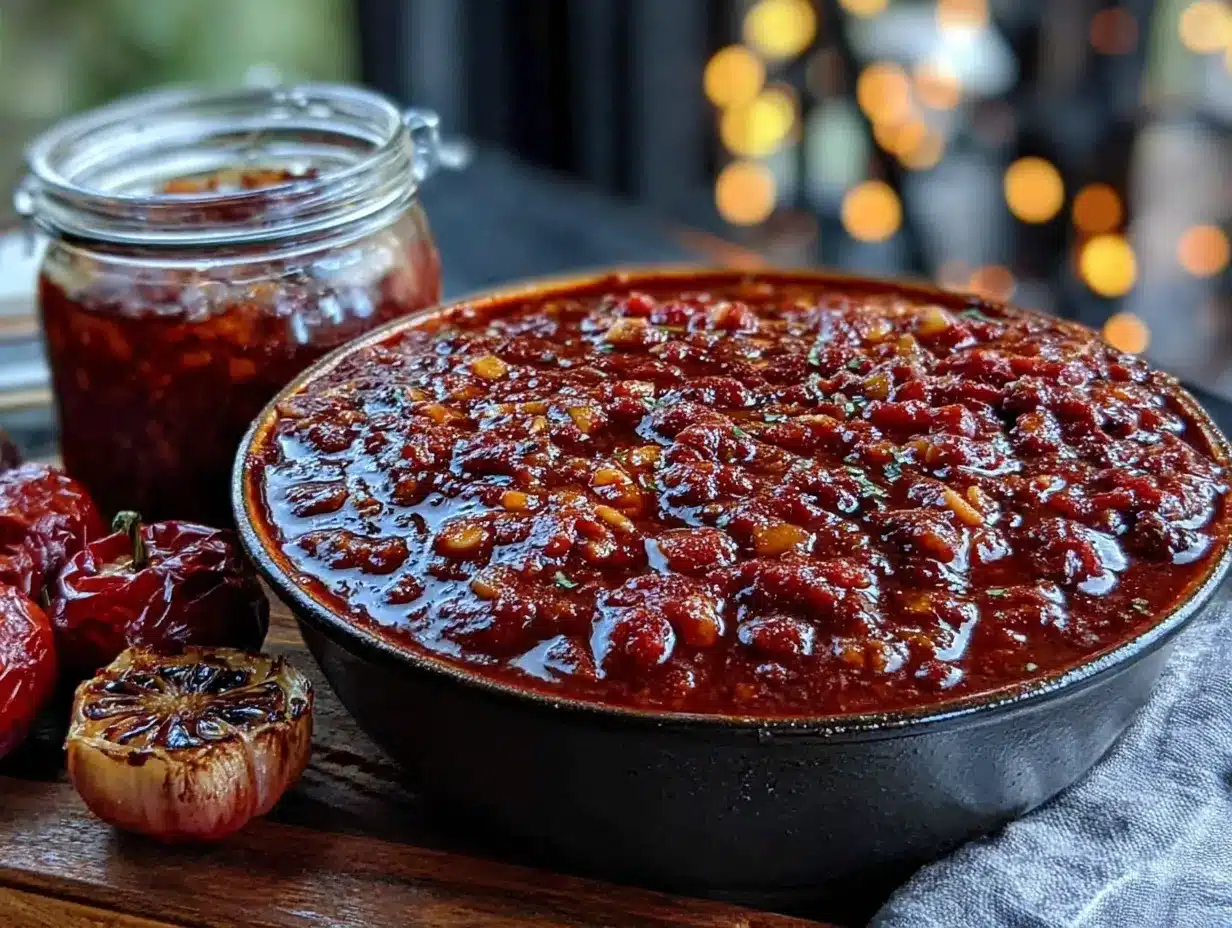
- Preheat your oven to 400°F (200°C). While it heats, wash all your tomatoes and cut them in half lengthwise. Don’t worry about removing seeds — they’ll break down during roasting.
- Arrange the tomatoes cut-side up on your roasting pans. Tuck the garlic halves (cut-side down) and onion quarters in between the tomatoes. Drizzle everything generously with olive oil and sprinkle with salt and pepper.
- Roast for 45 minutes, then rotate the pans and roast another 30-45 minutes. You’re looking for the tomatoes to be soft, wrinkled, and slightly caramelized on the edges. The garlic should be soft enough that you can squeeze it out of the skins.
- Let everything cool slightly — about 10 minutes. Then squeeze the roasted garlic cloves out of their skins into a large stockpot. Add the roasted tomatoes, onions, and all the juices from the pans. Don’t leave any of that liquid behind; it’s pure flavor.
- Add the fresh basil and oregano to the pot. Using your immersion blender, blend until the sauce is as smooth as you like. I prefer it slightly chunky, so I pulse it about 15 times. If you’re using a countertop blender, work in batches and be careful with the hot liquid — fill the blender only halfway and hold the lid down with a towel.
- Stir in the balsamic vinegar and bring the sauce to a gentle simmer over medium heat. Reduce the heat to low and let it cook uncovered for 30 minutes, stirring occasionally. The sauce will thicken and darken. If it seems too thin, let it simmer another 15 minutes.
- While the sauce simmers, prepare your jars. Wash them in hot soapy water, rinse well, and keep them hot in a 200°F oven or a pot of simmering water. The lids should be softened in hot water (not boiling) for 5 minutes.
- Add the bottled lemon juice to each jar — 2 tablespoons per quart, 1 tablespoon per pint. Using your canning funnel, ladle the hot sauce into the jars, leaving ½ inch headspace. Run a clean chopstick or bubble remover tool around the inside edge to release air bubbles.
- Wipe the jar rims clean with a damp paper towel. Center the lids on the jars and screw on the bands until fingertip-tight — don’t overtighten, or the lids can buckle during processing.
- Place the jars in your canner filled with simmering water. Make sure the water covers the jars by at least 1 inch. Bring to a full rolling boil, then process quarts for 40 minutes (pints for 35 minutes). Adjust for altitude if you’re above 1,000 feet.
- Turn off the heat and let the jars sit in the water for 5 minutes before lifting them out. Place them on a clean towel, leaving space between jars. Let them cool undisturbed for 12-24 hours. You’ll hear the satisfying “pop” as each lid seals.
- Check the seals by pressing the center of each lid. If it doesn’t flex and feels firm, it’s sealed. Refrigerate any unsealed jars and use within 2 weeks.
Cooking Tips & Techniques
I learned the hard way that not all tomatoes are created equal for roasting. Roma tomatoes are ideal because they have less water content, which means you get a thicker sauce without cooking it down for hours. If you use juicy heirlooms, expect to simmer the sauce longer to reach the right consistency.
One mistake I made early on was overcrowding the pans. If the tomatoes are piled on top of each other, they steam instead of roast. You want them in a single layer with a little space around each piece. Use two pans if you have to — it’s worth the extra effort.
When blending hot sauce, always vent the blender lid slightly or remove the center cap and cover it with a folded towel. Hot liquids expand and can blow the lid off if you seal it tight. I found this out the messy way, and cleaning tomato sauce off the ceiling is not fun.
For the best texture, I like to blend the sauce before adding the balsamic vinegar. That way, the vinegar’s acidity doesn’t get cooked off during the blending process. It’s a small thing, but it makes a difference in the final flavor.
If you’re short on time, you can skip the second simmer and just blend and can immediately. The sauce will be a little thinner, but it’s still delicious. Just know that the flavor deepens with that extra 30 minutes of cooking.
Variations & Adaptations
This recipe is flexible, and I’ve tried several variations over the years. Here are a few that worked well:
- Smoky Roasted Tomato Sauce : Add 2 smoked dried chipotle peppers (rehydrated in hot water) to the roasting pan. The smoky heat pairs beautifully with the sweet roasted tomatoes. Perfect for chili or enchilada sauce.
- Herb-Infused Version : Tuck a few sprigs of fresh rosemary and thyme into the roasting pan. Remove them before blending. It gives the sauce a more complex, almost woodsy flavor that’s great with roasted vegetables like the ones in our crispy herb crusted roast chicken recipe.
- Spicy Arrabbiata Style : Add 1-2 teaspoons of red pepper flakes when you add the basil and oregano. This version is fantastic with pasta and a sprinkle of Parmesan.
- Dairy-Free Creamy Sauce : After blending, stir in ½ cup of full-fat coconut milk or cashew cream. It sounds weird, but it creates a creamy, pink sauce that’s completely dairy-free and delicious.
- Low-Sodium Option : Reduce the salt to 1 teaspoon and rely on the balsamic vinegar and herbs for flavor. You can always add more salt when you reheat the sauce.
I’ve also made this sauce with yellow tomatoes and white garlic for a milder, almost buttery version. It’s less acidic and works wonderfully in creamy pasta dishes or as a base for fish.
Serving & Storage Suggestions
This sauce is best served warm over your favorite pasta — I’m partial to pappardelle or rigatoni because the sauce clings to the ridges. A generous sprinkle of fresh Parmesan and a few torn basil leaves on top, and you’re set.
It also works beautifully as a pizza sauce, a dipping sauce for crusty bread, or a base for tender slow cooker BBQ pulled pork sliders (trust me on that one — the acidity cuts through the richness).
For storage, sealed jars can be kept in a cool, dark pantry for up to 18 months. Once opened, refrigerate and use within 7-10 days. The flavor actually improves after a few weeks in the jar — the garlic and herbs meld together beautifully.
If you’re freezing the sauce instead of canning, let it cool completely, then pour into freezer-safe bags or containers. Lay them flat to freeze, and they’ll stack neatly. Frozen sauce keeps for 6-8 months. Thaw in the refrigerator overnight or reheat directly from frozen in a saucepan over low heat.
I’ve found that the sauce thickens slightly after freezing, so you might want to add a splash of pasta water or broth when reheating to loosen it up.
Nutritional Information & Benefits
This sauce is naturally low in calories and packed with nutrients. Here are the approximate values per ½ cup serving:
| Nutrient | Amount |
|---|---|
| Calories | 85 |
| Total Fat | 5g |
| Saturated Fat | 0.7g |
| Sodium | 310mg |
| Total Carbohydrates | 10g |
| Dietary Fiber | 2.5g |
| Sugars | 6g |
| Protein | 2g |
| Vitamin C | 25% DV |
| Vitamin A | 20% DV |
| Potassium | 12% DV |
Tomatoes are rich in lycopene, a powerful antioxidant that becomes more bioavailable when cooked. Roasting them with olive oil helps your body absorb it even better. Garlic is known for its immune-boosting properties, and the olive oil provides heart-healthy monounsaturated fats. This sauce is naturally gluten-free, vegan, and dairy-free — just check your balsamic vinegar for gluten if that’s a concern.
Conclusion
This homemade roasted tomato and garlic pasta sauce for canning is the kind of recipe that makes you feel like a kitchen wizard without the stress. It’s simple enough for a beginner canner but delivers the depth of flavor that seasoned cooks crave. The roasting process does the heavy lifting, and the result is a sauce that tastes like summer in a jar.
I love this recipe because it’s forgiving. You can tweak the herbs, swap the onions, or add a little heat — it always turns out delicious. And when you pull that first jar off the shelf in December, you’ll understand why I keep making batch after batch every year.
If you try this recipe, I’d love to hear about your variations. Did you add a secret ingredient? Roast it longer? Let me know in the comments below. And if you’re looking for more ways to use your garden bounty, check out our full collection of recipes for inspiration. Happy canning!
Frequently Asked Questions
Can I use this recipe for water bath canning without the lemon juice?
No, the bottled lemon juice is essential for safety. Tomatoes vary in acidity, and the lemon juice ensures the sauce is acidic enough to prevent botulism. Do not substitute fresh lemon juice, as its acidity level is inconsistent.
How long does the sauce last in the pantry?
Properly sealed jars will keep for 12-18 months in a cool, dark pantry. Always check the seal before opening — if the lid flexes or the seal is broken, refrigerate and use within 2 weeks.
Can I use this sauce for things other than pasta?
Absolutely! It’s amazing as a pizza sauce, a base for shakshuka, a dipping sauce for bread, or even as a braising liquid for chicken or meatballs. It’s also great stirred into soups or stews for extra depth.
What’s the best way to reheat the sauce?
For the best texture, reheat the sauce in a saucepan over medium-low heat, stirring occasionally. If it’s too thick, add a splash of pasta water, broth, or even a little red wine to loosen it up.
Can I add meat or vegetables to this sauce before canning?
No, it’s not safe to add meat, dairy, or low-acid vegetables to canned tomato sauce without a pressure canner. If you want to add meat or veggies, do it when you’re reheating the sauce for serving.
Pin This Recipe!
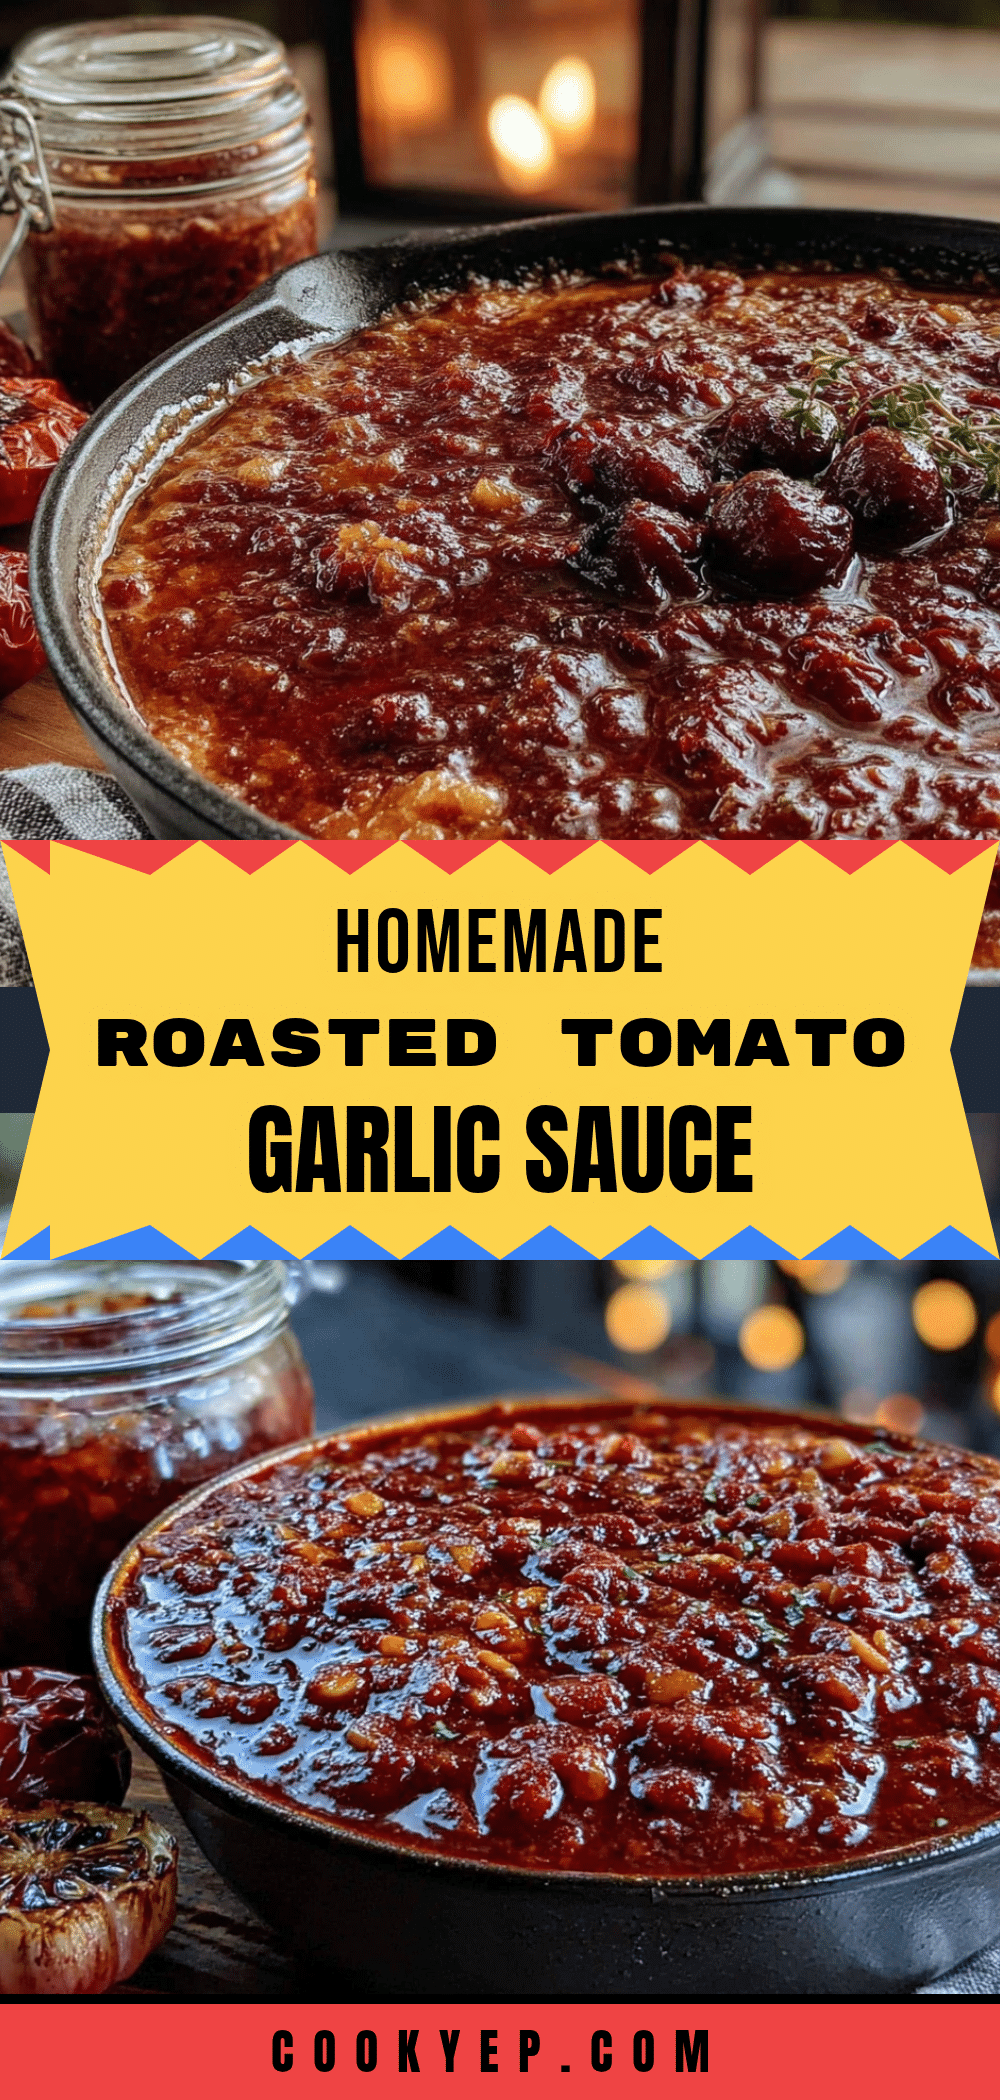
Homemade Roasted Tomato Garlic Pasta Sauce for Canning

This homemade roasted tomato and garlic pasta sauce for canning is simple enough for a beginner canner but delivers the depth of flavor that seasoned cooks crave. The roasting process does the heavy lifting, and the result is a sauce that tastes like summer in a jar.
- Prep Time: 20 minutes
- Cook Time: 1 hour 30 minutes
- Total Time: 2 hours 30 minutes
- Yield: 4 quarts 1x
- Category: Sauce
- Cuisine: Italian
Ingredients
- 10 pounds Roma tomatoes, halved lengthwise
- 2 whole heads garlic, cut in half crosswise
- 2 large yellow onions, quartered
- ⅓ cup extra virgin olive oil, plus more for drizzling
- 1 cup packed fresh basil leaves
- 2 tablespoons fresh oregano, chopped (or 1 teaspoon dried)
- 2 teaspoons kosher salt (or 1½ teaspoons table salt)
- 1 teaspoon freshly ground black pepper
- 2 tablespoons balsamic vinegar
- 2 tablespoons bottled lemon juice per quart jar (1 tablespoon per pint jar)
Instructions
- Preheat your oven to 400°F (200°C). Wash all tomatoes and cut them in half lengthwise.
- Arrange the tomatoes cut-side up on roasting pans. Tuck the garlic halves (cut-side down) and onion quarters in between the tomatoes. Drizzle generously with olive oil and sprinkle with salt and pepper.
- Roast for 45 minutes, then rotate the pans and roast another 30-45 minutes until tomatoes are soft, wrinkled, and slightly caramelized, and garlic is soft enough to squeeze out of skins.
- Let cool slightly (about 10 minutes). Squeeze roasted garlic cloves out of skins into a large stockpot. Add roasted tomatoes, onions, and all juices from the pans.
- Add fresh basil and oregano to the pot. Using an immersion blender, blend until sauce is as smooth as desired (or use a countertop blender in batches, being careful with hot liquid).
- Stir in balsamic vinegar and bring sauce to a gentle simmer over medium heat. Reduce heat to low and cook uncovered for 30 minutes, stirring occasionally, until thickened and darkened.
- While sauce simmers, prepare jars: wash in hot soapy water, rinse, and keep hot in a 200°F oven or simmering water. Soften lids in hot water (not boiling) for 5 minutes.
- Add bottled lemon juice to each jar (2 tablespoons per quart, 1 tablespoon per pint). Using a canning funnel, ladle hot sauce into jars, leaving ½ inch headspace. Remove air bubbles with a chopstick or bubble remover.
- Wipe jar rims clean with a damp paper towel. Center lids on jars and screw on bands until fingertip-tight.
- Place jars in a water bath canner filled with simmering water, ensuring water covers jars by at least 1 inch. Bring to a full rolling boil. Process quarts for 40 minutes (pints for 35 minutes). Adjust for altitude if above 1,000 feet.
- Turn off heat and let jars sit in water for 5 minutes before lifting them out. Place on a clean towel, leaving space between jars. Cool undisturbed for 12-24 hours.
- Check seals by pressing the center of each lid. If it doesn’t flex and feels firm, it’s sealed. Refrigerate any unsealed jars and use within 2 weeks.
Notes
Roma tomatoes are ideal for canning due to their low water content. Avoid overcrowding pans to ensure proper roasting. When blending hot sauce, vent the blender lid to prevent blowouts. Bottled lemon juice is mandatory for safe canning; do not substitute fresh lemon juice. For a thicker sauce, simmer longer. The sauce can also be frozen for 6-8 months.
Nutrition
- Serving Size: ½ cup
- Calories: 85
- Sugar: 6
- Sodium: 310
- Fat: 5
- Saturated Fat: 0.7
- Carbohydrates: 10
- Fiber: 2.5
- Protein: 2
Keywords: roasted tomato sauce, garlic pasta sauce, canning recipe, homemade sauce, tomato sauce for canning, summer preserve


