I figured a cake with espresso powder was just a gimmick to make chocolate seem more sophisticated. It took about one bite of this one, still warm from the oven, for that assumption to crumble completely. I was scraping the mixing bowl, convinced the batter was too thin, the coffee too forward, and I had somehow messed up a perfectly good Saturday afternoon.
Honestly, the first time I made this cake, it was for a friend who claims to “not really like sweets.” She likes coffee, though, so I thought maybe I could trick her. I pulled the layers out of the oven, and the smell—that deep, roasty, almost smoky scent—filled the whole kitchen. It smelled like a bakery, not like my tiny apartment. When I sliced into it later, the crumb was so tender it barely held together, and the frosting? Let’s just say there were no leftovers. That friend now requests this cake for her birthday every single year.
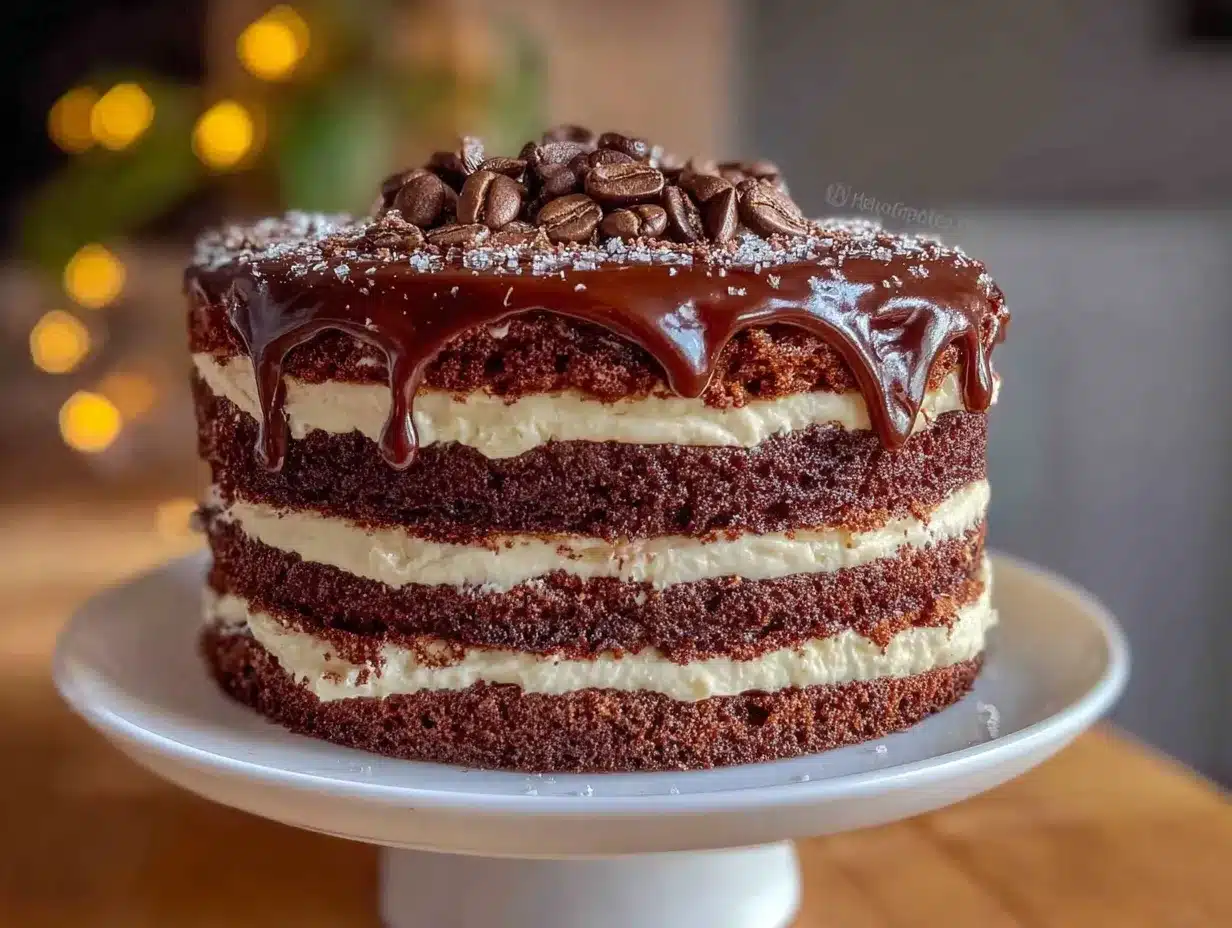
This isn’t just a chocolate cake with a splash of coffee. It’s a recipe where the espresso works behind the scenes, not to make it taste like coffee, but to make the chocolate taste like the best version of itself. It deepens the flavor, rounds out the sweetness, and gives it a richness that feels almost decadent. It’s the kind of cake that makes people close their eyes while they chew, and honestly, that’s the highest compliment a baker can get.
Why You’ll Love This Recipe
After testing this recipe more times than I care to admit (my coworkers were very happy taste-testers), I can tell you exactly why it works. It’s not just another chocolate cake recipe—it’s the one I turn to when I need a guaranteed win.
- Incredibly Moist: The combination of hot coffee and buttermilk creates a crumb that stays tender for days. You won’t get that dry, crumbly texture here.
- Bold, Not Bitter: The espresso doesn’t overpower the chocolate. It enhances it, making each bite taste deeper and more complex without being coffee-flavored.
- Simple Ingredients: You probably have most of these in your pantry already. No weird extracts or hard-to-find flours—just real, honest ingredients.
- Perfect for Any Occasion: Birthdays, dinner parties, or just a Tuesday that needs a little extra love. This cake fits right in.
- Foolproof Layers: The batter is forgiving, the layers bake up flat (no domed tops to slice off!), and the frosting is silky smooth every single time.
What makes this recipe different from the rest is the technique. Most recipes just tell you to add instant coffee powder. Here, we dissolve it in hot water first, which blooms the flavor and ensures it’s evenly distributed throughout the batter. It’s a tiny step that makes a massive difference.
What Ingredients You Will Need
This recipe relies on pantry staples that work together to create something truly special. The ingredients are simple, but each one plays a crucial role in the final texture and flavor.
For the Cake Layers
- All-purpose flour (2 ½ cups / 312g): Spoon and level it into your measuring cup for the most accurate measurement. Too much flour makes a dry cake.
- Granulated sugar (2 cups / 400g): Provides sweetness and structure. Don’t reduce the sugar; it’s essential for the tender crumb.
- Unsweetened cocoa powder (¾ cup / 75g): I prefer Dutch-processed cocoa for a smoother, less acidic flavor. Natural cocoa works too, but the flavor will be slightly different.
- Baking powder (1 ½ tsp) and Baking soda (1 ½ tsp): The double leavening agents give the cake its perfect rise and airy texture.
- Salt (1 tsp): Balances the sweetness and enhances the chocolate flavor.
- Large eggs (2, room temperature): Room temperature eggs emulsify better into the batter, creating a more stable structure.
- Whole milk (1 cup / 240ml, room temperature): Adds richness. You can substitute with buttermilk for an even more tender crumb.
- Vegetable oil (½ cup / 120ml): Keeps the cake incredibly moist for days. I use a neutral oil like canola or grapeseed.
- Vanilla extract (2 tsp): Pure vanilla is best, but imitation works in a pinch.
- Hot brewed coffee or espresso (1 cup / 240ml): The secret ingredient! It deepens the chocolate flavor without making the cake taste like coffee. I use strong brewed coffee from my morning pot.
For the Espresso Buttercream Frosting
- Unsalted butter (1 ½ cups / 3 sticks, softened): Make sure it’s truly softened to room temperature for a silky, lump-free frosting.
- Powdered sugar (4 cups / 480g): Sift it if it’s clumpy for the smoothest finish.
- Espresso powder (2 tbsp): Dissolved in 2 tablespoons of hot water. This creates a concentrated coffee paste that packs a punch.
- Heavy cream (2-3 tbsp): Adjust the amount to reach your desired spreading consistency.
- Vanilla extract (1 tsp): Rounds out the coffee flavor beautifully.
- Pinch of salt: Cuts the sweetness and balances the coffee.
Equipment Needed
You don’t need a professional bakery setup for this cake, but having the right tools makes the process much smoother.
- Two 9-inch round cake pans: Light-colored metal pans work best for even baking. Dark pans can cause the edges to brown too quickly.
- Parchment paper: Cut circles for the bottom of the pans. This is non-negotiable for clean release.
- Stand mixer or hand mixer: A stand mixer makes the frosting a breeze, but a hand mixer works perfectly too.
- Large mixing bowls: One for dry ingredients, one for wet.
- Whisk and rubber spatula: For mixing and scraping down the bowl.
- Cooling rack: Essential for letting the layers cool completely before frosting.
- Offset spatula: Makes frosting the cake so much easier and gives a professional finish.
- Cake stand or turntable: Optional, but a turntable makes decorating a dream.
Preparation Method
Let’s get baking! This recipe comes together in about 15 minutes of active prep time.
- Preheat and Prep: Preheat your oven to 350°F (175°C). Grease two 9-inch round cake pans, line the bottoms with parchment paper circles, and lightly flour the sides. This step guarantees your cakes will come out clean.
- Mix Dry Ingredients: In a large bowl, whisk together the flour, sugar, cocoa powder, baking powder, baking soda, and salt. Whisk for about 30 seconds to aerate everything and break up any lumps. This is faster than sifting!
- Combine Wet Ingredients: In a separate bowl, whisk the eggs, milk, oil, and vanilla extract until smooth and well combined.
- Combine Wet and Dry: Pour the wet ingredients into the dry ingredients and mix on low speed with your mixer until just combined. The batter will be very thick at this point. Scrape down the sides and bottom of the bowl.
- Add the Hot Coffee: With the mixer on low, slowly pour in the hot coffee. Mix until the batter is smooth and thin. Don’t panic—it will look like soup! That’s exactly what you want. The hot coffee helps bloom the cocoa and creates a very moist cake. Your batter should be pourable and silky.
- Divide and Bake: Pour the batter evenly into the prepared pans. Bake for 30-35 minutes, or until a toothpick inserted into the center comes out with a few moist crumbs (not wet batter). The cakes should be springy to the touch.
- Cool Completely: Let the cakes cool in the pans for 10 minutes. Then, run a knife around the edges, invert them onto a cooling rack, and remove the parchment paper. Let them cool completely before frosting. This is the hardest part—the waiting!
- Make the Frosting: While the cakes cool, make the frosting. In the bowl of a stand mixer fitted with the paddle attachment, beat the softened butter on medium speed for 2-3 minutes until pale and creamy. Don’t skip this step—it’s the key to a light, fluffy frosting.
- Add Sugar and Flavor: Gradually add the powdered sugar, one cup at a time, mixing on low speed. Add the dissolved espresso paste, vanilla, and salt. Add the heavy cream one tablespoon at a time until you reach a spreadable consistency. Beat on medium-high for 2-3 minutes until light and fluffy.
- Assemble the Cake: Place one cake layer on your serving plate. Spread about ¾ cup of frosting evenly on top. Place the second layer on top. Apply a thin crumb coat of frosting all over the cake and refrigerate for 20 minutes. Then, apply the final, thicker layer of frosting. Use an offset spatula for the smoothest finish.
Cooking Tips & Techniques
I’ve made this cake more times than I can count, and I’ve learned a few things the hard way. Here are my best tips for success.
- Room Temperature Ingredients Matter: Cold eggs and milk won’t emulsify properly. Set them out on the counter 30 minutes before you start baking. It makes a real difference in the texture.
- Don’t Overmix: Once you add the flour, mix just until combined. Overmixing develops gluten and makes the cake tough. The hot coffee step is the only time you want to mix until perfectly smooth.
- Use a Kitchen Scale: I know it’s an extra step, but weighing your flour (312g) is the single best way to ensure a tender cake. Scooping with a measuring cup can add 20% more flour.
- Level Your Layers: Even though this recipe bakes up fairly flat, use a serrated knife to level the tops if they domed slightly. This ensures your cake sits straight and the frosting layers are even.
- The Crumb Coat is Your Friend: Don’t skip the 20-minute chill after the crumb coat. It traps all the loose crumbs and gives you a perfectly clean final layer of frosting. I learned this after making a cake that looked like it had chocolate sprinkles (it was just crumbs).
Variations & Adaptations
This recipe is wonderfully flexible. Here are a few ways to make it your own.
- Make it a Mocha Latte Cake: Add ½ cup of mini chocolate chips to the batter for extra chocolatey pockets. Top the finished cake with chocolate-covered espresso beans for a gorgeous, crunchy garnish.
- Dairy-Free Version: Substitute the milk with oat milk or almond milk, use a dairy-free butter alternative (like Miyoko’s), and swap the heavy cream with full-fat coconut cream. The cake will be slightly less tender, but still delicious.
- Change the Frosting: Not a buttercream fan? This cake is absolutely incredible with a dark chocolate ganache poured over the top. Simply heat 1 cup of heavy cream and pour it over 8 oz of finely chopped dark chocolate. Let it sit for 5 minutes, then stir until smooth. Let it cool slightly before pouring.
- Add a Filling: Spread a layer of raspberry jam or dulce de leche between the cake layers before frosting. The tartness of the raspberry or the caramel sweetness of the dulce de leche pairs beautifully with the mocha flavor.
- Cupcake Version: Divide the batter among 24 lined muffin tins and bake for 18-20 minutes. This makes the most incredible chocolate mousse cups—just pipe the frosting on top!
Serving & Storage Suggestions
This cake is best served at room temperature. The flavors are more pronounced, and the texture is at its peak. Let it sit out for about 30 minutes before slicing.
- Serving: A slice of this cake is wonderful on its own, but it’s absolutely divine with a scoop of vanilla bean ice cream or a dollop of lightly sweetened whipped cream. For a special touch, drizzle a little warm salted caramel sauce over each slice.
- Storage: Store the cake in an airtight container at room temperature for up to 3 days. If your kitchen is very warm, you can refrigerate it, but bring it back to room temperature before serving for the best texture.
- Freezing: This cake freezes beautifully. Wrap the unfrosted cake layers tightly in plastic wrap, then aluminum foil, and freeze for up to 3 months. The frosting can also be frozen in an airtight container. Thaw overnight in the refrigerator and bring to room temperature before assembling.
- Flavor Development: Here’s a secret: this cake actually tastes better the day after it’s made. The espresso flavor continues to meld with the chocolate, creating an even deeper, more complex taste. It’s the perfect make-ahead dessert for a dinner party.
Nutritional Information & Benefits
Let’s be real—this is a celebration cake, not a health food. But knowing what’s in it helps you enjoy it mindfully.
- Estimated per serving (1 slice, based on 12 servings): Calories: 520, Fat: 28g, Carbs: 67g, Protein: 6g, Fiber: 3g, Sugar: 48g.
- Dark Chocolate Benefits: Cocoa powder is rich in antioxidants called flavonoids, which can help support heart health and reduce inflammation. The darker the cocoa, the more benefits you get.
- Coffee’s Surprising Role: Espresso isn’t just for flavor. It contains antioxidants and can give you a gentle energy boost. It also helps enhance the natural flavor of chocolate, allowing you to use slightly less sugar.
- Dietary Considerations: This recipe contains dairy, gluten, and eggs. However, it can easily be adapted to be dairy-free (see variations above). It is naturally nut-free (just double-check your cocoa powder and vanilla extract).
- Mindful Indulgence: I believe in enjoying real food in moderation. This cake is made with simple, recognizable ingredients. It’s a treat, and it’s meant to be savored. One slice, a good cup of coffee, and a great conversation—that’s a perfect moment.
Conclusion
This Best Chocolate Espresso Layer Cake is more than just a dessert; it’s an experience. It’s the cake I make when I want to impress without stress, the one that disappears in minutes, and the one that people text me about the next day asking for the recipe. The combination of deep, dark chocolate and subtle, roasty espresso is a match made in baking heaven.
I encourage you to make this recipe your own. Use your favorite coffee, try a different frosting, or add a layer of raspberry jam. The beauty of a good base recipe is that it invites creativity. Don’t be afraid to experiment!
I would absolutely love to hear how this turns out for you. Did you try a variation? Did your family clean the plate? Drop a comment below and let me know! And if you’re looking for a perfect side dish to serve with this cake for a dinner party, you’ve got to try my crispy herb-crusted roast chicken—it’s the perfect savory counterpart to this sweet indulgence. Happy baking, friends!
Frequently Asked Questions
Can I make this cake without coffee?
You can substitute the hot coffee with hot water, but the cake will lose that deep, complex flavor. The coffee doesn’t make it taste like coffee; it just makes the chocolate taste more chocolatey. If you’re truly caffeine-averse, try using hot water and adding an extra teaspoon of vanilla extract.
Why did my cake sink in the middle?
This usually happens if the oven door is opened too early (before the structure is set) or if the baking powder/baking soda is old. Make sure your leavening agents are fresh. Also, check that your oven temperature is accurate—an oven that’s too cool can cause sinking.
Can I use instant coffee instead of espresso powder?
Absolutely! Use 2 tablespoons of instant coffee granules dissolved in the 2 tablespoons of hot water for the frosting. For the cake, you can use 2 tablespoons of instant coffee dissolved in the hot water instead of brewed coffee. The flavor will be slightly less rich, but still delicious.
How do I get perfectly flat cake layers?
This recipe is designed to bake up fairly flat, but for guaranteed flat layers, use cake strips (foil-wrapped fabric strips soaked in water) wrapped around the outside of your cake pans. They insulate the pans and promote even baking. Also, always weigh your batter into each pan to ensure they are equal.
Can I use this recipe to make a sheet cake?
Yes! Pour the batter into a greased and floured 9×13-inch baking pan. Bake at 350°F (175°C) for 35-40 minutes, or until a toothpick inserted in the center comes out clean. The baking time will be a bit longer since the batter is deeper. You can halve the frosting recipe for a single layer or make the full batch for a generously frosted sheet cake.
Pin This Recipe!
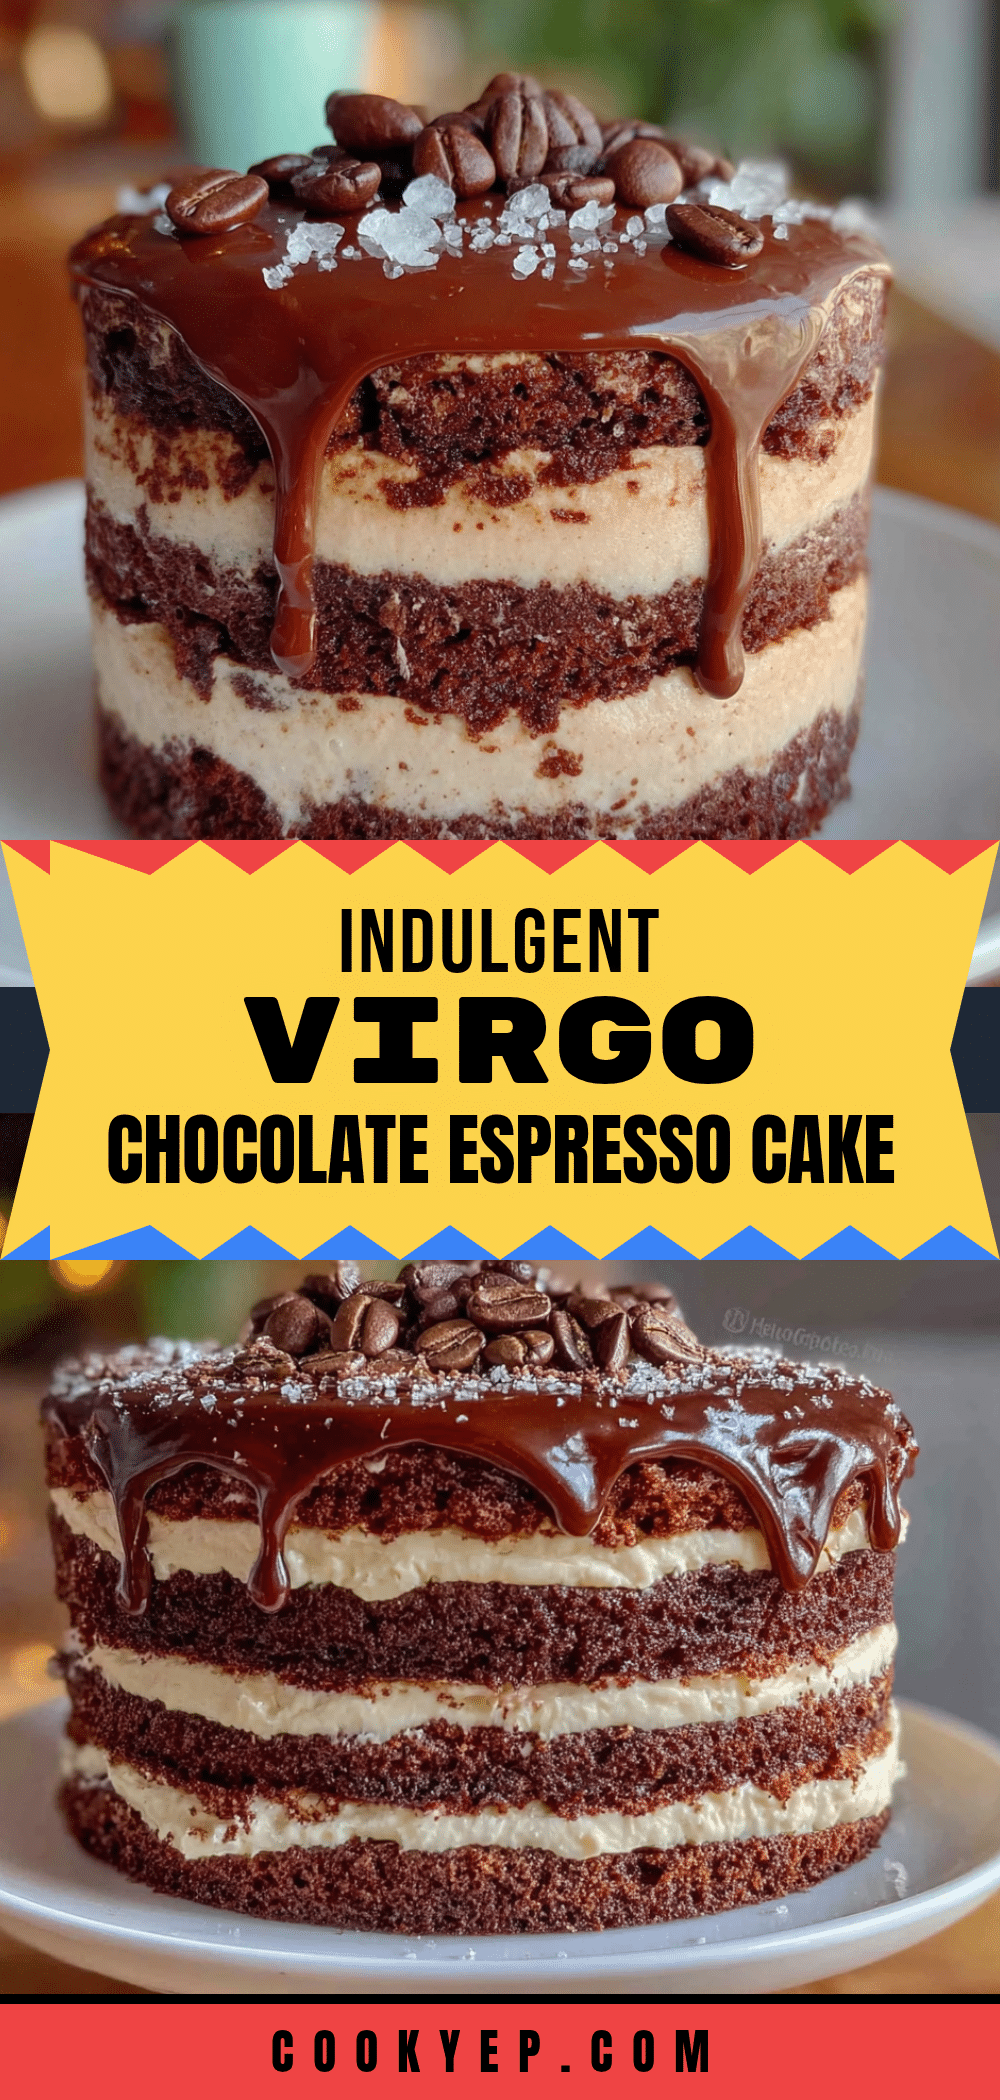
Best Chocolate Espresso Layer Cake: An Easy Homemade Recipe
This isn’t just a chocolate cake with a splash of coffee. It’s a recipe where the espresso works behind the scenes to make the chocolate taste like the best version of itself, deepening the flavor and rounding out the sweetness.
- Prep Time: 15 minutes
- Cook Time: 30-35 minutes
- Total Time: 45-50 minutes
- Yield: 12 servings 1x
- Category: Dessert
- Cuisine: American
Ingredients
- 2 ½ cups (312g) all-purpose flour
- 2 cups (400g) granulated sugar
- ¾ cup (75g) unsweetened cocoa powder (Dutch-process preferred)
- 1 ½ tsp baking powder
- 1 ½ tsp baking soda
- 1 tsp salt
- 2 large eggs, room temperature
- 1 cup (240ml) whole milk, room temperature
- ½ cup (120ml) vegetable oil
- 2 tsp vanilla extract
- 1 cup (240ml) hot brewed coffee or espresso
- 1 ½ cups (3 sticks) unsalted butter, softened
- 4 cups (480g) powdered sugar
- 2 tbsp espresso powder, dissolved in 2 tbsp hot water
- 2–3 tbsp heavy cream
- 1 tsp vanilla extract
- Pinch of salt
Instructions
- Preheat oven to 350°F (175°C). Grease two 9-inch round cake pans, line bottoms with parchment paper, and lightly flour sides.
- In a large bowl, whisk together flour, sugar, cocoa powder, baking powder, baking soda, and salt for 30 seconds.
- In a separate bowl, whisk eggs, milk, oil, and vanilla extract until smooth.
- Pour wet ingredients into dry ingredients and mix on low speed until just combined. Batter will be thick.
- With mixer on low, slowly pour in hot coffee and mix until batter is smooth and thin.
- Divide batter evenly between prepared pans. Bake for 30-35 minutes, until a toothpick inserted in center comes out with a few moist crumbs.
- Let cakes cool in pans for 10 minutes, then invert onto a cooling rack, remove parchment, and cool completely.
- For frosting: Beat softened butter on medium speed for 2-3 minutes until pale and creamy.
- Gradually add powdered sugar, one cup at a time, mixing on low. Add dissolved espresso paste, vanilla, and salt. Add heavy cream one tablespoon at a time until spreadable. Beat on medium-high for 2-3 minutes until light and fluffy.
- Place one cake layer on serving plate. Spread about ¾ cup frosting evenly on top. Place second layer on top. Apply thin crumb coat of frosting all over cake and refrigerate for 20 minutes. Then apply final thicker layer of frosting.
Notes
Room temperature ingredients matter. Don’t overmix. Use a kitchen scale for flour. Level layers if needed. Don’t skip the crumb coat chill. Cake tastes better the day after.
Nutrition
- Serving Size: 1 slice
- Calories: 520
- Sugar: 48
- Sodium: 380
- Fat: 28
- Saturated Fat: 16
- Carbohydrates: 67
- Fiber: 3
- Protein: 6
Keywords: chocolate espresso cake, layer cake, homemade cake, chocolate cake, espresso cake, easy cake recipe


