The bag of all-purpose flour hit the counter with a soft thump. My phone buzzed again—my sister, asking if I’d “gotten around to baking something” for her boyfriend’s surprise Valentine’s dinner. I hadn’t. The kitchen was a disaster zone of half-empty coffee mugs and a wilting basil plant. But there, in the back of the pantry, sat a dusty bottle of red food coloring and a box of cocoa powder I’d bought on a whim last fall. That’s when the idea hit me—red velvet. Heart-shaped. Cupcakes.
Honestly, I wasn’t trying to be impressive. I was just trying to avoid a grocery store run in the February drizzle. But as I creamed the butter and sugar together (by hand, because my stand mixer was buried under laundry), something clicked. The batter turned that gorgeous, deep crimson, and the scent of vanilla and cocoa filled my tiny apartment. By the time I was piping cream cheese frosting into little rosettes, I knew I’d stumbled onto something special. These weren’t just cupcakes; they were a little piece of edible apology wrapped in a heart shape.
These Perfect Red Velvet Heart-Shaped Cupcakes for Valentine’s Day are the kind of treat that looks like you spent hours fussing, but really come together with the kind of ease that makes you feel like a baking genius. They have that classic red velvet tang—thanks to a splash of buttermilk and a whisper of vinegar—and a crumb so tender it practically melts. The cream cheese frosting is the real star, though: not too sweet, perfectly thick, and it pipes like a dream. I’ve made these for Galentine’s parties, for my niece’s class party, and even just for a Tuesday when I needed a little pink-and-red pick-me-up. They never, ever disappoint.
So go ahead, grab that heart-shaped pan you’ve been hoarding. Let’s make some memories—and some seriously good cupcakes.
Why You’ll Love This Recipe
Let me tell you why these little hearts are about to become your go-to Valentine’s Day recipe. I’ve tested this batter six times to get the crumb just right—not too dense, not too fluffy, but that perfect in-between that holds a heart shape without crumbling into a sad pile of crumbs. Here’s what makes them special:
- Quick & Easy: From start to finish, you’re looking at about 45 minutes. The batter comes together in one bowl (no sifting, no fuss), and the frosting takes five minutes flat. Perfect for when you’re making a dozen for a party or just a few for a sweet surprise.
- Simple Ingredients: You probably have 90% of these in your pantry right now. No weird extracts, no specialty flours. Just good old butter, sugar, eggs, and that bottle of red gel coloring you bought for Christmas cookies.
- Perfect for Valentine’s Day: Obviously, right? But I mean it—these work for a romantic dinner, a kids’ classroom party, or a Galentine’s brunch. The heart shape does all the heavy lifting for you.
- Crowd-Pleaser: I brought a batch to my book club last month, and they were gone before we even started discussing the first chapter. Even the people who “don’t like red velvet” (a crime, I know) went back for seconds.
- Unbelievably Delicious: The secret is in the buttermilk and a tiny splash of apple cider vinegar. It sounds weird, but trust me—it gives that classic red velvet tang without making the cake taste sour. The cream cheese frosting is the perfect balance of sweet and tangy.
What makes this version different from the hundred other red velvet recipes out there? It’s the texture. I spent three batches trying to get a crumb that wouldn’t stick to the heart-shaped pan. The trick? A little extra cocoa powder and a slightly lower oven temperature. It bakes up with a delicate crust and a soft, velvety center that holds its shape beautifully. This isn’t just another red velvet cupcake—it’s the one you’ll come back to year after year.
What Ingredients You Will Need
This recipe uses simple, pantry-friendly ingredients to deliver that classic red velvet flavor and a tender, moist crumb. I’ve tested each one to make sure they work together perfectly—no surprises, just delicious results.
- All-purpose flour (1 ½ cups / 188g): Gives the cupcakes structure without making them tough. Spoon and level it into your measuring cup—don’t scoop directly from the bag or you’ll end up with dense cupcakes.
- Unsweetened cocoa powder (2 tablespoons / 10g): I use Hershey’s Special Dark for a deeper color, but any natural unsweetened cocoa works fine. Don’t use Dutch-processed here—it changes the chemical reaction with the baking soda.
- Granulated sugar (1 cup / 200g): Standard white sugar. It sweetens the batter and helps create that tender crumb.
- Baking soda (½ teaspoon / 2g): Reacts with the buttermilk and vinegar to give the cupcakes lift.
- Salt (¼ teaspoon / 1g): Balances the sweetness and enhances the cocoa flavor.
- Unsalted butter (½ cup / 113g, softened): I use Land O’Lakes for consistent results. Make sure it’s at room temperature—cold butter won’t cream properly with the sugar.
- Vegetable oil (¼ cup / 60ml): Adds moisture and keeps the cupcakes soft for days. I prefer avocado oil for its neutral flavor.
- Large eggs (1 whole + 1 yolk, room temperature): The extra yolk adds richness and tenderness. Cold eggs can seize the batter, so let them sit out for 30 minutes before starting.
- Buttermilk (½ cup / 120ml): The key to that classic red velvet tang. If you don’t have buttermilk, make a quick substitute by adding 1 ½ teaspoons of lemon juice or white vinegar to ½ cup of whole milk and letting it sit for 5 minutes.
- Apple cider vinegar (1 teaspoon / 5ml): Sounds odd, but it reacts with the baking soda to create a light, airy crumb. Don’t skip it—you won’t taste it, I promise.
- Vanilla extract (1 teaspoon / 5ml): Pure vanilla extract is best. Imitation works in a pinch, but the flavor is noticeably different.
- Red gel food coloring (1 tablespoon / 15ml): Gel coloring is way more concentrated than liquid drops. I use Americolor Super Red. Start with 1 tablespoon and add more if you want a deeper red. Liquid coloring will thin out the batter too much.
- Cream cheese (8 oz / 226g, softened): Full-fat block cream cheese is non-negotiable here. The spreadable kind in a tub has too much water and will make your frosting runny.
- Powdered sugar (2 cups / 240g): Sift it if you can—it prevents lumps in the frosting. If you’re in a hurry, whisk it well before adding to the cream cheese.
- Heavy cream (2 tablespoons / 30ml): Thins the frosting to the perfect piping consistency. You can use milk, but heavy cream gives a richer texture.
Equipment Needed
You don’t need a fancy bakery setup to make these, but a few specific tools make the process much smoother. Here’s what I use:
- Heart-shaped cupcake pan: I have a Wilton non-stick 6-cavity pan that I’ve used for years. If you don’t have one, you can use a standard round cupcake pan and top with heart-shaped sprinkles instead.
- Heart-shaped liners: These are optional but adorable. I found a pack of red foil liners at Target last year. They peel off easily and add a festive touch.
- Stand mixer or hand mixer: I use my KitchenAid for the frosting, but a hand mixer works perfectly for the batter too. Just make sure to scrape the bowl well.
- Large mixing bowl and whisk: For combining dry ingredients. A simple stainless steel bowl is fine.
- Rubber spatula: A good one makes scraping the bowl a breeze. I prefer the one-piece silicone kind with no crevices for batter to hide in.
- Cookie scoop or ice cream scoop: For portioning the batter evenly into the heart-shaped cavities. A 2-tablespoon scoop is perfect.
- Piping bags and tips: I use a Wilton 1M tip for the rosettes. If you don’t have piping bags, a ziplock bag with the corner snipped off works in a pinch.
- Cooling rack: Letting the cupcakes cool completely before frosting is crucial. A wire rack allows air to circulate so they don’t get soggy.
Preparation Method
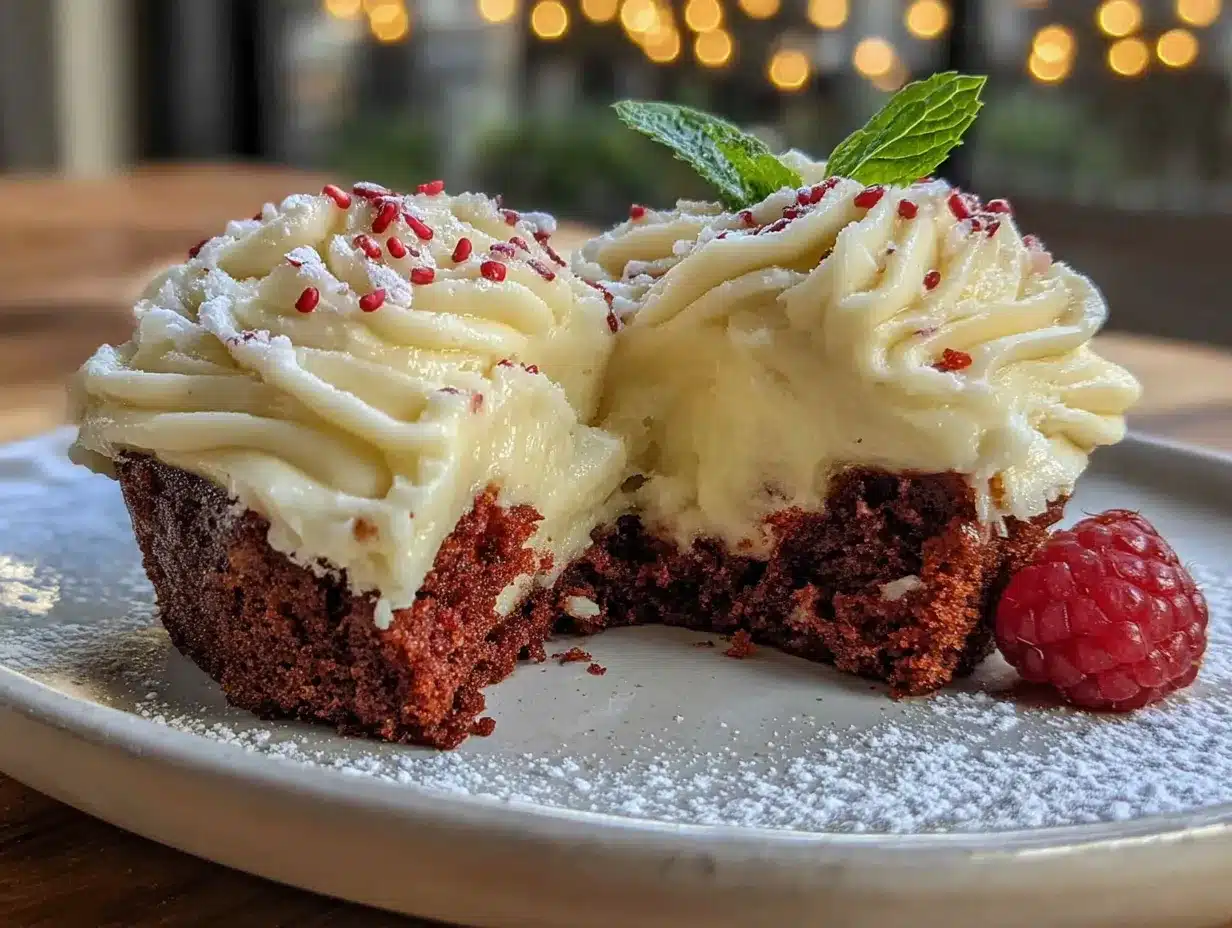
Let’s get baking! I’ve broken this down into simple steps with a few hard-earned tips along the way. Trust me on the timing—it makes a difference.
- Preheat and prep the pan. Preheat your oven to 350°F (175°C). Grease your heart-shaped cupcake pan generously with butter or non-stick spray, even if it’s non-stick. I learned this the hard way after my first batch stuck like glue. Place heart-shaped liners inside if you’re using them—they make cleanup a dream.
- Mix the dry ingredients. In a medium bowl, whisk together 1 ½ cups (188g) all-purpose flour, 2 tablespoons (10g) unsweetened cocoa powder, ½ teaspoon (2g) baking soda, and ¼ teaspoon (1g) salt. The cocoa should be evenly distributed—no white streaks of flour remaining. Set aside.
- Cream the butter and sugar. In a large bowl (or the bowl of your stand mixer), beat ½ cup (113g) softened unsalted butter with 1 cup (200g) granulated sugar on medium speed for 3-4 minutes until light and fluffy. Scrape the bowl halfway through. You want it to look pale and almost doubled in volume—this is the key to a tender crumb.
- Add the wet ingredients. Beat in ¼ cup (60ml) vegetable oil until combined. Then add 1 whole egg and 1 egg yolk, one at a time, beating well after each addition. Mix in 1 teaspoon (5ml) vanilla extract and 1 tablespoon (15ml) red gel food coloring. The batter will look alarmingly red at this point—that’s perfect.
- Alternate the dry and wet. With the mixer on low speed, add the dry ingredients in three additions, alternating with ½ cup (120ml) buttermilk. Start and end with the dry ingredients. Mix just until combined—overmixing will make the cupcakes tough. Scrape the bowl and give it a few gentle folds with a spatula.
- Add the vinegar. Stir in 1 teaspoon (5ml) apple cider vinegar by hand until just incorporated. The batter will become slightly bubbly—that’s the chemical reaction starting. Don’t wait too long before baking.
- Fill the pan. Use your cookie scoop to divide the batter evenly among the heart-shaped cavities. Fill each about ⅔ full—they’ll rise beautifully without overflowing. Tap the pan gently on the counter to release any air bubbles.
- Bake. Bake at 350°F (175°C) for 16-18 minutes, or until a toothpick inserted in the center comes out clean or with a few moist crumbs. The tops should spring back when lightly touched. Let them cool in the pan for 5 minutes, then transfer to a wire rack to cool completely. Do not frost while they’re warm—the frosting will melt into a puddle.
- Make the frosting. While the cupcakes cool, beat 8 oz (226g) softened cream cheese on medium speed until smooth and creamy, about 2 minutes. Add 2 cups (240g) powdered sugar (sifted, if you have the patience) and beat until combined. Add 2 tablespoons (30ml) heavy cream and ½ teaspoon (2.5ml) vanilla extract, then beat on medium-high for 2-3 minutes until light and fluffy. It should hold a stiff peak when you lift the beater.
- Pipe and decorate. Fit a piping bag with a 1M tip and fill with the cream cheese frosting. Pipe rosettes onto the cooled cupcakes, starting from the center and spiraling outward. Top with heart-shaped sprinkles, a dusting of cocoa powder, or a fresh raspberry for a pop of color.
Cooking Tips & Techniques
I’ve made my fair share of baking mistakes, and I’m happy to share them so you don’t have to. Here are the things I wish someone had told me before I started making heart-shaped red velvet cupcakes:
- The gel coloring is non-negotiable. I tried liquid food coloring once because that’s all I had in the drawer. The batter turned a sad pinkish-brown, and the cupcakes were a watery mess. Gel coloring is concentrated, so it gives you that gorgeous deep red without adding extra liquid. If you want a more natural color, you can use beet powder (about 2 tablespoons), but the color will be more muted and earthy.
- Don’t overfill the cavities. I know it’s tempting to fill them to the brim because you want big, puffy hearts. But they’ll overflow and stick to the pan, and you’ll end up with jagged edges. Two-thirds full is the sweet spot—they’ll dome slightly but still hold the heart shape perfectly.
- Room temperature ingredients matter. Cold butter won’t cream with sugar properly, and cold eggs can make the batter seize. Set everything out on the counter 30-45 minutes before you start. If you’re in a rush, you can warm the eggs in a bowl of lukewarm water for 5 minutes and microwave the butter in 5-second bursts until it’s soft but not melted.
- Check for doneness early. Every oven runs a little differently. My old gas oven used to take 19 minutes, but my new convection oven is done at 16. Start checking at 14 minutes—a toothpick inserted into the thickest part of the heart should come out clean. If it has wet batter, give it another 2 minutes and check again.
- Cool completely before frosting. I cannot stress this enough. I once frosted a slightly warm cupcake because I was in a hurry, and the cream cheese frosting slid right off into a sad puddle on the plate. Patience pays off here—30 minutes on the cooling rack is plenty.
Variations & Adaptations
One of the best things about this recipe is how easy it is to tweak. Here are some of my favorite variations, all tested and approved:
- Gluten-Free Version: Swap the all-purpose flour with a 1:1 gluten-free baking blend (I use Bob’s Red Mill). The texture will be slightly more crumbly, but the flavor is spot-on. Add an extra tablespoon of buttermilk to compensate for the denser flour blend.
- Dairy-Free Option: Use dairy-free butter (like Miyoko’s), a plant-based cream cheese (Kite Hill works well), and oat milk mixed with lemon juice instead of buttermilk. The cupcakes will be a touch less tender, but still delicious. For the frosting, use a solid coconut cream instead of heavy cream—chill the can first and scoop out the solid part.
- Chocolate Lover’s Twist: Add ½ cup (85g) mini chocolate chips to the batter before baking. They sink to the bottom during baking, creating a little chocolate surprise in the tip of the heart. I made this version for my nephew’s birthday and he declared them “the best cupcakes ever.”
- Lemon-Raspberry Red Velvet: Replace the vanilla extract with 1 teaspoon of lemon zest and ½ teaspoon of lemon extract. Fold in ½ cup (75g) fresh raspberries gently at the end—they’ll burst during baking and create beautiful pink-red pockets. Top with a raspberry on each cupcake for a stunning presentation.
- Mini Heart Bites: Use a mini heart-shaped pan (the cavities are about 2 inches) and bake for 10-12 minutes. These are perfect for party platters or lunchbox surprises. You’ll get about 24 minis from this recipe.
Serving & Storage Suggestions
These cupcakes are best served at room temperature, which lets the cream cheese frosting soften to that perfect creamy texture. If you’ve refrigerated them, let them sit out for 20-30 minutes before serving.
For a Valentine’s Day dessert table, I like to arrange them on a white cake stand with a few fresh raspberries and edible rose petals scattered around. They pair beautifully with a cup of hot cocoa or a refreshing sparkling citrus ginger mojito mocktail for a non-alcoholic option. For a more indulgent spread, serve them alongside decadent triple chocolate mousse cups for a double-chocolate dessert experience.
Storage: Store unfrosted cupcakes in an airtight container at room temperature for up to 3 days. Frosted cupcakes should be refrigerated in an airtight container for up to 5 days. The cream cheese frosting will firm up in the fridge, so let them sit at room temperature for 15 minutes before serving to soften.
Freezing: You can freeze the unfrosted cupcakes for up to 3 months. Wrap each one individually in plastic wrap, then place in a freezer bag. Thaw at room temperature before frosting. I’ve also frozen the frosting separately in a piping bag—just thaw it in the fridge overnight and give it a good squeeze before piping.
Reheating: If you want that just-baked warmth, pop an unfrosted cupcake in the microwave for 10-15 seconds. The flavors actually develop and deepen after a day—I find them even more flavorful on day two!
Nutritional Information & Benefits
Let’s be real—these are a treat, not a health food. But here’s the breakdown per cupcake (based on 12 servings):
| Nutrient | Amount per Cupcake |
|---|---|
| Calories | 345 |
| Total Fat | 18g |
| Saturated Fat | 9g |
| Cholesterol | 65mg |
| Sodium | 210mg |
| Total Carbohydrates | 43g |
| Dietary Fiber | 1g |
| Sugars | 32g |
| Protein | 4g |
On the bright side, the cocoa powder contains antioxidants called flavonoids, which are good for heart health (how fitting for Valentine’s Day!). The cream cheese adds a bit of calcium and protein, and the buttermilk provides probiotics. If you’re watching your sugar intake, you can reduce the sugar in the frosting by ¼ cup—it’ll still be sweet enough to balance the tangy cream cheese.
For a lighter option, you can make these as mini cupcakes (about 24 minis) and serve two per person—same indulgence, smaller portion. Or pair them with a fresh quinoa and kale power salad for a balanced meal that still leaves room for dessert.
Conclusion
These Perfect Red Velvet Heart-Shaped Cupcakes are more than just a Valentine’s Day dessert—they’re a little act of love you can bake in under an hour. Whether you’re surprising a partner, treating your kids, or just showing yourself some kindness, these cupcakes deliver every single time. The tender crumb, the tangy cream cheese frosting, that gorgeous heart shape—it all comes together in a way that feels both special and achievable.
I’ve made these for romantic dinners, for classroom parties, and for quiet nights when I just needed something pretty to look at while I watched a movie. Every time, they remind me that baking doesn’t have to be complicated to be wonderful. So go ahead—customize them, make them your own, and don’t forget to save one for yourself.
Have you tried these? I’d love to hear how they turned out! Drop a comment below and let me know what variations you tried, or tag me in your photos on social media. And if you’re looking for more sweet inspiration, check out my full collection of recipes for more treats that’ll make your heart (and your taste buds) happy. Happy baking, friend!
Frequently Asked Questions
Can I make these cupcakes ahead of time?
Absolutely! Bake the cupcakes up to 2 days in advance and store them unfrosted in an airtight container at room temperature. Make the frosting and pipe it on the day you plan to serve them for the best texture and presentation.
Why did my red velvet cupcakes turn out brown?
This usually happens when you use liquid food coloring instead of gel. Liquid coloring isn’t concentrated enough to overcome the natural brown color of cocoa powder. Stick with gel coloring—it gives you that vibrant red without adding extra liquid to the batter.
Can I use a different pan shape?
Of course! This batter works beautifully in standard round cupcake pans, mini muffin tins, or even as a 9-inch round cake layer. If using a round pan, bake for 25-30 minutes and adjust the frosting quantity accordingly.
How do I get the cream cheese frosting to be stiff enough for piping?
Make sure your cream cheese is fully softened to room temperature. Cold cream cheese creates lumps that won’t pipe smoothly. Also, use full-fat block cream cheese—the low-fat or spreadable versions contain too much water and will make your frosting runny.
Can I freeze these cupcakes with the frosting on?
I don’t recommend it. The cream cheese frosting can become grainy and watery after thawing. It’s better to freeze the unfrosted cupcakes and make fresh frosting when you’re ready to serve them. The frosting takes less than 10 minutes to prepare, so it’s easy to do at the last minute.
Pin This Recipe!
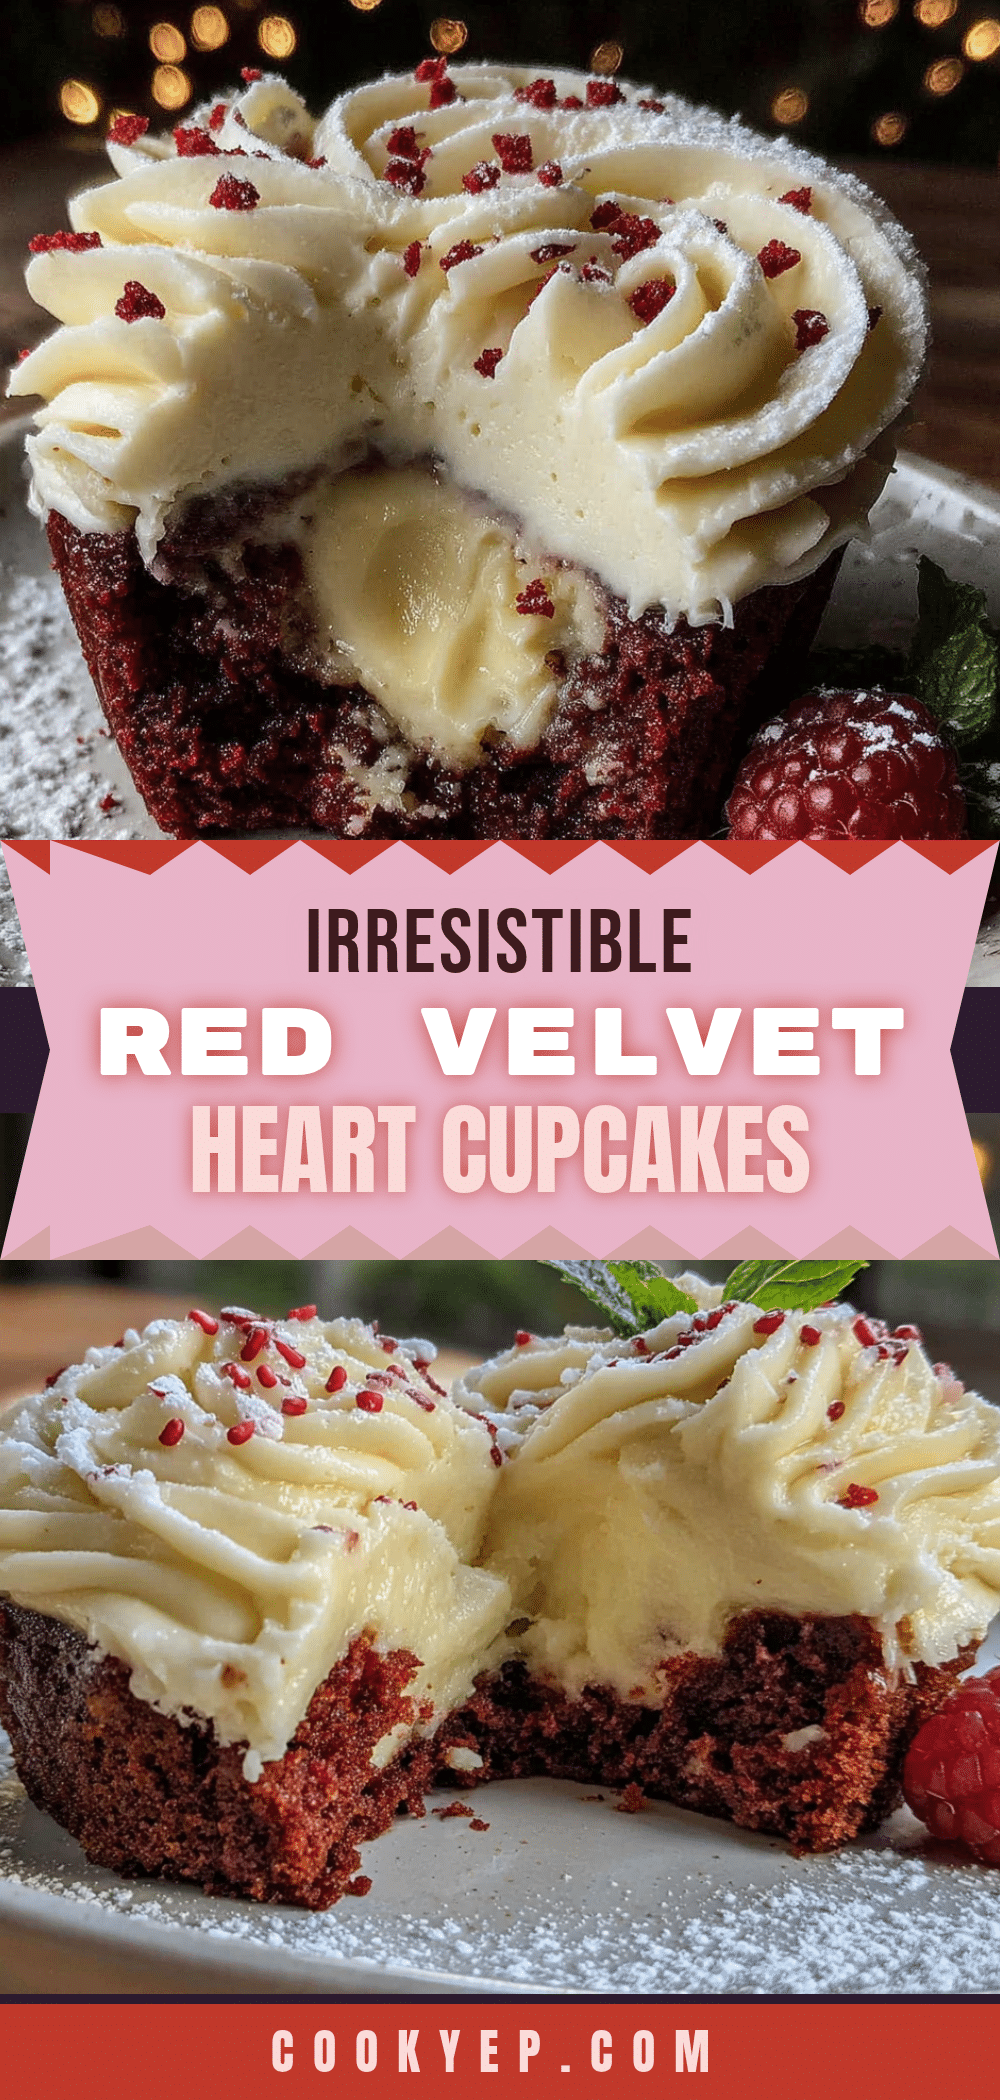
Best Red Velvet Heart-Shaped Cupcakes for Valentine’s Day
These Perfect Red Velvet Heart-Shaped Cupcakes are a little act of love you can bake in under an hour. With a tender crumb, tangy cream cheese frosting, and a gorgeous heart shape, they’re perfect for Valentine’s Day, Galentine’s parties, or any occasion that calls for a sweet treat.
- Prep Time: 15 minutes
- Cook Time: 18 minutes
- Total Time: 45 minutes
- Yield: 12 servings 1x
- Category: Dessert
- Cuisine: American
Ingredients
- 1 ½ cups (188g) all-purpose flour
- 2 tablespoons (10g) unsweetened cocoa powder
- 1 cup (200g) granulated sugar
- ½ teaspoon (2g) baking soda
- ¼ teaspoon (1g) salt
- ½ cup (113g) unsalted butter, softened
- ¼ cup (60ml) vegetable oil
- 1 large egg + 1 egg yolk, room temperature
- ½ cup (120ml) buttermilk
- 1 teaspoon (5ml) apple cider vinegar
- 1 teaspoon (5ml) vanilla extract
- 1 tablespoon (15ml) red gel food coloring
- 8 oz (226g) cream cheese, softened
- 2 cups (240g) powdered sugar, sifted
- 2 tablespoons (30ml) heavy cream
- ½ teaspoon (2.5ml) vanilla extract
Instructions
- Preheat oven to 350°F (175°C). Grease a heart-shaped cupcake pan generously with butter or non-stick spray. Place heart-shaped liners inside if using.
- In a medium bowl, whisk together flour, cocoa powder, baking soda, and salt. Set aside.
- In a large bowl, beat softened butter and granulated sugar on medium speed for 3-4 minutes until light and fluffy. Scrape bowl halfway through.
- Beat in vegetable oil until combined. Add egg and egg yolk one at a time, beating well after each addition. Mix in vanilla extract and red gel food coloring.
- With mixer on low, add dry ingredients in three additions, alternating with buttermilk. Start and end with dry ingredients. Mix just until combined. Scrape bowl and fold gently with a spatula.
- Stir in apple cider vinegar by hand until just incorporated. Batter will become slightly bubbly.
- Use a cookie scoop to divide batter evenly among heart-shaped cavities, filling each about ⅔ full. Tap pan gently on counter to release air bubbles.
- Bake for 16-18 minutes, or until a toothpick inserted in center comes out clean or with a few moist crumbs. Cool in pan for 5 minutes, then transfer to a wire rack to cool completely.
- For frosting: Beat softened cream cheese on medium speed until smooth, about 2 minutes. Add powdered sugar and beat until combined. Add heavy cream and vanilla extract, then beat on medium-high for 2-3 minutes until light and fluffy and holds a stiff peak.
- Fit a piping bag with a 1M tip and fill with frosting. Pipe rosettes onto cooled cupcakes, starting from center and spiraling outward. Top with heart-shaped sprinkles, cocoa powder, or a fresh raspberry.
Notes
Use gel food coloring for vibrant red color. Do not overfill cavities; fill ⅔ full. Cool cupcakes completely before frosting. Room temperature ingredients are crucial for best texture. For dairy-free, use dairy-free butter, plant-based cream cheese, and oat milk with lemon juice. For gluten-free, use a 1:1 gluten-free baking blend.
Nutrition
- Serving Size: 1 cupcake
- Calories: 345
- Sugar: 32
- Sodium: 210
- Fat: 18
- Saturated Fat: 9
- Carbohydrates: 43
- Fiber: 1
- Protein: 4
Keywords: red velvet cupcakes, heart-shaped cupcakes, Valentine's Day cupcakes, cream cheese frosting, red velvet dessert


