I figured this bread would taste healthy. You know, that kind of healthy where you take a bite and immediately start calculating how many dates you’d need to eat to make up for the flavor. It took about three minutes after pulling it out of the oven for that assumption to fall apart completely. The smell alone—warm pumpkin, ripe banana, a whisper of cinnamon—had my kid circling the kitchen island like a shark, and I hadn’t even let it cool yet.
Honestly, I was trying to use up two spotty bananas on the counter and half a can of pumpkin leftover from a weeknight soup experiment. I wasn’t trying to reinvent the breakfast loaf. But something clicked when I mashed the bananas into the pumpkin, and the batter came together in one bowl without me having to drag out the stand mixer or hunt for the sifter. That’s when I knew this was going to be a regular thing.
The first slice was still warm. It was tender, sweet from the fruit alone, and somehow not dense or gummy like some whole-wheat experiments I’ve had. I didn’t miss the sugar. Not even a little. That surprised me more than anything. This recipe stuck because it proved me wrong—you can have a slice of something that feels like a treat without the crash afterward. And you can make it in the time it takes to brew your morning coffee.
Why You’ll Love This Recipe
This pumpkin banana bread is the kind of recipe that makes you feel like you’ve hacked the system. It tastes indulgent, but the ingredient list reads like a grocery list for a smoothie. I’ve tested this loaf at least seven times now, tweaking the flour ratio, playing with the banana ripeness, and even sneaking it past my neighbor who swears she can “always tell” when something is healthy. She asked for the recipe. That’s when I knew it was ready to share.
- One Bowl, No Mixer: You don’t need a stand mixer, hand mixer, or any fancy gadget. Just a bowl and a spatula. Less cleanup means you’re more likely to actually make it on a Tuesday morning.
- No Refined Sugar: The sweetness comes entirely from ripe bananas and pumpkin. No honey, no maple syrup, no coconut sugar. Just fruit doing its job.
- Perfect for Meal Prep: This loaf stays moist for days. Make it Sunday night, and you’ve got breakfast or a snack sorted through Wednesday.
- Kid-Approved Without the Guilt: My kids eat this for breakfast without complaint. It feels like a win because they’re getting fiber, vitamin A, and potassium before 8 a.m.
- Flexible and Forgiving: You can swap flours, add chocolate chips, or throw in nuts. The base is sturdy enough to handle your mood.
What makes this different from every other pumpkin banana bread out there is the texture. Most no-sugar versions end up gummy or dry. This one lands somewhere between a quick bread and a coffee cake—tender, moist, with a slight crust on the edges. The secret is in how you mash the bananas and the ratio of pumpkin to flour. It took me a few batches to nail it, but now I’d put this up against any sugar-laden loaf. It’s the kind of bread that makes you close your eyes after the first bite, not because it’s fancy, but because it’s exactly right.
What Ingredients You Will Need
This recipe relies on simple, whole-food ingredients that do the heavy lifting without any refined sugar. Most of these are pantry staples in my kitchen, especially during fall when I’m making everything from easy maple pecan pumpkin pie bars to cozy soups. Here’s what you’ll need:
- Ripe Bananas (about 2 medium, mashed): The riper the better. Spotty brown skins are ideal because they bring natural sweetness and moisture. If your bananas are still yellow, the bread will be less sweet. I’ve made this mistake before—it still works, but you’ll notice the difference.
- Pumpkin Purée (1 cup, not pumpkin pie filling): Use 100% pure pumpkin purée. Canned is fine; I usually grab Libby’s because it’s consistent. If you’re feeling ambitious, homemade roasted pumpkin works beautifully too. Just make sure it’s not watery—drain any excess liquid if needed.
- Eggs (2 large, room temperature): Eggs bind everything together and help the bread rise. Room temperature eggs mix more evenly into the batter. If you forgot to take them out, place them in a bowl of warm water for 5 minutes.
- Vanilla Extract (1 teaspoon): A good vanilla rounds out the flavors. I use pure vanilla extract, not imitation, because the flavor is cleaner.
- Coconut Oil (¼ cup, melted): This adds moisture without dairy. You can also use melted butter or avocado oil. Coconut oil gives a subtle richness that pairs well with the pumpkin.
- Whole Wheat Pastry Flour (1 ¾ cups): This is my go-to for this recipe. It’s lighter than regular whole wheat flour but still has more fiber than all-purpose. If you only have all-purpose flour, that works too—the texture will be slightly less hearty but still delicious.
- Baking Soda (1 teaspoon): This helps the bread rise. Make sure it’s fresh—old baking soda won’t give you the lift you need.
- Baking Powder (½ teaspoon): A little extra leavening for a tender crumb.
- Salt (½ teaspoon): Salt balances the sweetness and enhances all the flavors. Don’t skip it.
- Cinnamon (1 ½ teaspoons): The backbone of fall baking. I use Ceylon cinnamon for a milder, sweeter flavor, but regular cinnamon works fine.
- Pumpkin Pie Spice (1 teaspoon): This adds that warm, cozy flavor profile. You can substitute with a mix of nutmeg, ginger, and cloves if you don’t have it on hand.
- Optional Mix-Ins: Dark chocolate chips (½ cup), chopped walnuts (½ cup), or raisins (¼ cup). I often add chocolate chips because, well, chocolate.
Equipment Needed
You don’t need a fully stocked kitchen for this recipe. Here’s what you’ll actually use:
- Large Mixing Bowl: One bowl, that’s it. I use a standard 3-quart glass bowl.
- 9×5-inch Loaf Pan: This is the standard size for a loaf. If you use an 8×4 pan, the bread will be taller and may need a few extra minutes in the oven.
- Parchment Paper: Line the pan for easy removal. I cut a strip long enough to hang over the sides like handles.
- Whisk or Fork: For mashing the bananas and mixing the wet ingredients.
- Spatula or Wooden Spoon: For folding the dry ingredients into the wet. A rubber spatula is my preference because it scrapes the bowl clean.
- Measuring Cups and Spoons: Standard set for dry and wet ingredients. I prefer metal measuring cups for flour and glass for liquids.
- Cooling Rack: Lets the bread cool evenly so the bottom doesn’t get soggy. If you don’t have one, a clean towel works in a pinch.
I’ve made this bread with a cheap dollar-store loaf pan and it still turned out great. Don’t overthink the equipment. If you have a bowl and an oven, you’re good to go.
Preparation Method
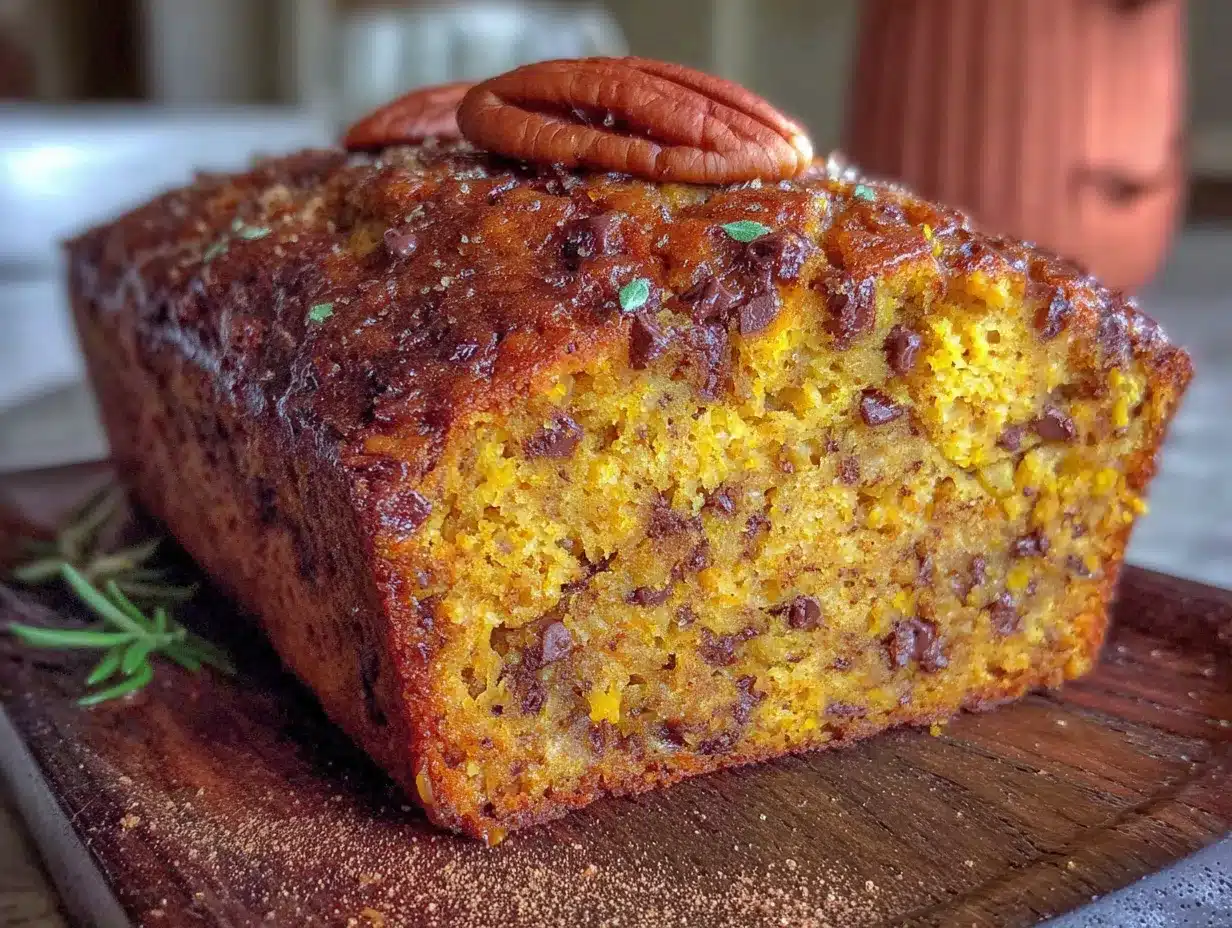
This is where the magic happens. The whole process takes about 10 minutes of active work, then the oven does the rest. Preheat your oven to 350°F (175°C) and line your loaf pan with parchment paper. Let’s get started.
- Mash the bananas: In your large mixing bowl, add the two ripe bananas. Mash them with a fork or potato masher until they’re mostly smooth with a few small lumps. You want some texture, not baby food. This should take about 30 seconds.
- Add the wet ingredients: To the mashed bananas, add the pumpkin purée, eggs, vanilla extract, and melted coconut oil. Whisk everything together until it’s smooth and uniform. The mixture will smell amazing already—like fall in a bowl.
- Mix the dry ingredients: Add the whole wheat pastry flour, baking soda, baking powder, salt, cinnamon, and pumpkin pie spice directly to the bowl with the wet ingredients. Don’t sift. Just dump it in. Use a spatula to fold the dry ingredients into the wet until just combined. A few streaks of flour are okay. Overmixing will make the bread tough, so stop as soon as you don’t see any more dry flour.
- Fold in mix-ins (optional): If you’re adding chocolate chips, nuts, or raisins, gently fold them in now. I usually add about half a cup of dark chocolate chips because the bitterness pairs perfectly with the sweet pumpkin and banana.
- Pour into the pan: Scrape the batter into your prepared loaf pan. Use the spatula to spread it evenly. The batter will be thick—don’t worry, that’s normal.
- Bake: Place the pan in the preheated oven and bake for 50 to 60 minutes. At the 45-minute mark, start checking. Insert a toothpick into the center; if it comes out clean or with just a few moist crumbs, it’s done. If the top is browning too quickly, tent the pan loosely with aluminum foil for the last 10 minutes.
- Cool: Let the bread cool in the pan for 10 minutes. Then lift it out using the parchment paper handles and transfer to a cooling rack. Let it cool completely before slicing. I know it’s tempting, but slicing warm bread can make it crumble. Patience pays off here.
A quick note: If your kitchen is humid, the bread might take a few extra minutes to bake. Trust the toothpick test over the timer.
Cooking Tips & Techniques
I’ve made this bread enough times to know where things can go sideways. Here are the lessons I learned the hard way so you don’t have to.
Don’t overmix the batter. This is the number one mistake. When you overmix, the gluten develops too much and your bread turns out dense and rubbery. Fold gently, stop when it’s just combined. A few lumps are your friend.
Let your bananas get ugly. I’ve used yellow bananas before when I was impatient, and the bread was noticeably less sweet. The brown spots aren’t just cosmetic—they’re sugar. If your bananas aren’t ripe enough, you can speed things up by roasting them in the oven at 300°F for 15 minutes. Let them cool before mashing.
Measure your flour correctly. Scooping flour directly with the measuring cup packs it down, and you end up with too much. Instead, spoon the flour into the cup and level it off with a knife. This one habit changed my baking overnight.
Check your oven temperature. Ovens run hot or cold. I have an oven thermometer because my oven lies to me. If your bread is browning too fast on the outside but still raw in the middle, your oven is probably running hot.
Let it cool completely. I know I said this already, but it’s worth repeating. Slicing warm bread is like trying to cut through a cloud. It collapses. If you can wait until the next day, the flavors actually deepen and the texture sets perfectly. I’ve snuck a slice after 30 minutes and regretted it.
Variations & Adaptations
This recipe is a great base to play with. Here are a few ways I’ve adapted it depending on what I have in the pantry:
- Gluten-Free Version: Swap the whole wheat pastry flour with a 1:1 gluten-free baking flour blend. I’ve used Bob’s Red Mill with good results. The texture will be slightly more crumbly, but still delicious. Add an extra tablespoon of flour if the batter seems too wet.
- Vegan Adaptation: Replace the eggs with two flax eggs (2 tablespoons ground flaxseed mixed with 6 tablespoons water, let sit for 5 minutes). The bread will be a bit denser, but it works. Use a dairy-free chocolate chip if you’re adding mix-ins.
- Nutty Crunch: Fold in ½ cup of toasted walnuts or pecans. Toast them first in a dry pan for 3-4 minutes until fragrant—it makes a huge difference in flavor.
- Chocolate Swirl: Melt ¼ cup of dark chocolate chips and swirl it into the batter before baking. It creates ribbons of chocolate throughout the bread. I did this for a birthday breakfast and nobody guessed it was sugar-free.
- Spice It Up: Add ¼ teaspoon of ground ginger or cardamom for a different flavor profile. Cardamom pairs beautifully with pumpkin and banana.
- Mini Muffins: Pour the batter into a greased mini muffin tin and bake for 12-15 minutes. Perfect for snack-sized portions. My kids love these in their lunchboxes.
Serving & Storage Suggestions
This bread is versatile enough for breakfast, snack, or even dessert. Here’s how I serve and store it:
Serving: I love this bread slightly warm with a pat of butter or a smear of cream cheese. For a dairy-free option, try coconut butter or almond butter. It’s also fantastic toasted—pop a slice in the toaster or under the broiler for 2 minutes until the edges are crisp. A drizzle of honey or maple syrup on top is optional, but honestly, it’s sweet enough on its own.
Storage: Wrap the cooled loaf tightly in plastic wrap or store it in an airtight container at room temperature for up to 4 days. I’ve kept it on the counter for 5 days and it was still moist. Do not refrigerate—the cold air dries it out faster.
Freezing: This bread freezes beautifully. Slice it first, then wrap each slice individually in plastic wrap and place them in a freezer bag. They’ll keep for up to 3 months. When you want a slice, just pop it in the toaster or microwave for 30 seconds. I keep a stash in the freezer for busy mornings.
Flavor Development: Here’s something I noticed: the bread actually tastes better on day two. The flavors meld together and the texture becomes even more tender. If you can resist eating it all on day one, you’re in for a treat.
Nutritional Information & Benefits
This bread isn’t just delicious—it’s packed with good-for-you ingredients. Here’s a rough estimate per slice (based on 10 slices):
| Nutrient | Amount |
|---|---|
| Calories | 185 |
| Total Fat | 7g |
| Saturated Fat | 5g |
| Carbohydrates | 29g |
| Fiber | 4g |
| Sugar | 10g (from fruit) |
| Protein | 4g |
| Vitamin A | 45% DV |
| Potassium | 8% DV |
The pumpkin provides a hefty dose of vitamin A, which supports eye health and immunity. Bananas add potassium, which helps with muscle function and blood pressure. Whole wheat pastry flour offers more fiber than white flour, keeping you fuller longer. This bread is naturally dairy-free if you use coconut oil, and it’s free from refined sugar, making it a solid choice for anyone watching their sugar intake. The only potential allergen here is gluten from the wheat flour, so use a gluten-free blend if needed.
I’m not a nutritionist, but I feel good about feeding this to my family. It’s not a health food in the strict sense—it’s a real food that happens to be good for you. That’s my sweet spot.
Conclusion
This healthy one-bowl pumpkin banana bread is the kind of recipe that earns a permanent spot in your rotation. It’s quick enough for a weekday morning, wholesome enough to feel good about, and delicious enough to fool anyone who thinks “healthy” means “boring.” The fact that it comes together in one bowl with no refined sugar is just the cherry on top.
I love this recipe because it proves you don’t have to choose between flavor and nutrition. You can have a warm slice of something that tastes like comfort and still feel energized afterward. Whether you’re packing lunches, hosting a fall brunch, or just craving something cozy, this bread delivers every time.
Now I want to hear from you. Did you add chocolate chips? Try it with walnuts? Bake it into muffins? Drop a comment below and let me know how it turned out. And if you loved it, share this recipe with a friend who needs a little more pumpkin in their life. Happy baking!
Frequently Asked Questions
Can I use all-purpose flour instead of whole wheat pastry flour?
Absolutely. Swap it 1:1. The texture will be slightly lighter and less hearty, but it still works beautifully. I’ve done it plenty of times when I ran out of whole wheat pastry flour.
How do I know when the bread is done baking?
Insert a toothpick into the center of the loaf. If it comes out clean or with just a few moist crumbs, it’s done. If it’s wet with batter, give it another 5 minutes and check again. The top should also spring back when lightly pressed.
Can I make this recipe without eggs?
Yes. Use two flax eggs as a substitute. Mix 2 tablespoons of ground flaxseed with 6 tablespoons of water, let it sit for 5 minutes until it becomes gel-like, then add it to the wet ingredients. The bread will be slightly denser but still delicious.
How should I store leftovers?
Wrap the cooled loaf tightly in plastic wrap or store it in an airtight container at room temperature for up to 4 days. For longer storage, slice and freeze the bread for up to 3 months. Thaw slices in the toaster or microwave.
Can I add chocolate chips or nuts to this recipe?
Definitely. Fold in up to ½ cup of dark chocolate chips, chopped walnuts, or pecans after combining the wet and dry ingredients. It’s a great way to customize the bread to your taste. I almost always add chocolate chips myself.
Pin This Recipe!
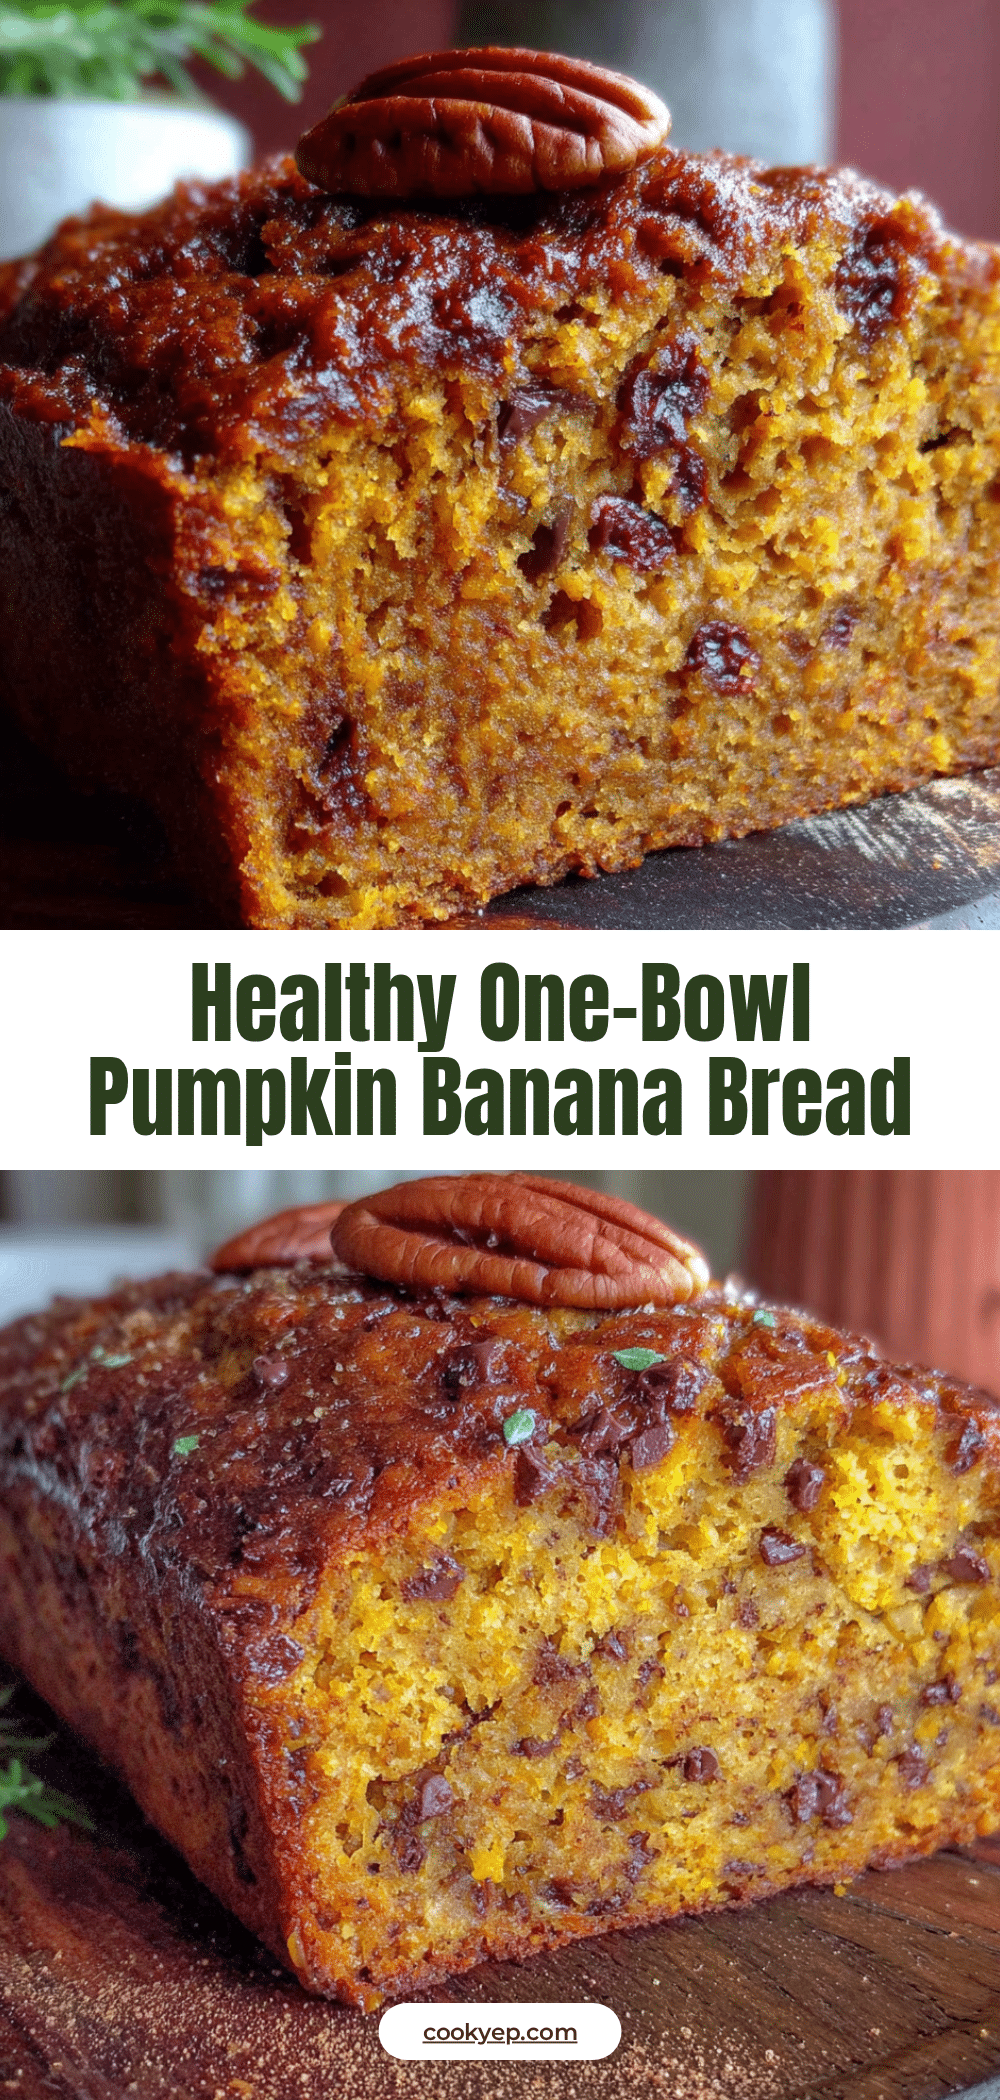
Healthy One-Bowl Pumpkin Banana Bread (No Refined Sugar)
This tender, moist pumpkin banana bread comes together in one bowl with no refined sugar—just ripe bananas and pumpkin for sweetness. It’s a wholesome, kid-approved breakfast or snack that tastes indulgent but is packed with fiber, vitamin A, and potassium.
- Prep Time: 10 minutes
- Cook Time: 55 minutes
- Total Time: 1 hour 5 minutes
- Yield: 10 servings 1x
- Category: Breakfast / Snack / Dessert
- Cuisine: American
Ingredients
- 2 medium ripe bananas, mashed (spotty brown skins ideal)
- 1 cup pumpkin purée (100% pure, not pumpkin pie filling)
- 2 large eggs, room temperature
- 1 teaspoon vanilla extract (pure preferred)
- ¼ cup coconut oil, melted (or melted butter/avocado oil)
- 1 ¾ cups whole wheat pastry flour (or all-purpose flour)
- 1 teaspoon baking soda
- ½ teaspoon baking powder
- ½ teaspoon salt
- 1 ½ teaspoons cinnamon (Ceylon or regular)
- 1 teaspoon pumpkin pie spice (or mix of nutmeg, ginger, cloves)
- Optional mix-ins: ½ cup dark chocolate chips, ½ cup chopped walnuts, or ¼ cup raisins
Instructions
- Preheat oven to 350°F (175°C). Line a 9×5-inch loaf pan with parchment paper, leaving overhang for easy removal.
- In a large mixing bowl, mash the ripe bananas with a fork until mostly smooth with a few small lumps.
- Add pumpkin purée, eggs, vanilla extract, and melted coconut oil to the mashed bananas. Whisk until smooth and uniform.
- Add whole wheat pastry flour, baking soda, baking powder, salt, cinnamon, and pumpkin pie spice directly to the bowl. Fold with a spatula until just combined—do not overmix. A few streaks of flour are okay.
- If using, gently fold in optional mix-ins (chocolate chips, nuts, or raisins).
- Pour batter into the prepared loaf pan and spread evenly with a spatula. Batter will be thick.
- Bake for 50–60 minutes. At 45 minutes, start checking: insert a toothpick into the center—if it comes out clean or with a few moist crumbs, it’s done. If top browns too quickly, tent loosely with aluminum foil for the last 10 minutes.
- Let bread cool in the pan for 10 minutes, then lift out using parchment handles and transfer to a cooling rack. Cool completely before slicing (about 1 hour).
Notes
Don’t overmix the batter—overmixing develops gluten and makes bread dense. Use very ripe bananas (brown spots) for maximum sweetness. Measure flour by spooning into cup and leveling off. Let bread cool completely before slicing to prevent crumbling. Bread tastes even better on day two as flavors meld. For a vegan version, replace eggs with 2 flax eggs (2 tbsp ground flaxseed + 6 tbsp water, let sit 5 minutes). For gluten-free, use a 1:1 gluten-free baking flour blend.
Nutrition
- Serving Size: 1 slice (1/10 of loa
- Calories: 185
- Sugar: 10
- Sodium: 220
- Fat: 7
- Saturated Fat: 5
- Carbohydrates: 29
- Fiber: 4
- Protein: 4
Keywords: pumpkin banana bread, healthy banana bread, no sugar banana bread, one bowl banana bread, whole wheat pumpkin bread, fall breakfast, kid-friendly, dairy-free option


