My mother-in-law’s gravy had a reputation. Every Thanksgiving, someone would whisper, “Did she use the packet again?” And every year, she did. I was raised on scratch gravy—my grandmother would stand over the stove, whisk in hand, turning pan drippings into something that felt like liquid gold. So when I first sat down at that holiday table and saw a pale, lumpy, vaguely brown sauce being passed around, I had to bite my tongue. Honestly, I thought gravy from scratch was one of those things you just did, like remembering to take the turkey out of the oven. It wasn’t until I offered to make the gravy one year—just once, to prove a point—that I realized most people are terrified of it. They think it’s finicky. They think it requires a culinary degree. They think one wrong move and you’re serving soup. That first year, I made my Quick No-Fail Thanksgiving Gravy from Scratch right there in her kitchen, using nothing but the drippings from her roasted turkey, some butter, flour, and broth. She watched me like I was defusing a bomb. When I poured it into the boat—silky, glossy, deeply savory—she actually blinked. “That’s it?” she asked. That’s it. And now she makes it herself every year. No packets. No stress. Just real gravy that takes about ten minutes and tastes like a thousand years of practice.
Why You’ll Love This Recipe
Let me tell you why this Quick No-Fail Thanksgiving Gravy from Scratch is the only recipe you’ll ever need. I’ve tested this method more times than I care to count—through dry turkeys, overstuffed roasting pans, and one memorable year when I forgot to buy broth entirely. It works every single time.
- Fast & Foolproof : From start to finish, this gravy comes together in under 10 minutes. No simmering for hours, no straining, no fancy techniques. Just whisk, bubble, and serve.
- Simple Pantry Ingredients : You only need four basic things—butter, flour, drippings, and broth. Chances are you already have everything except the turkey juices, and those come free with your bird.
- Perfect for Thanksgiving Chaos : When the turkey is resting and the sides are all demanding attention, the last thing you need is a complicated gravy recipe. This one fits right into the busiest part of your cooking timeline.
- Consistently Silky Every Time : No lumps, no greasy separation, no weird gelatinous texture. The secret is in the technique, not the ingredients, and I’ll walk you through every step.
- Deep, Real Turkey Flavor : Because we’re using actual pan drippings—not a packet or a bouillon cube—you get that authentic, savory, roasted taste that makes Thanksgiving feel like Thanksgiving.
This isn’t just another gravy recipe. It’s the one that makes people ask, “Did you do something different this year?” in the best possible way. The one that turns gravy skeptics into believers. And honestly? It’s the one that saved my own sanity more than once when everything else in the kitchen was going sideways.
What Ingredients You Will Need
This Quick No-Fail Thanksgiving Gravy from Scratch uses a short list of everyday ingredients to deliver big, authentic flavor. The magic happens when these simple components work together, and each one plays a specific role.
- Pan Drippings from Roasted Turkey (about ¼ cup fat + ¼ cup browned bits) — This is the heart of your gravy. After your turkey rests, pour everything from the roasting pan into a fat separator or a glass measuring cup. The fatty layer rises to the top, and the flavorful liquid (the “drippings”) settles below. Don’t skip scraping up those browned bits from the pan—that’s pure roasted flavor. If your turkey is lean and doesn’t produce much fat, supplement with additional butter.
- Unsalted Butter (3 tablespoons) — I use unsalted so I can control the salt level myself. Salted butter works in a pinch, just reduce the added salt later. I prefer Kerrygold or any European-style butter for its richness, but store-brand works fine.
- All-Purpose Flour (3 tablespoons) — This is your thickening agent. Regular AP flour is perfect. For a gluten-free option, use a 1:1 gluten-free flour blend or cornstarch (see variations below). Don’t use self-rising flour—it’ll throw off the seasoning.
- Low-Sodium Chicken or Turkey Broth (2 cups) — Low-sodium gives you control. If you only have regular broth, just watch your salt at the end. I like Swanson or Kitchen Basics, but homemade is even better. You can also use the reserved drippings liquid plus enough broth to make 2 cups total.
- Kosher Salt (to taste) — Start with ½ teaspoon and adjust. Different broths have different salt levels, so taste as you go.
- Freshly Ground Black Pepper (½ teaspoon, plus more to taste) — Fresh ground makes a difference here. Pre-ground pepper just doesn’t have the same pop.
- Optional: Fresh Herbs (1 sprig each of thyme and sage) — These add a lovely aromatic note. I toss them in while the gravy simmers and fish them out before serving. Not essential, but nice if you have them on hand from your turkey prep.
Equipment Needed
You don’t need a lot of fancy tools for this Quick No-Fail Thanksgiving Gravy from Scratch, but a few key pieces make the job easier.
- Fat Separator or Glass Measuring Cup — A fat separator is my favorite tool for this job. It lets you pour off the flavorful drippings while leaving the fat behind. If you don’t have one, a regular glass measuring cup works—just spoon off the fat from the top, or use a turkey baster to draw the liquid from below.
- Medium Heavy-Bottomed Saucepan — A 2-quart saucepan is perfect. Heavy-bottomed is important—it distributes heat evenly and prevents scorching. I use my trusty All-Clad, but any sturdy pan works.
- Whisk — A good whisk is non-negotiable. A flat or balloon whisk both work. The key is to whisk constantly while adding the liquid to prevent lumps. A silicone whisk won’t scratch your pan, but metal is fine too.
- Wooden Spoon or Silicone Spatula — For scraping up those browned bits from the roasting pan. A stiff wooden spoon works best, but a heatproof silicone spatula does the job too.
- Fine-Mesh Strainer (optional) — If you want an ultra-smooth gravy, strain it before serving. I usually skip this step unless I’m feeling fancy, but it catches any rogue flour lumps or herb bits.
- Gravy Boat or Serving Pitcher — For serving. A warm gravy boat keeps things nice and toasty at the table.
Budget-friendly tip: If you don’t have a fat separator, just let the drippings sit in a bowl for a few minutes. The fat will rise to the top, and you can spoon it off. It’s not as precise, but it works in a pinch.
Preparation Method
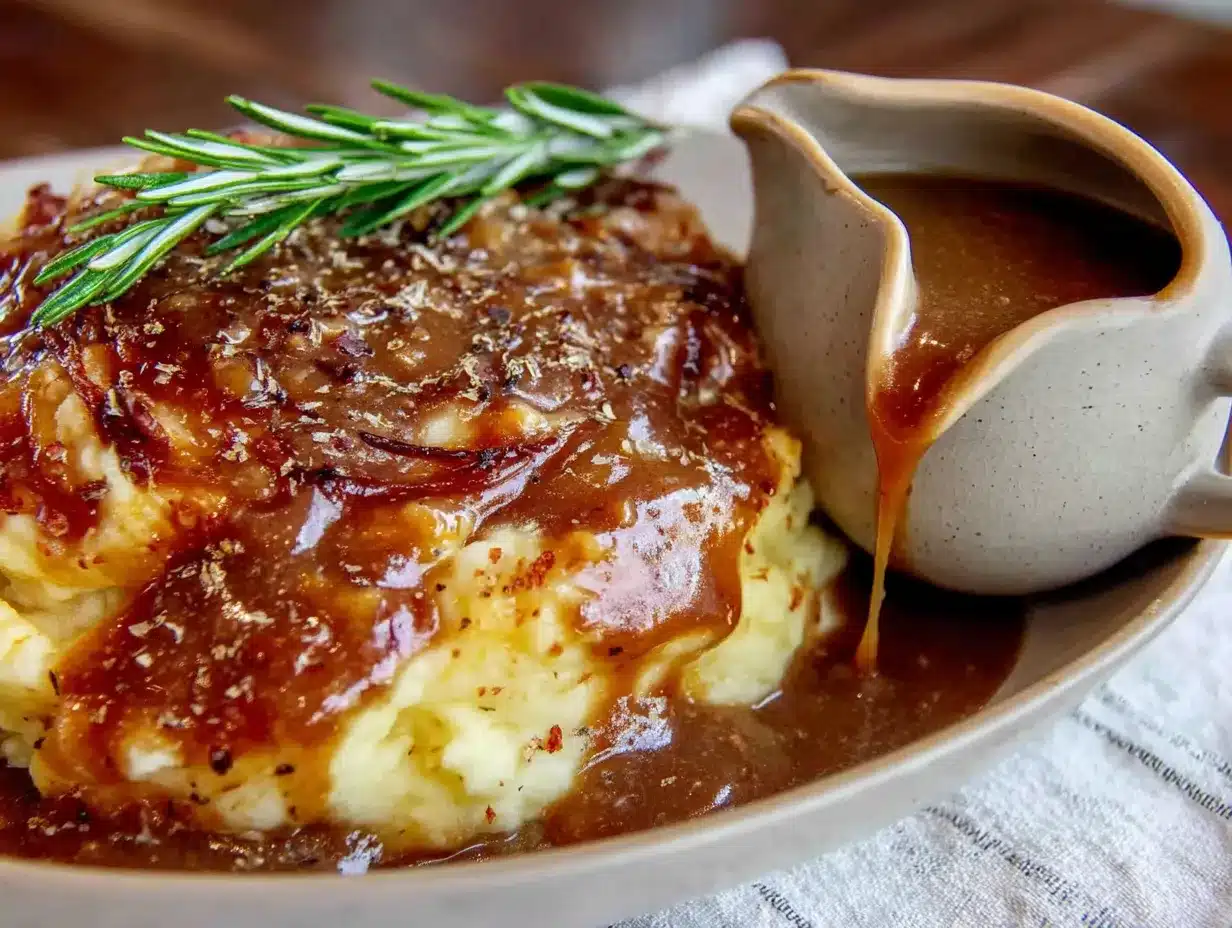
Here’s how to make this Quick No-Fail Thanksgiving Gravy from Scratch step by step. Trust me, if you can whisk, you can do this.
- Rest the Turkey and Collect the Drippings — Once your turkey is done roasting, transfer it to a cutting board to rest. Pour everything from the roasting pan into a fat separator or a glass measuring cup. Let it sit for 2-3 minutes so the fat rises to the top. You should have about ¼ cup of fat and ¼ cup of flavorful liquid (the drippings). If you’re short on fat, supplement with extra butter. If you’re short on drippings, add a splash of broth to make up the difference.
- Scrape the Roasting Pan — While the drippings are settling, take a wooden spoon and scrape up all those browned bits stuck to the bottom of the roasting pan. Those are pure flavor crystals—don’t leave them behind. Add about ¼ cup of broth to the pan and scrape until it’s clean. Pour this liquid into your fat separator or measuring cup with the rest of the drippings.
- Make the Roux — In your medium saucepan over medium heat, melt 3 tablespoons of butter. Once it’s fully melted and bubbly, add 3 tablespoons of flour. Whisk constantly for about 2 minutes. You’re looking for the mixture to turn a light golden color and smell slightly nutty. This step cooks out the raw flour taste. Don’t walk away—it can burn fast.
- Add the Drippings Fat — Now, spoon about 3 tablespoons of the rendered fat from the top of your drippings separator into the roux. Whisk until smooth. This adds that deep turkey flavor right into the base. It should look like a thick paste at this point.
- Pour in the Liquid — Slowly pour in 2 cups of low-sodium broth while whisking constantly. If you have it, use the reserved drippings liquid as part of that 2 cups—just make sure you’ve separated out the fat first. Keep whisking until the mixture is smooth and starts to thicken. This takes about 3-4 minutes. You’ll see it go from thin to a nice, coating consistency.
- Season and Simmer — Add ½ teaspoon of kosher salt and ½ teaspoon of freshly ground black pepper. If you’re using fresh herbs, toss in a sprig of thyme and a sage leaf now. Let the gravy simmer gently for 2-3 minutes, whisking occasionally. Taste it. Adjust the salt and pepper as needed. Remember, the turkey drippings already have some salt, so go easy at first.
- Finish and Serve — Remove the herb sprigs if you used them. If you want an ultra-smooth gravy, pour it through a fine-mesh strainer into your warmed gravy boat. Otherwise, just pour it straight in. Serve immediately while it’s hot and silky.
Pro Tip : If your gravy seems too thick, whisk in a splash of warm broth or water. If it’s too thin, let it simmer another minute or two—it will continue to thicken as it cools slightly. Don’t panic and add more flour; that’s how lumps happen.
Cooking Tips & Techniques
Over the years, I’ve made every mistake in the book with gravy. Here’s what I’ve learned so you don’t have to repeat my failures.
The biggest mistake people make is rushing the roux. I did it myself the first few times. You get impatient, you see the butter melt, and you think, “Good enough.” But that raw flour taste? It’ll haunt your gravy. Give it the full 2 minutes over medium heat, whisking constantly. You want it to smell like toasted nuts, not paste.
Temperature matters more than you think. Your liquid should be warm when you add it to the roux—not boiling, but not cold from the fridge. Cold liquid can shock the roux and cause lumps. I usually microwave my broth for about 30 seconds before pouring. If you’re using the drippings liquid, it should already be warm from the pan.
Whisk like you mean it. Constant, steady whisking is the secret to lump-free gravy. Don’t stir—whisk. Small, quick circles. If you do get a lump or two, don’t stress. Just pour the gravy through a fine-mesh strainer at the end. Nobody will ever know.
Here’s a trick I learned from a chef friend: If your gravy separates or looks greasy, it’s usually because the fat-to-liquid ratio is off. Fix it by whisking in a teaspoon of cold butter at the end, off the heat. The cold fat helps re-emulsify everything. Works like magic.
Timing is everything on Thanksgiving. I make my gravy right after the turkey comes out of the oven, while it’s resting. That way, the gravy is hot and ready when the turkey is carved. If you need to hold it, cover the pot and keep it on the lowest possible heat, whisking every few minutes. Or pour it into a thermos—seriously, it stays hot for over an hour.
Variations & Adaptations
This Quick No-Fail Thanksgiving Gravy from Scratch is incredibly adaptable. Here are some ways to make it your own.
Gluten-Free Version — Swap the all-purpose flour for a 1:1 gluten-free flour blend or use 1½ tablespoons of cornstarch mixed with 2 tablespoons of cold water to make a slurry. Add the slurry at the end, after the gravy has simmered, and cook for another minute until thickened. Cornstarch gives a glossier finish, which some people actually prefer.
Make It Ahead — You can make this gravy up to 3 days in advance. Just skip the pan drippings and use all broth, plus 1 tablespoon of Better Than Bouillon roasted chicken base for depth. Reheat gently on the stove, whisking in a splash of broth to loosen it. If you have drippings on the day, stir them in at the end for fresh flavor.
Herb-Infused Gravy — Add a handful of fresh herbs during the simmering stage. I love a combination of thyme, sage, and a sprig of rosemary. Strain them out before serving. One year I added a cinnamon stick by accident (don’t ask) and it was surprisingly good—just a whisper of warmth.
Mushroom Gravy — Sauté 8 ounces of sliced cremini mushrooms in the butter before adding the flour. Proceed with the recipe as written. This is a fantastic option for vegetarians or for when you don’t have pan drippings. The mushrooms provide their own deep, savory flavor.
Spicy Kick — Add a pinch of cayenne pepper or a splash of hot sauce (I like Cholula) at the end. It doesn’t make the gravy spicy—just gives it a little warmth that wakes up your taste buds. My brother-in-law swears by this version.
Serving & Storage Suggestions
Gravy is best served hot, straight from the stove into a warmed gravy boat. I pop my gravy boat in the microwave for 30 seconds before filling it—keeps everything nice and hot at the table.
This gravy pairs beautifully with all the classic Thanksgiving sides. It’s obviously perfect over turkey, but don’t stop there. Drizzle it over mashed potatoes, soak it into stuffing, or spoon it over a warm biscuit. Leftover gravy is a gift—use it to moisten leftover turkey sandwiches the next day, or stir a spoonful into soup for instant depth.
Storage : Let the gravy cool completely, then transfer it to an airtight container. It will keep in the refrigerator for up to 5 days. The texture might thicken as it sits—that’s normal.
Reheating : Reheat gently on the stovetop over low heat, whisking frequently. Add a splash of broth or water to loosen it to your desired consistency. You can also reheat it in the microwave in 30-second bursts, stirring between each. Don’t boil it—that can break the emulsion and make it greasy.
Freezing : Gravy freezes beautifully for up to 3 months. Pour it into a freezer-safe bag or container, leaving a little room for expansion. Thaw overnight in the refrigerator, then reheat as directed. I often make a double batch and freeze half for quick weeknight dinners.
The flavors actually deepen after a day or two in the fridge. That’s why leftover gravy sometimes tastes even better than the fresh stuff. It’s a happy accident.
Nutritional Information & Benefits
Here’s the honest truth about gravy: it’s not health food, but it doesn’t have to be. A serving of this Quick No-Fail Thanksgiving Gravy from Scratch is about ¼ cup, and it adds richness and satisfaction to your plate without overdoing it.
- Calories : Approximately 80-100 calories per ¼ cup serving
- Fat : 7-8 grams (mostly from butter and turkey fat)
- Carbohydrates : 4-5 grams (from the flour)
- Protein : 1-2 grams (from the broth and drippings)
- Sodium : 250-350 mg (varies based on broth and salt added)
The benefit here is control. When you make gravy from scratch, you decide exactly what goes in. No preservatives, no artificial flavors, no mysterious thickeners. You’re getting real butter, real flour, and real turkey flavor. The butter provides a small amount of vitamin A, and if you use a quality broth, you’ll get some minerals too.
If you’re watching your sodium, use low-sodium broth and go light on the added salt. The turkey drippings bring plenty of natural savoriness. For a lower-fat option, you can reduce the butter to 2 tablespoons and use a bit more flour, though the texture won’t be quite as luxurious.
Honestly, Thanksgiving is one day a year. A serving of real, homemade gravy is worth every calorie. Just don’t drink it by the cupful—though I won’t judge if you do.
Conclusion
This Quick No-Fail Thanksgiving Gravy from Scratch has become my go-to for every holiday meal, and I’m pretty sure it’ll become yours too. It’s the kind of recipe that proves you don’t need a packet or a box to make something genuinely delicious. Just four ingredients, a whisk, and about ten minutes of your time.
What I love most about this gravy is how forgiving it is. If you mess up—and I have, multiple times—there’s almost always a fix. Too thick? Add broth. Too thin? Let it simmer. Lumpy? Strain it. It wants to work for you.
I’d love to hear how yours turns out. Did you add herbs? Make it gluten-free? Drizzle it over something unexpected? Drop a comment below and let me know. And if you’re looking for more holiday recipes that take the stress out of cooking, check out my Cranberry Orange Glazed Turkey Breast or my Brown Sugar Bourbon Sweet Potato Casserole for a complete feast.
Now go make some gravy. You’ve got this.
Frequently Asked Questions
Can I make this gravy without pan drippings?
Absolutely. If you don’t have drippings, use 3 tablespoons of butter for the roux and 2 cups of good-quality broth. Add 1 teaspoon of Better Than Bouillon roasted chicken base for extra depth. It won’t taste exactly the same, but it will still be delicious.
Why is my gravy lumpy?
Lumps usually happen when you add cold liquid to the roux, or when you don’t whisk fast enough. Next time, warm your broth slightly before adding it, and whisk constantly. If you already have lumps, pour the gravy through a fine-mesh strainer—it’ll fix it right up.
Can I use cornstarch instead of flour?
Yes. Use 1½ tablespoons of cornstarch mixed with 2 tablespoons of cold water to make a slurry. Add it at the end of cooking, after the gravy has simmered. Cornstarch gives a glossier finish and works well for gluten-free gravy.
How do I fix gravy that’s too salty?
Add a splash of unsalted broth or water to dilute it. You can also add a teaspoon of lemon juice or a pinch of sugar to balance the saltiness. If it’s really over-salted, make a second batch without salt and mix them together.
Can I double this recipe?
Absolutely. Double all the ingredients and use a larger saucepan. The cooking time stays the same—just make sure you whisk thoroughly to incorporate everything. Leftover gravy freezes beautifully, so I always make extra.
Pin This Recipe!
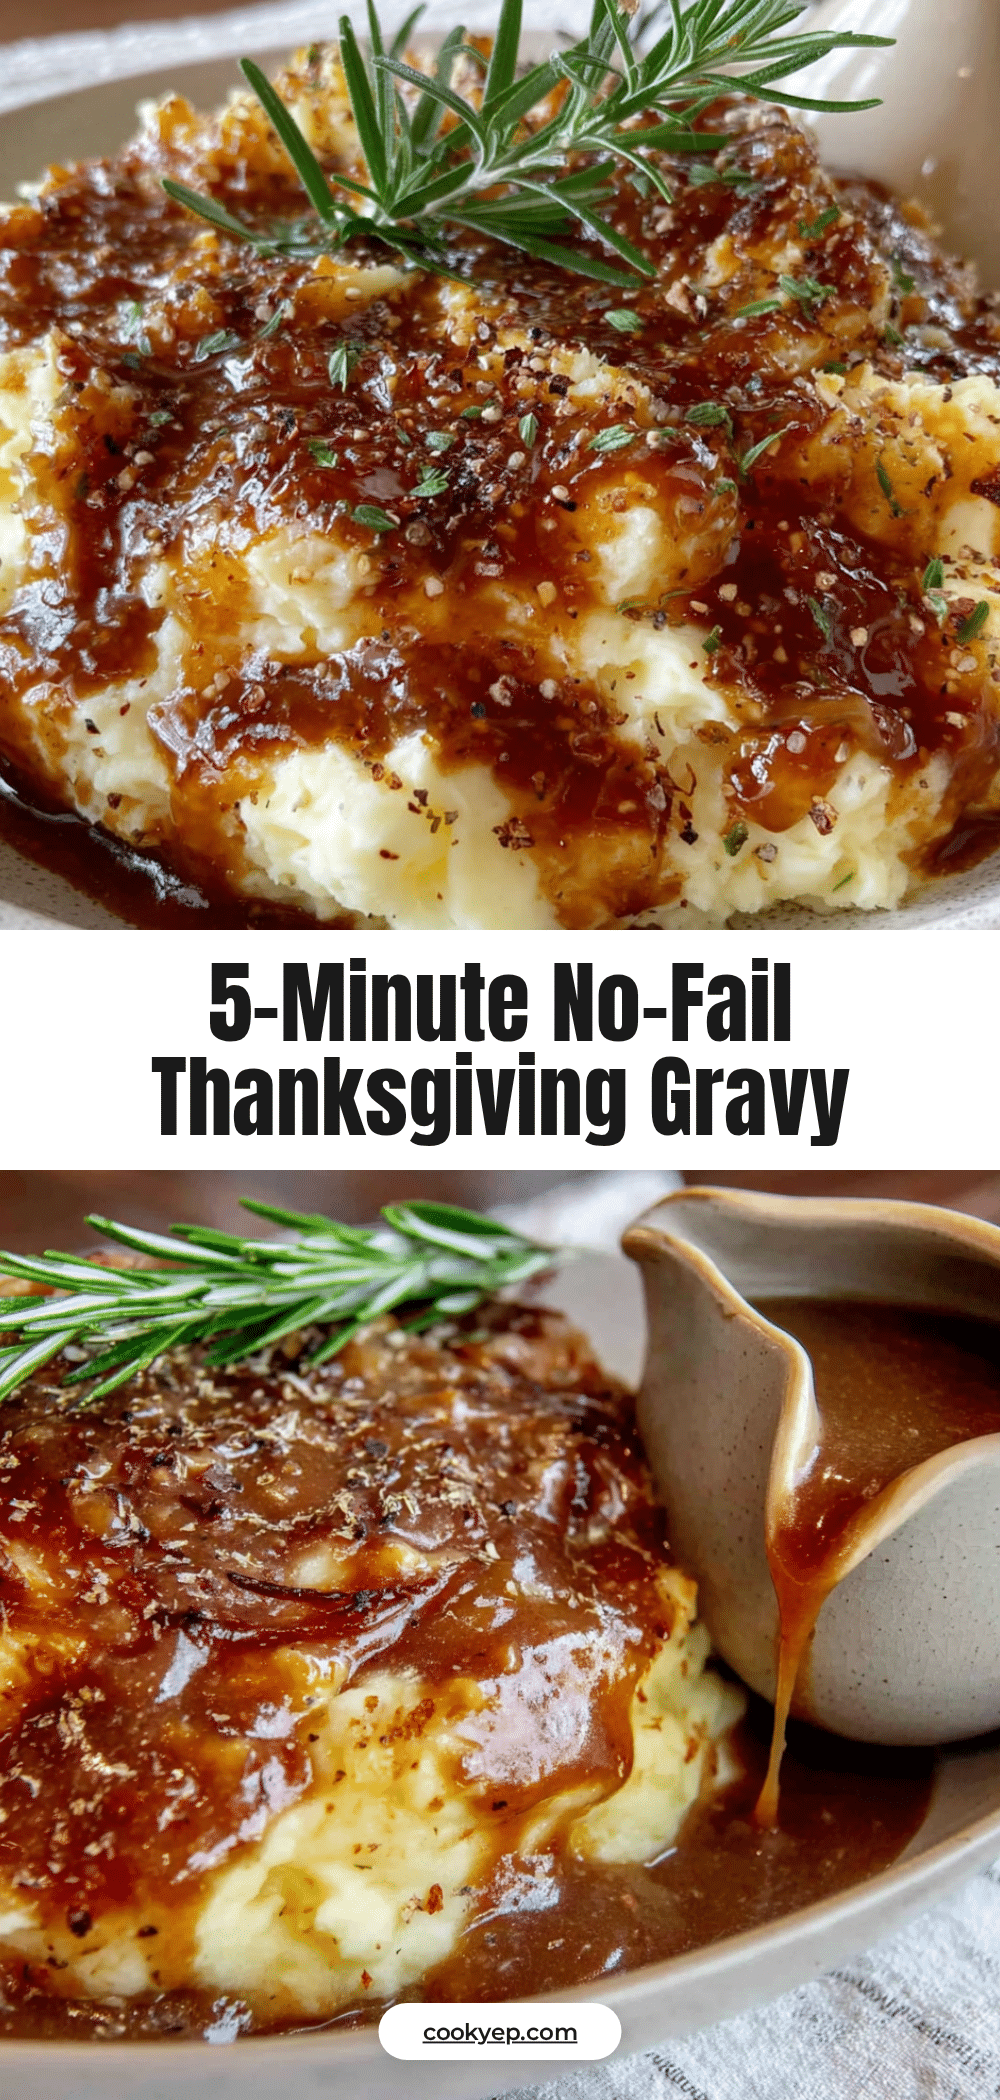
Quick No-Fail Thanksgiving Gravy from Scratch – Easy Homemade Recipe
This quick and foolproof gravy is made from scratch using pan drippings, butter, flour, and broth. It comes together in under 10 minutes and delivers silky, deeply savory results every time.
- Prep Time: 5 minutes
- Cook Time: 10 minutes
- Total Time: 15 minutes
- Yield: 8 servings 1x
- Category: Sauce
- Cuisine: American
Ingredients
- Pan drippings from roasted turkey (about ¼ cup fat + ¼ cup browned bits)
- 3 tablespoons unsalted butter
- 3 tablespoons all-purpose flour
- 2 cups low-sodium chicken or turkey broth
- ½ teaspoon kosher salt (plus more to taste)
- ½ teaspoon freshly ground black pepper (plus more to taste)
- Optional: 1 sprig each fresh thyme and sage
Instructions
- Rest the turkey and collect the drippings: Pour everything from the roasting pan into a fat separator or glass measuring cup. Let sit 2-3 minutes so the fat rises. You should have about ¼ cup fat and ¼ cup flavorful liquid.
- Scrape the roasting pan: Use a wooden spoon to scrape up browned bits from the pan. Add about ¼ cup broth and scrape until clean. Pour this liquid into the fat separator or measuring cup.
- Make the roux: In a medium saucepan over medium heat, melt 3 tablespoons butter. Add 3 tablespoons flour and whisk constantly for about 2 minutes until light golden and nutty-smelling.
- Add the drippings fat: Spoon about 3 tablespoons of the rendered fat from the top of the drippings into the roux. Whisk until smooth; it should look like a thick paste.
- Pour in the liquid: Slowly pour in 2 cups low-sodium broth while whisking constantly. Use the reserved drippings liquid as part of the 2 cups if desired. Keep whisking until smooth and thickened, about 3-4 minutes.
- Season and simmer: Add ½ teaspoon kosher salt and ½ teaspoon black pepper. If using fresh herbs, add them now. Let simmer gently for 2-3 minutes, whisking occasionally. Taste and adjust seasoning.
- Finish and serve: Remove herb sprigs if used. For ultra-smooth gravy, strain through a fine-mesh strainer into a warmed gravy boat. Serve immediately.
Notes
If gravy is too thick, whisk in a splash of warm broth or water. If too thin, let it simmer another minute or two. For a gluten-free version, use 1½ tablespoons cornstarch mixed with 2 tablespoons cold water as a slurry. Gravy can be made up to 3 days ahead and reheated gently.
Nutrition
- Serving Size: ¼ cup
- Calories: 90
- Sodium: 300
- Fat: 7.5
- Saturated Fat: 4
- Carbohydrates: 4.5
- Protein: 1.5
Keywords: Thanksgiving gravy, homemade gravy, turkey gravy, quick gravy, no-fail gravy, easy gravy recipe


