I was standing in the checkout line at the hardware store—of all places—when the woman behind me started talking about fruit. Not just any fruit, mind you. She was telling the cashier about this pumpkin-shaped fruit tray she’d made for her daughter’s preschool Halloween party, and honestly, I was eavesdropping so hard I almost forgot to pay for my lightbulbs. She described it like it was no big deal, like everyone just casually arranges clementines and grapes into a jack-o’-lantern face on a Tuesday. But the way she talked about how the kids went absolutely silent when they saw it—that got me. I mean, any parent knows that getting a room full of preschoolers to stop talking is basically a magic trick.
So I did what any reasonable person would do: I asked her to explain the whole thing right there between the paint samples and the garden hoses. She laughed, pulled a crumpled receipt out of her purse, and drew me a little diagram on the back. I’m not kidding—I still have that receipt somewhere in my recipe binder. It’s smudged and faded, but it reminds me that the best ideas show up when you least expect them. Maybe you’ve been there, standing in some random spot when a stranger hands you a piece of kitchen wisdom you didn’t know you needed.
That was three autumns ago, and this Kid-Approved Pumpkin Patch Fruit Tray with Honey Yogurt Dip has become our family’s go-to for every fall gathering since. It’s the kind of thing that makes you feel like a Pinterest superstar without actually having to try that hard. The kids gobble it up, the grown-ups hover around it pretending they’re just grazing, and the cleanup is embarrassingly easy. Honestly, it’s become one of those recipes that I just keep coming back to because it works every single time.
Why You’ll Love This Recipe
Let’s be real—getting kids to eat fruit can feel like negotiating a peace treaty sometimes. But this tray? It’s basically a bribe disguised as a craft project, and I’m not sorry about it. Here’s why this one’s a winner for busy families on a budget:
- Quick & Easy: You can put this together in under 20 minutes. Seriously. No baking, no fancy techniques, no standing over a hot stove. Just slicing and arranging.
- Simple Ingredients: Everything you need is probably already in your fridge or within a quick trip to the grocery store. No weird specialty items that cost a fortune and then sit in your pantry for a year.
- Perfect for Fall Gatherings: Halloween parties, Thanksgiving appetizers, classroom celebrations, or just a Tuesday afternoon snack that feels special. It’s versatile like that.
- Crowd-Pleaser: I’ve served this to kids as young as two and adults well into their sixties, and everyone digs in. The honey yogurt dip is the secret weapon—it makes fruit feel like dessert.
- Unbelievably Delicious: The combination of creamy, slightly sweet dip with fresh, juicy fruit is just next-level. It’s the kind of snack where you catch yourself going back for “just one more piece” four times.
What makes this different from every other fruit tray out there is the presentation. I mean, sure, you could just throw some apple slices on a plate and call it a day. But turning it into a pumpkin patch? That’s what gets kids excited. It taps into that Halloween magic without loading them up on sugar. Plus, the honey yogurt dip is so simple you’ll wonder why you ever bought the store-bought stuff. It’s creamy, tangy, and just sweet enough to make fruit taste like a treat.
This recipe isn’t just good—it’s the kind that makes you close your eyes after the first bite of a honey-dipped apple slice. It’s comfort food for the snack table, healthier than the candy bowl, but with the same festive spirit. Perfect for impressing other parents at the school party without spending your whole grocery budget.
What Ingredients You Will Need
This recipe uses simple, wholesome ingredients to deliver that fun pumpkin patch look and creamy dip without any fuss. Most of these are pantry staples or easy fall finds.
For the Fruit Pumpkin Patch Tray
- Clementines or mandarin oranges (about 6-8, peeled and separated into segments) — these form the pumpkin body and are easy for little hands to grab
- Green grapes (1 cup) — these become the pumpkin stems and vines when arranged creatively
- Apple slices (2 medium apples, preferably green or red, sliced thin) — for the pumpkin face or extra crunch
- Pear slices (1-2 pears, sliced) — adds a soft sweetness that balances the citrus
- Baby carrots (a handful) — cut into small sticks to look like pumpkin stems or fence posts
- Celery sticks (2-3 stalks, cut into 3-inch pieces) — for building the patch fence or adding green accents
- Pumpkin-shaped cookie cutter (optional but fun) — for cutting apple or cheese slices into pumpkin shapes
- Large round platter or cutting board — at least 12 inches wide to hold the design
For the Honey Yogurt Dip
- Plain Greek yogurt (1 cup) — I prefer full-fat for creaminess, but 2% works fine too. Stonyfield or Fage are my go-to brands for thickness.
- Honey (2-3 tablespoons, adjust to taste) — local honey adds a lovely floral note if you can find it
- Vanilla extract (1/2 teaspoon) — pure vanilla, not imitation, for that warm flavor
- Cinnamon (1/4 teaspoon) — just a pinch to bring that autumn vibe
- Lemon juice (1 teaspoon) — keeps the dip fresh and brightens the flavor
Ingredient Tips: For the clementines, look for ones that are firm and easy to peel—loose-skinned ones are best. If you can’t find clementines, small tangerines or halved mandarin orange cups (drained) work in a pinch. For the yogurt dip, don’t use nonfat Greek yogurt unless you’re really watching calories; it tends to be too thin and tart. I’ve tried it with dairy-free coconut yogurt too, and it’s delicious if you’re avoiding dairy—just add a little extra honey to balance the tang.
Substitution Guidance: No honey? Use maple syrup or agave nectar instead. Out of cinnamon? Pumpkin pie spice or a pinch of nutmeg works beautifully. Want to make it nut-free? This recipe is naturally nut-free as written, just double-check your yogurt brand if allergies are a concern.
Equipment Needed
You don’t need much for this one, which is part of the beauty. Here’s what you’ll want handy:
- Large round platter or wooden cutting board (12-14 inches wide) — the bigger the better for creating your pumpkin patch scene. I use a cheap wooden board from IKEA and it works perfectly.
- Sharp knife and cutting board — for slicing apples, pears, and celery. A paring knife helps with detail work.
- Small bowl (about 1 cup capacity) — for the honey yogurt dip. A ramekin or small mason jar works too.
- Pumpkin-shaped cookie cutter (optional) — if you want to get fancy with apple or cheese shapes. I found mine at a dollar store for two bucks.
- Measuring spoons — for the dip ingredients. Eyeballing it works too, honestly.
- Whisk or small fork — for mixing the dip until smooth.
- Paper towels — for drying fruit after washing. Wet fruit makes the platter slippery and sad.
Budget-Friendly Tip: Don’t have a pumpkin cookie cutter? Just use a small knife to cut apple slices into rough pumpkin shapes, or skip it entirely. The clementine pumpkins are the real stars anyway.
Preparation Method
Alright, let’s build this pumpkin patch! It’s easier than it looks, I promise. Take your time with the arrangement—it’s the fun part.
- Wash and dry all your fruit and veggies. This is non-negotiable. Run the clementines, grapes, apples, pears, carrots, and celery under cool water, then pat them completely dry with paper towels. Wet fruit slides around on the platter and makes your design fall apart. I learned this the hard way during a particularly sad-looking first attempt.
- Make the honey yogurt dip. In your small bowl, combine 1 cup plain Greek yogurt, 2 tablespoons honey, 1/2 teaspoon vanilla extract, 1/4 teaspoon cinnamon, and 1 teaspoon lemon juice. Whisk until smooth and creamy. Taste it—if you want it sweeter, add another tablespoon of honey. Set it aside in the fridge while you prep the fruit. This gives the flavors time to meld.
- Peel and separate the clementines. Gently peel each clementine and break it into individual segments. Try to keep the segments whole and intact—they’ll form the pumpkin bodies. If some break, no worries, just eat them as a snack (cook’s privilege).
- Slice the apples and pears. Core the apples and pears, then slice them into thin wedges, about 1/4-inch thick. If you’re using the pumpkin cookie cutter, press it into the apple slices to make pumpkin shapes. Toss the slices with a little lemon juice to prevent browning if you’re making this ahead. For the pear slices, they’re softer, so handle them gently.
- Prepare the veggies. Cut the baby carrots in half lengthwise so they look like small sticks. Slice the celery into 3-inch pieces, then cut each piece into thin strips lengthwise. These will become the fence and vines of your pumpkin patch.
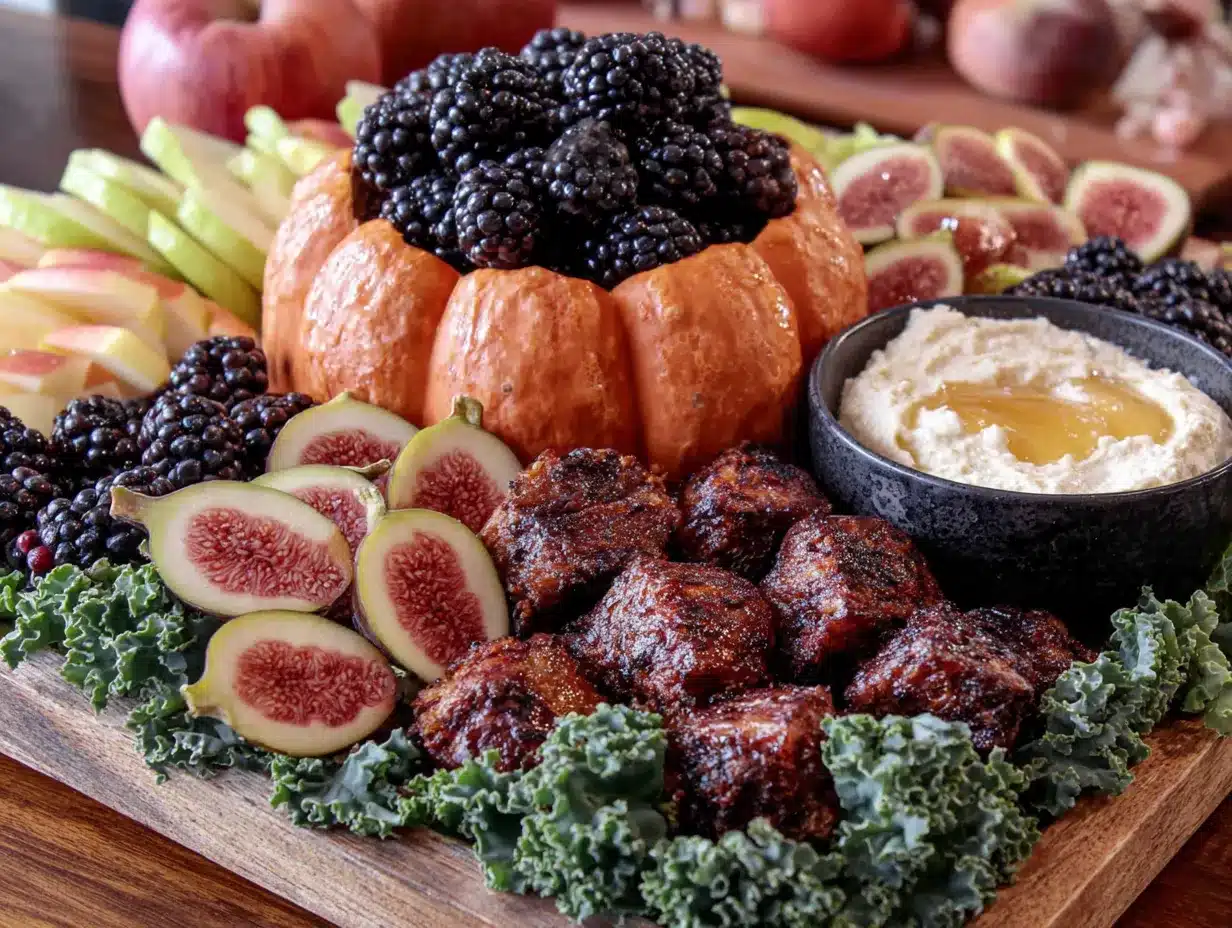
- Assemble the pumpkin patch on the platter. This is where the magic happens. Start by arranging the clementine segments in small clusters around the platter to look like pumpkins. Use 4-5 segments per cluster, slightly overlapping, to form a round pumpkin shape. Place a small piece of green grape or a tiny carrot stick on top of each cluster to look like a stem. Space these clusters out so it looks like a real patch.
- Add the fence and vines. Use the celery sticks to create a border around the edge of the platter, like a little fence. Arrange the carrot sticks between the pumpkin clusters to look like fence posts or garden rows. Scatter the green grapes around to look like little pumpkin vines or leaves.
- Fill in with apple and pear slices. Arrange the apple and pear slices around the pumpkins, tucking them in to fill empty spaces. If you made pumpkin-shaped apple slices, place them prominently. The idea is to make the whole platter look like a mini pumpkin patch scene.
- Place the dip bowl. Set the small bowl of honey yogurt dip in the center of the platter or off to one side, depending on your design. You can surround it with a ring of clementine pumpkins for a cute effect.
- Final touches. Step back and look at your creation. Add more grapes or apple slices to any bare spots. The platter should look abundant and colorful. If you have fresh mint leaves, tuck a few in for extra green accents (makes it look extra fancy).
Time-Saving Tip: You can prep all the fruit and veggies up to a day ahead and store them in separate airtight containers in the fridge. Just assemble the platter right before serving for the freshest look.
Cooking Tips & Techniques
I’ve made this tray more times than I can count, and I’ve definitely learned a few things the hard way. Here are my best tips so you don’t repeat my mistakes.
Keep the fruit dry. I cannot stress this enough. If your fruit is even slightly damp, the clementine segments will slide right off each other and your pumpkins will look more like fruit pile-ups. Pat everything dry with paper towels before you start arranging. It takes an extra minute but saves so much frustration.
Use a dark platter if you have one. The contrast makes the orange clementines and green grapes pop. I use a dark slate board I found at a thrift store, and it makes the whole thing look way more impressive than it actually is. A white platter works too, but dark surfaces give it that autumn harvest vibe.
Don’t overthink the design. The first time I made this, I tried to make each pumpkin cluster perfectly round and symmetrical. It took forever and honestly looked worse than the messy ones. Kids don’t care about perfect symmetry—they care about grabbing fruit and dipping it in yogurt. Just cluster the clementines loosely and call it a day.
Make the dip ahead. The honey yogurt dip actually gets better after sitting in the fridge for a few hours. The flavors meld together and the cinnamon becomes more pronounced. I usually make it the night before and give it a quick stir before serving.
Watch out for browning. Apples and pears brown fast once sliced. Toss them in a little lemon juice (about 1 tablespoon per apple) to keep them looking fresh. If you’re serving this at a party, slice the apples last and arrange them right before the guests arrive.
Let the kids help. Honestly, this is the best tip. My kids love arranging the clementine pumpkins and placing the grape vines. It keeps them busy for 15 minutes and they’re way more likely to eat the fruit if they helped build it. Just supervise the knife work, obviously.
Variations & Adaptations
This recipe is super flexible, which is great for picky eaters or different dietary needs. Here are some ways to switch it up.
Seasonal Fruit Swap: In the fall, clementines and pears are perfect. But in summer, swap in sliced peaches, plums, or melon balls. The pumpkin shape works with any round fruit—just use what’s fresh and affordable. I’ve even done a watermelon version in July that was a huge hit at a barbecue.
Dairy-Free Dip: Use a thick coconut yogurt or cashew-based yogurt instead of Greek yogurt. Just make sure it’s unsweetened so you can control the sweetness with honey. I’ve tried this with So Delicious coconut yogurt and it was creamy and delicious. Add an extra tablespoon of honey to balance the coconut flavor.
Nut-Free Option: This recipe is naturally nut-free as written, which is great for school parties. Just double-check your yogurt brand if allergies are a concern. Some Greek yogurts are processed in facilities that also handle nuts.
Savory Twist: For a less sweet version, swap the honey yogurt dip for a cream cheese-based dip. Mix 8 ounces of softened cream cheese with 1/4 cup of plain Greek yogurt and a pinch of salt. It sounds weird with fruit, but the tanginess is actually amazing with apples and pears.
Halloween-Themed Additions: Add some “spooky” elements like blackberry spiders (place a few blackberries together with pretzel stick legs) or ghost-shaped cheese slices. My kids went nuts when I added little raisin “bugs” crawling on the pumpkin vines.
Personal Variation I Tried: Last year, I added a small bowl of chocolate hummus alongside the yogurt dip. It was a total game-changer. The kids called it “dirt dip” and ate twice as much fruit. Just a thought if you want to get really wild.
Serving & Storage Suggestions
This tray is best served fresh, but there are ways to make it work for your schedule.
Serving Temperature: Serve the fruit tray at room temperature for the best flavor—cold fruit loses some of its sweetness. Take it out of the fridge about 15 minutes before serving. The dip should be cold, though, so keep that in the fridge until the last minute.
Presentation Ideas: Arrange the dip bowl in the center of the platter with the pumpkin clusters radiating outward like sun rays. Or place the dip bowl off to one side and create a mini pumpkin patch scene on the rest of the platter. I like to add a few fresh mint leaves or edible flowers for that extra Pinterest-worthy touch.
Complementary Dishes: This tray pairs beautifully with other fall snacks like roasted pumpkin seeds, apple cider, or a cheese board with sharp cheddar. For a full party spread, serve it alongside mini pumpkin muffins or caramel apples.
Storage Instructions: If you have leftovers (honestly, rare in my house), store the fruit in an airtight container in the fridge for up to 2 days. The dip keeps for 3-4 days in a sealed container. Don’t store the dip with the fruit, or everything gets soggy.
Reheating Tips: You don’t really reheat a fruit tray, but if the dip has been in the fridge, just give it a good stir before serving. If it seems too thick, add a splash of milk or water to loosen it up.
Flavor Development: The dip actually tastes better the next day as the honey and cinnamon meld together. The fruit, however, is best eaten fresh. So if you’re prepping ahead, make the dip a day in advance and slice the fruit the morning of your event.
Nutritional Information & Benefits
This snack is packed with good stuff, which makes me feel way better about my kids eating their weight in clementines.
Estimated Nutritional Values (per serving, about 1 cup fruit with 2 tablespoons dip):
- Calories: 180
- Protein: 8g
- Carbohydrates: 32g
- Fiber: 4g
- Sugar: 24g (natural from fruit and honey)
- Fat: 3g
- Calcium: 100mg
- Vitamin C: 60% DV
Health Benefits: Clementines are loaded with vitamin C, which supports the immune system—perfect for cold and flu season. Greek yogurt provides protein and probiotics for gut health. The honey has antibacterial properties, and the cinnamon helps regulate blood sugar. Plus, the fiber from the apples and pears keeps everyone full longer.
Dietary Considerations: This recipe is naturally gluten-free, nut-free (check yogurt labels), and vegetarian. To make it vegan, use maple syrup instead of honey and a plant-based yogurt. It’s also low in added sugar compared to most Halloween treats—the sweetness comes mostly from fruit.
Potential Allergens: Dairy (from Greek yogurt). If you’re serving this at a school party, label the dip clearly so parents of kids with dairy allergies know to stick with just the fruit.
Personal Wellness Perspective: I love that this snack lets my kids feel like they’re getting a treat while actually eating something nutritious. It’s a win-win in my book, especially during Halloween season when the candy is everywhere.
Conclusion
This Kid-Approved Pumpkin Patch Fruit Tray with Honey Yogurt Dip is one of those recipes that just works. It’s fun, it’s festive, and it actually gets kids excited about eating fruit. I mean, how often does that happen? The best part is that it doesn’t require any special skills or expensive ingredients—just a little creativity and a willingness to arrange some clementines into a cute pattern.
I’d love for you to try this and make it your own. Maybe you’ll add different fruits, or swap the dip for something else, or let your kids go wild with the arrangement. That’s the beauty of it—there’s no wrong way to build a pumpkin patch. If you make it, tag me or leave a comment below. I genuinely love hearing how these recipes turn out in other people’s kitchens.
Thanks for reading, and happy snacking! Here’s to more fruit and less fuss at your next fall gathering.
Frequently Asked Questions
Can I make this fruit tray the night before?
You can prep all the fruit and store it in separate airtight containers in the fridge overnight. But I recommend assembling the tray no more than 2-3 hours before serving for the freshest look. The apples and pears might brown if left out too long, even with lemon juice.
What can I use instead of Greek yogurt for the dip?
Any thick yogurt works—try plain regular yogurt, skyr, or a dairy-free option like coconut or cashew yogurt. For a completely different twist, use softened cream cheese mixed with a little milk and honey. It’s richer but delicious.
How do I keep the clementine pumpkins from falling apart?
Make sure the clementine segments are completely dry before arranging them. If they’re wet, they’ll slide right off each other. You can also use a tiny dab of honey on the bottom of each segment to help them stick to the platter—just a little goes a long way.
Is this recipe safe for school parties with allergy restrictions?
As written, this recipe is nut-free and gluten-free. However, always check the labels on your Greek yogurt and honey to ensure they’re processed in nut-free facilities if that’s a concern. The fruit itself is naturally allergen-friendly, so kids with allergies can usually enjoy it safely.
Can I use frozen fruit for this tray?
I wouldn’t recommend it for the main display because frozen fruit gets mushy and releases water as it thaws, making the platter soggy. Stick with fresh fruit for the best look and texture. You can use frozen fruit in smoothies or oatmeal with the leftover dip, though!
Pin This Recipe!
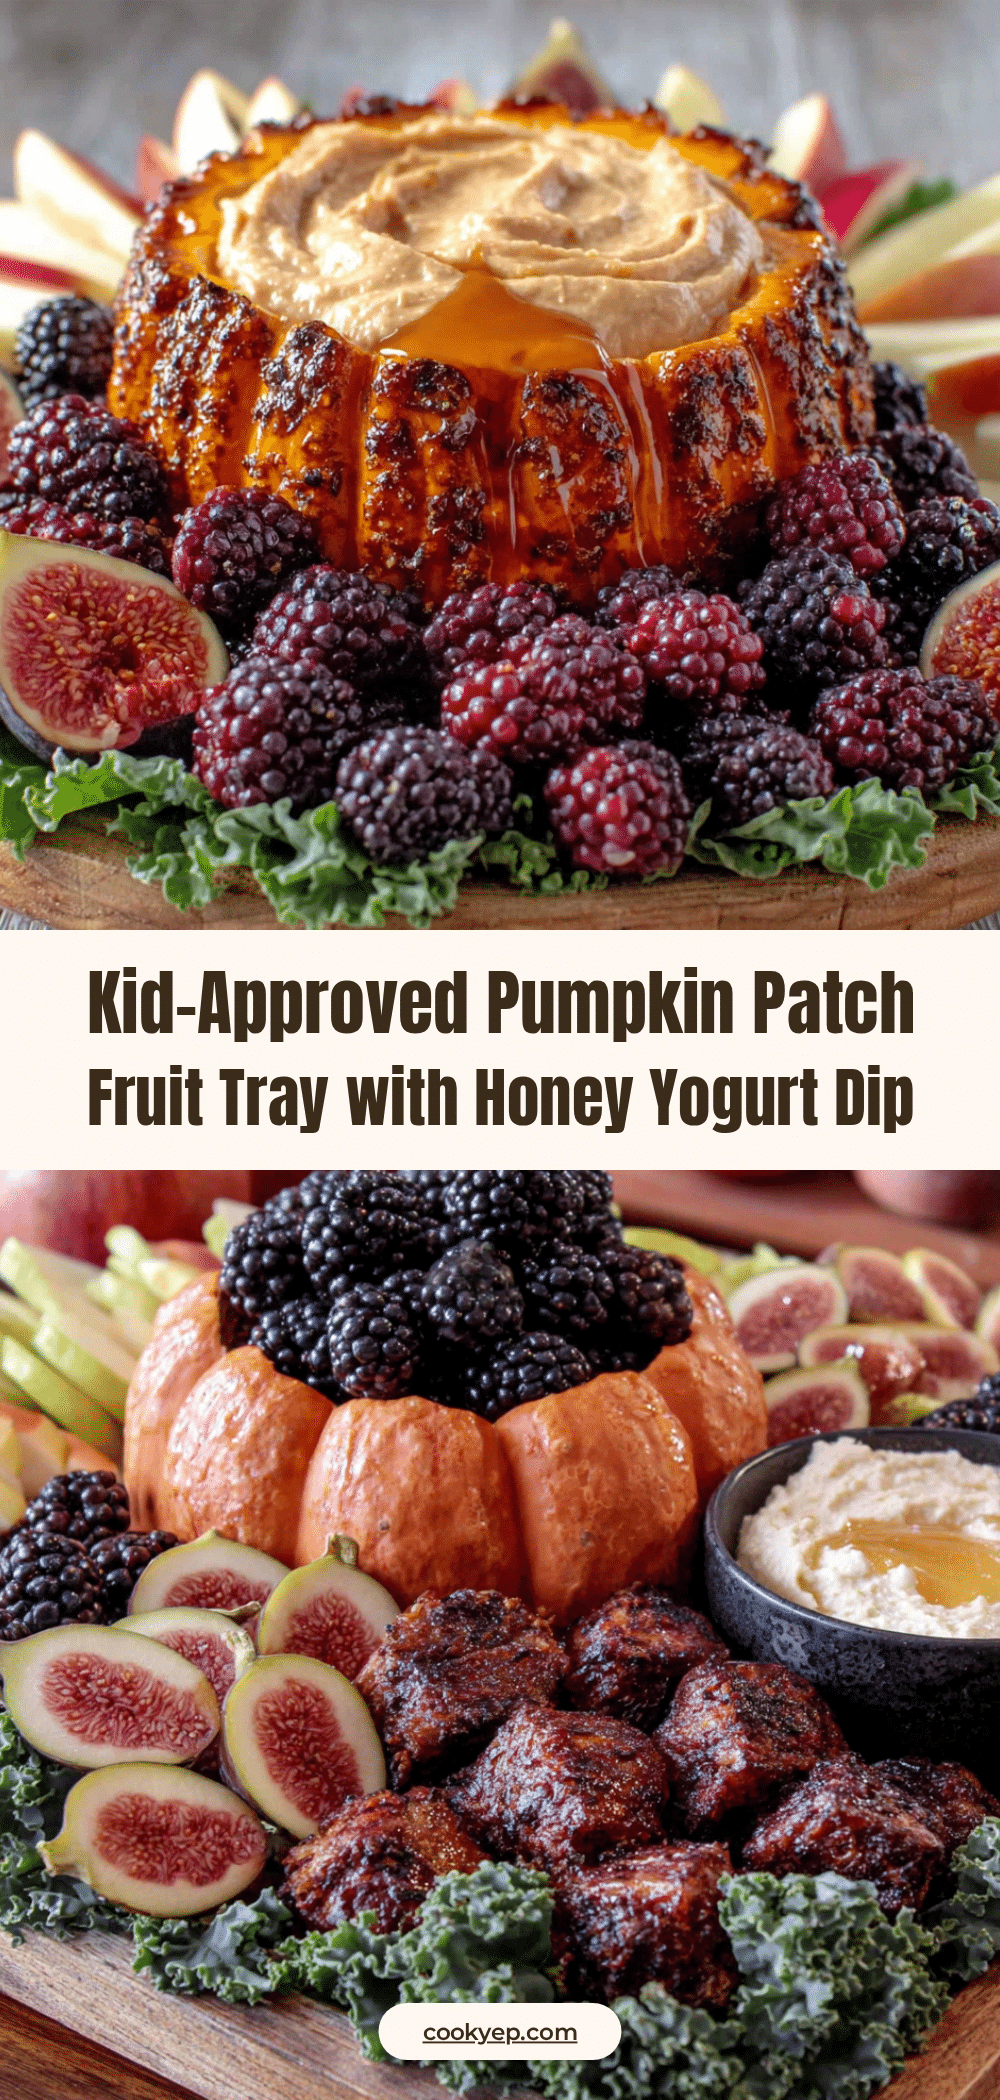
Kid-Approved Pumpkin Patch Fruit Tray with Easy Honey Yogurt Dip
A fun and festive fruit tray shaped like a pumpkin patch, served with a creamy honey yogurt dip. Perfect for fall gatherings, Halloween parties, or a healthy snack that kids love.
- Prep Time: 20 minutes
- Cook Time: 0 minutes
- Total Time: 20 minutes
- Yield: 8 servings 1x
- Category: Appetizer
- Cuisine: American
Ingredients
- 6–8 clementines or mandarin oranges, peeled and separated into segments
- 1 cup green grapes
- 2 medium apples (green or red), sliced thin
- 1–2 pears, sliced
- A handful of baby carrots, cut into small sticks
- 2–3 celery stalks, cut into 3-inch pieces
- Pumpkin-shaped cookie cutter (optional)
- 1 cup plain Greek yogurt (full-fat or 2%)
- 2–3 tablespoons honey
- 1/2 teaspoon vanilla extract
- 1/4 teaspoon cinnamon
- 1 teaspoon lemon juice
Instructions
- Wash and dry all fruit and vegetables thoroughly.
- In a small bowl, combine Greek yogurt, honey, vanilla extract, cinnamon, and lemon juice. Whisk until smooth. Refrigerate until ready to serve.
- Peel clementines and separate into segments.
- Core and slice apples and pears into thin wedges. Optionally, use a pumpkin-shaped cookie cutter to cut apple slices.
- Cut baby carrots in half lengthwise. Slice celery into 3-inch pieces, then cut into thin strips.
- On a large round platter, arrange clementine segments in small clusters to resemble pumpkins. Place a small piece of green grape or carrot stick on top of each cluster as a stem.
- Use celery sticks to create a border around the platter like a fence. Arrange carrot sticks between pumpkin clusters.
- Scatter green grapes around to look like vines or leaves.
- Fill empty spaces with apple and pear slices.
- Place the bowl of honey yogurt dip in the center or off to one side. Add fresh mint leaves for garnish if desired.
Notes
Keep fruit dry to prevent sliding. Use a dark platter for contrast. Dip can be made a day ahead. Toss apple and pear slices in lemon juice to prevent browning. Let kids help arrange for fun.
Nutrition
- Serving Size: 1 cup fruit with 2 t
- Calories: 180
- Sugar: 24
- Sodium: 50
- Fat: 3
- Saturated Fat: 1
- Carbohydrates: 32
- Fiber: 4
- Protein: 8
Keywords: pumpkin patch fruit tray, honey yogurt dip, Halloween fruit platter, kid-friendly snack, fall fruit tray