My brother-in-law Mark had refused to participate in holiday baking for fifteen years. Fifteen years. He’d sit at the kitchen table with his coffee, watching the rest of us elbow-deep in flour, making snide comments about “wasting perfectly good butter on things that look like mistakes.” Then last November, I caught him. I’d turned my back for thirty seconds to answer the phone, and when I came back, there he was—licking raw sugar cookie dough off his finger like a guilty five-year-old. He froze when he saw me. “The dog was doing it,” he mumbled. We don’t have a dog.
That’s the thing about these quick turkey hand sugar cookies for kids. They snag you when you’re not looking. I’d made them for my niece’s kindergarten class, thinking they’d be a cute little project to kill an afternoon. I wasn’t prepared for how they’d completely wreck the “I don’t bake” crowd. Mark ended up tracing his own hand on the parchment paper, grumbling the whole time, then eating three of them before dinner. Honestly, maybe you’ve been there—someone in your life who claims to hate this kind of fussy holiday stuff, only to catch them sneaking a bite when they think nobody’s watching.
These cookies aren’t fancy. They’re not going to win any awards at a county fair, and that’s exactly the point. They’re messy, they’re imperfect, and every single one looks different because it’s literally made from your kid’s actual handprint. There’s something about that—the lopsided fingers, the thumb that never quite looks right—that makes them better than anything you could pipe with a pastry bag. I keep making them because they’re the kind of recipe that stops being about the food and starts being about the moment. The flour on the floor. The way my niece held her hand perfectly still while I traced it. The look on Mark’s face when he realized he’d been proven wrong.
Why You’ll Love This Recipe
Let me tell you why these cookies have earned a permanent spot in my Thanksgiving rotation. I’ve tested this recipe about seven times now—three times with my own kids, twice with a neighbor’s very skeptical toddler, and twice more just to make sure the dough held up after a full day in the fridge. It passed every test.
- Quick & Easy : From start to finish, you’re looking at about 25 minutes of active time. The dough comes together in one bowl, no electric mixer required. Perfect for those after-school afternoons when someone suddenly announces they need 24 turkey cookies for tomorrow’s class party.
- Simple Ingredients : Butter, sugar, flour, egg, vanilla, baking powder, salt. That’s it. No cream of tartar, no corn syrup, no specialty extracts you’ll use once and forget about. You probably have all of this in your kitchen right now.
- Perfect for Thanksgiving Prep : These are great for keeping little hands busy while you’re wrestling with the turkey or making the stuffing. They also work beautifully for classroom parties, playdates, or just a rainy Tuesday in November.
- Crowd-Pleaser : I’ve served these to kids, grandparents, and my brother-in-law, who is genuinely the toughest food critic I know. They disappear every single time. The sugar cookie base is soft but sturdy, and the decorations make people smile before they even take a bite.
- Unbelievably Delicious : Here’s the thing—these aren’t just cute. They actually taste good. The dough has that perfect balance of buttery richness and vanilla sweetness, with just enough structure to hold the handprint shape without getting tough.
What makes this recipe different from the dozens of other handprint cookie recipes out there? I spent a lot of time figuring out the right dough consistency. Too sticky, and the handprint disappears. Too dry, and the edges crack when you try to trace them. This version uses a specific ratio of butter to flour that gives you a dough that’s easy to work with but holds its shape perfectly during baking. It’s not just another version—it’s the one that actually works on the first try.
These cookies are the kind that make you close your eyes after the first bite. They’re comfort food reimagined for the holiday season—faster, simpler, but with the same soul-soothing satisfaction as your grandma’s sugar cookies. Perfect for impressing a classroom full of kids without any stress, or turning a regular November afternoon into something you’ll actually remember.
What Ingredients You Will Need
This recipe uses simple, pantry-friendly ingredients to deliver soft, buttery cookies that hold their shape and taste amazing. Most of these are things you probably already have on hand, which is exactly how weeknight baking should work.
- 1 cup (226g) unsalted butter, softened to room temperature (I use Land O’Lakes for consistent results, but any good-quality butter works fine. Make sure it’s truly soft—if you poke it with your finger, it should leave a dent without resistance.)
- 1 cup (200g) granulated sugar (Regular white sugar works best here. Don’t substitute brown sugar—it changes the texture and makes the cookies spread too much during baking.)
- 1 large egg, at room temperature (Cold egg will make your dough seize up. If you forgot to take it out of the fridge, place it in a bowl of warm water for 5 minutes.)
- 2 teaspoons vanilla extract (Pure vanilla extract gives the best flavor, but imitation vanilla works in a pinch. I’ve used both and honestly, the kids can’t tell the difference once the cookies are decorated.)
- 2 ½ cups (312g) all-purpose flour, plus more for dusting (Gold Medal or King Arthur Flour are my go-to brands. Don’t scoop directly with the measuring cup—spoon the flour in and level it off to avoid packing.)
- 1 teaspoon baking powder (Make sure it’s fresh. Test it by dropping a little in hot water—if it fizzes, you’re good.)
- ½ teaspoon salt (Fine sea salt or table salt. This balances the sweetness and helps the cookies hold their shape.)
- For decorating: 1 cup (120g) powdered sugar, 2-3 tablespoons milk, food coloring (orange, red, yellow, brown), candy corn, chocolate chips, sprinkles, or whatever you have on hand
I recommend using a kitchen scale for the flour if you have one. It makes a real difference in the texture—too much flour and your cookies will be dry and crumbly. If you’re measuring by volume, fluff the flour with a fork first, then spoon it into the measuring cup and level it with a knife. Don’t tap the cup or pack it down.
For the decorating, you can go as simple or as elaborate as you want. Last year, I used candy corn for the feathers and chocolate chips for the eyes, and they turned out adorable. My sister-in-law used red hots for the wattle and pretzel sticks for the feathers, and honestly, those were even cuter. Use what you have. That’s the whole point.
Equipment Needed
You don’t need much for these cookies, which is part of why I love them. Here’s what you’ll need:
- Large mixing bowl (Any bowl works. I use a glass Pyrex bowl because I can see if the butter is fully incorporated.)
- Wooden spoon or sturdy spatula (You won’t need an electric mixer for this dough. A good wooden spoon does the job just fine and means less cleanup.)
- Parchment paper (This is non-negotiable. The cookies won’t stick, and cleanup is a breeze. I buy the pre-cut sheets for convenience.)
- Baking sheets (One standard half-sheet pan works, but two makes the process faster since you can prep one while the other bakes.)
- Sharp knife or pizza cutter (For cutting out the handprint shapes. A pizza cutter actually works better than a knife because it doesn’t drag the dough.)
- Cooling rack (Essential for letting the cookies cool completely before decorating. If you don’t have one, a clean brown paper bag works in a pinch.)
- Small bowls for icing (Ramekins or even clean yogurt containers work fine for dividing up the colored icing.)
- Pastry brush or small spoon (For applying the icing. I actually prefer a small spoon because it gives you more control and means one less thing to wash.)
If you don’t have a rolling pin, a clean wine bottle works surprisingly well. Just make sure it’s completely dry on the outside. I learned that one the hard way.
Preparation Method
Let me walk you through this step by step. I’ve made these cookies enough times to know exactly where things can go wrong, so I’ll warn you at each stage.
Step 1: Make the dough. In your large mixing bowl, beat the softened butter and granulated sugar together until light and fluffy. This takes about 2-3 minutes with a wooden spoon. Don’t rush this part—properly creamed butter and sugar is what gives the cookies their tender texture. Add the egg and vanilla extract, and mix until everything is well combined. The mixture might look a little separated at this point, but that’s normal.
Step 2: Add the dry ingredients. In a separate small bowl, whisk together the flour, baking powder, and salt. Gradually add this to the wet mixture, stirring until a soft dough forms. The dough should be slightly sticky but not wet. If it’s too sticky to handle, add another tablespoon of flour. If it seems dry and crumbly, add a teaspoon of milk. I’ve had to adjust both ways depending on the humidity, so trust your hands more than the recipe.
Step 3: Chill the dough. This is the most important step, and I cannot stress this enough. Wrap the dough in plastic wrap and refrigerate for at least 30 minutes. I know you’re in a hurry, but skipping this step will ruin your cookies. Chilled dough holds its shape when baked. Warm dough spreads into a puddle. Trust me, I’ve made that mistake exactly once.
Step 4: Preheat and prepare. Preheat your oven to 350°F (175°C). Line your baking sheets with parchment paper. While the oven is heating, lightly flour your work surface and rolling pin.
Step 5: Roll and trace. Roll the chilled dough out to about ¼-inch thickness. Here’s where the fun begins. Have your child place their hand flat on the dough—fingers spread slightly. Use a sharp knife or pizza cutter to trace around their hand, cutting about ½ inch away from their actual fingers. You want the cookie to be slightly larger than their handprint so it doesn’t look like a sad, shriveled hand after baking. Carefully transfer the cut-out handprints to the prepared baking sheets, leaving about 2 inches between each cookie.
Step 6: Bake. Bake for 8-10 minutes, or until the edges are just barely golden. The centers should still look slightly pale and soft. They’ll continue to set as they cool. Let the cookies cool on the baking sheet for 5 minutes, then transfer to a cooling rack to cool completely. Don’t try to move them while they’re still warm—they’re fragile and will break.
Step 7: Make the icing. While the cookies cool, whisk together the powdered sugar and milk until smooth. The icing should be thick but spreadable—think the consistency of school glue. Divide the icing into small bowls and add food coloring. I usually make orange for the feathers, red for the wattle, and leave some white for the eyes.
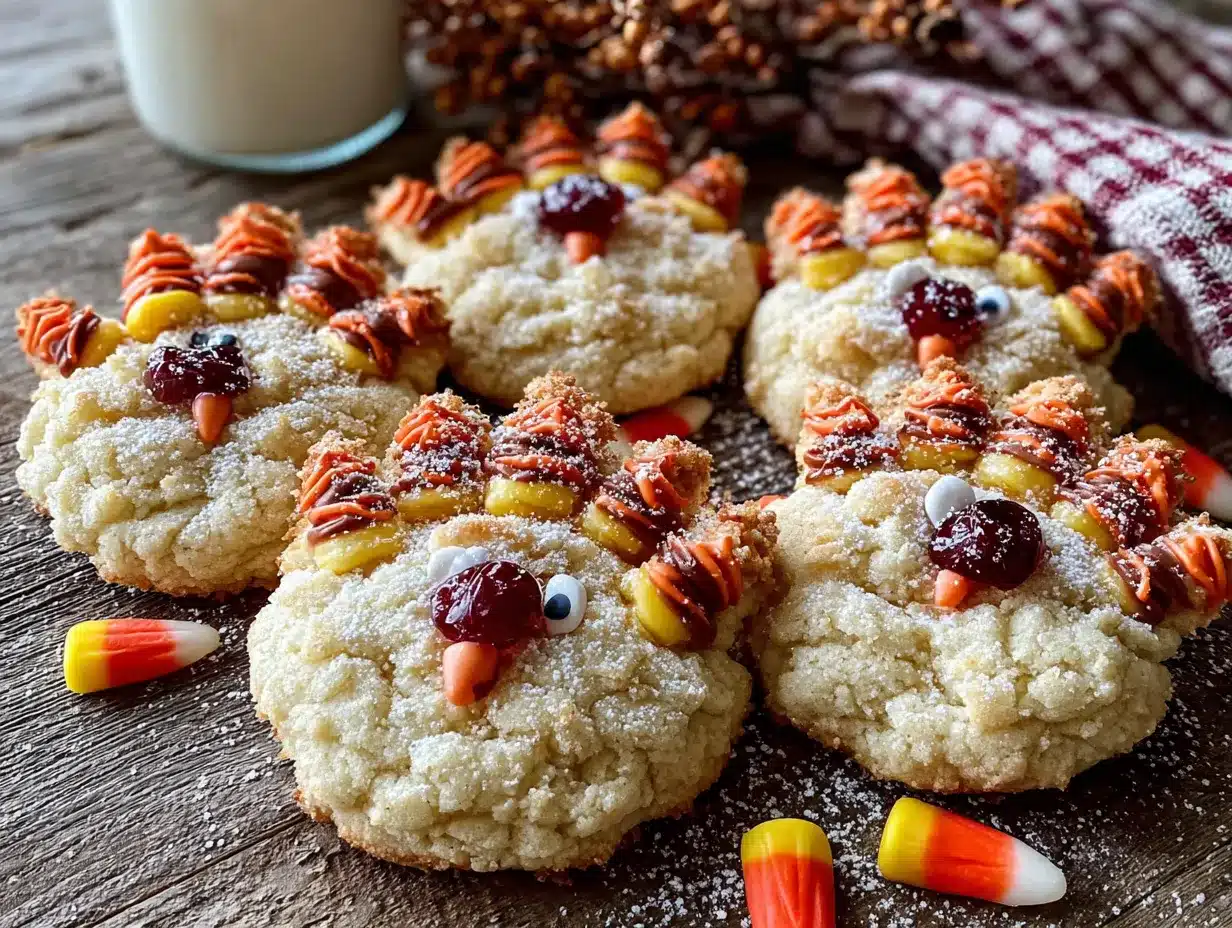
Step 8: Decorate. Once the cookies are completely cool, it’s decorating time. Spread a thin layer of orange icing on the fingers to make the feathers. Use red icing for the wattle (that’s the red dangly bit under the turkey’s beak). Add candy corn for the beak, chocolate chips for the eyes, and any other decorations you like. Let the icing set for about 15 minutes before serving.
Cooking Tips & Techniques
I’ve learned a few things the hard way over the years, so let me save you some trouble.
Don’t skip the chilling step. I know I said this already, but I mean it. The first time I made these, I was in a rush and thought, “How bad could it be?” Bad. Very bad. The cookies spread into weird, blobby shapes that looked nothing like hands. My niece cried. It was a whole thing. Chill the dough for at least 30 minutes, and if you have time, an hour is even better.
Use a light hand with the flour. When you’re rolling out the dough, use just enough flour to keep it from sticking. Too much flour makes the cookies tough. I dust my work surface lightly, roll a few times, then dust again if needed. You want the dough to move freely without sliding around on a bed of excess flour.
Bake one sheet at a time. I know it’s tempting to cram both sheets in the oven to save time, but it creates uneven baking. The cookies on the bottom rack will brown faster, and the ones on top might not cook through. Bake one sheet at a time in the center of the oven. It adds about 10 minutes to the total time, but the results are worth it.
Let kids go wild with decorations. This is not the time for perfectionism. The cookies will look messy. Some will have too many sprinkles. Some will look like the turkey got in a fight. That’s the whole charm. My best advice is to set out the decorations, step back, and let them create. You’ll end up with cookies that are infinitely more special than anything you could have designed yourself.
Make the dough ahead of time. This dough keeps beautifully in the fridge for up to 3 days. You can also freeze it for up to 3 months. Just wrap it tightly in plastic wrap and then foil. When you’re ready to bake, let it sit at room temperature for about 15 minutes until it’s soft enough to roll. This is a lifesaver for busy Thanksgiving week.
Variations & Adaptations
One of the best things about this recipe is how flexible it is. Here are some variations I’ve tried and loved:
Gluten-Free Version: Substitute the all-purpose flour with a 1:1 gluten-free baking flour blend. I’ve had good results with Bob’s Red Mill Gluten-Free 1-to-1 Baking Flour. The dough will be a little more delicate, so handle it gently and chill it for a full hour before rolling.
Vegan Adaptation: Use vegan butter (I like Earth Balance) and replace the egg with a flax egg (1 tablespoon ground flaxseed mixed with 3 tablespoons water, let sit for 5 minutes). The cookies won’t be quite as tender, but they’re still delicious and hold their shape well.
Different Holiday Shapes: This basic sugar cookie dough works for any holiday. For Christmas, use a star-shaped cookie cutter and decorate with red and green icing. For Easter, make egg shapes. For Halloween, use a ghost or pumpkin cutter. The handprint shape is just the beginning.
Flavor Variations: Add 1 teaspoon of almond extract along with the vanilla for a different flavor profile. Or add 1 tablespoon of lemon zest for a bright, citrusy twist. I made a batch with orange zest last year, and they were incredible with the chocolate chip eyes.
No-Icing Option: If you’re short on time or patience, skip the icing entirely. Bake the cookies plain, then let kids decorate with candy corn, chocolate chips, and sprinkles pressed directly into the warm cookies. They’ll stick as the cookies cool. This is my go-to for school parties when I’m running late.
Serving & Storage Suggestions
These cookies are best served at room temperature, which makes them perfect for parties and gatherings. Arrange them on a platter with the handprints facing up so everyone can see the details. They make a fantastic centerpiece for a Thanksgiving dessert table—kids love finding their own handprint among the cookies.
For storage, place the decorated cookies in a single layer in an airtight container. Separate layers with parchment paper if you need to stack them. They’ll stay fresh at room temperature for up to 5 days. Don’t refrigerate them—the cold air dries them out and makes the icing crack.
You can also freeze the undecorated cookies for up to 3 months. Bake and cool them completely, then place them in a freezer-safe container with parchment paper between layers. When you’re ready to serve, thaw them at room temperature for about an hour, then decorate. The icing won’t hold up well to freezing, so always add that after thawing.
The flavors actually improve after a day or two. The cookies soften slightly, and the icing sets into a nice, firm layer. I’ve found that cookies made on Tuesday are somehow even better by Thursday. If you can resist eating them all immediately, that is.
Nutritional Information & Benefits
Let’s be real—these are sugar cookies with icing and candy decorations. They’re a treat, not a health food. But here’s the breakdown if you’re curious:
Per cookie (based on 12 cookies from this recipe): approximately 280 calories, 12g fat, 40g carbohydrates, 3g protein, 20g sugar. These numbers will vary based on your decorations and exact ingredient brands.
On the positive side, these cookies use real butter and vanilla, so you’re getting actual food ingredients rather than preservatives and artificial flavors. The butter provides a small amount of vitamin A, and the flour contributes some iron and B vitamins. If you use dark chocolate chips for the eyes instead of milk chocolate, you’ll get a tiny antioxidant boost.
For dietary considerations: This recipe contains dairy (butter, milk), gluten (flour), and eggs. It’s not suitable for vegan, dairy-free, or gluten-free diets without the modifications mentioned in the variations section. The candy decorations may contain soy or other allergens, so check labels if you’re serving kids with food allergies.
My personal take? These cookies are about joy, not nutrition. They’re a once-a-year tradition that brings people together. One cookie isn’t going to derail anyone’s healthy eating habits. Make them, enjoy them, and don’t overthink it.
Conclusion
These quick turkey hand sugar cookies for kids are exactly what holiday baking should be—simple, fun, and full of memories. They don’t require fancy equipment or advanced baking skills. They don’t demand hours of your time. What they do give you is a genuine moment with your kids, a kitchen full of laughter, and cookies that actually taste good.
I love that every single cookie is different. I love that my niece’s handprint from when she was four is now frozen in my freezer, preserved in sugar cookie form. I love that my brother-in-law, who swore he hated baking, now asks me every November if I’m making “those hand cookies again.”
So here’s my challenge to you: Make these cookies with your kids this Thanksgiving. Don’t worry about making them perfect. Let the icing be messy. Let the candy corn be crooked. Take a picture before anyone eats them, because I promise you, they won’t last long. And when someone asks you for the recipe—and they will—send them my way. I’d love to hear how yours turned out.
Drop a comment below and tell me about your favorite holiday baking memory. Or share a photo of your turkey hand cookies. I can’t wait to see what you create!
Frequently Asked Questions
Can I use margarine instead of butter?
You can, but I don’t recommend it. Margarine has a higher water content than butter, which makes the cookies spread more during baking. Your handprints might lose their shape. If you absolutely need a dairy-free option, use a high-quality vegan butter stick instead of tub margarine.
How do I get a clean handprint shape?
The key is chilling the dough thoroughly and using a sharp knife or pizza cutter. Trace about ½ inch outside your child’s actual hand. Don’t press too hard when tracing—you want to cut through the dough, not smash it. If the dough starts getting soft and sticky while you’re cutting, pop the baking sheet in the fridge for 10 minutes to firm up.
Can I make these cookies ahead of time for a party?
Absolutely. You have two options: make the dough up to 3 days ahead and refrigerate it, or bake the cookies up to 5 days ahead and store them undecorated. I usually bake them 2 days before the party, then decorate them the morning of. The icing stays fresh and the cookies are perfectly soft.
My cookies spread and lost their shape. What went wrong?
This usually happens for one of three reasons: the dough wasn’t chilled long enough, the butter was too soft when you mixed it, or you used too much sugar. Make sure your butter is softened but not melted, chill the dough for at least 30 minutes, and measure your ingredients accurately. If your kitchen is warm, chill the cut-out cookies on the baking sheet for 10 minutes before baking.
Can I use a different type of icing?
Yes! Royal icing works beautifully and gives a more polished look, but it takes longer to set. A simple glaze like the one in this recipe is faster and more forgiving for kids. You can also skip the icing entirely and use melted candy melts or frosting from a can. Whatever you have on hand will work just fine.
Pin This Recipe!
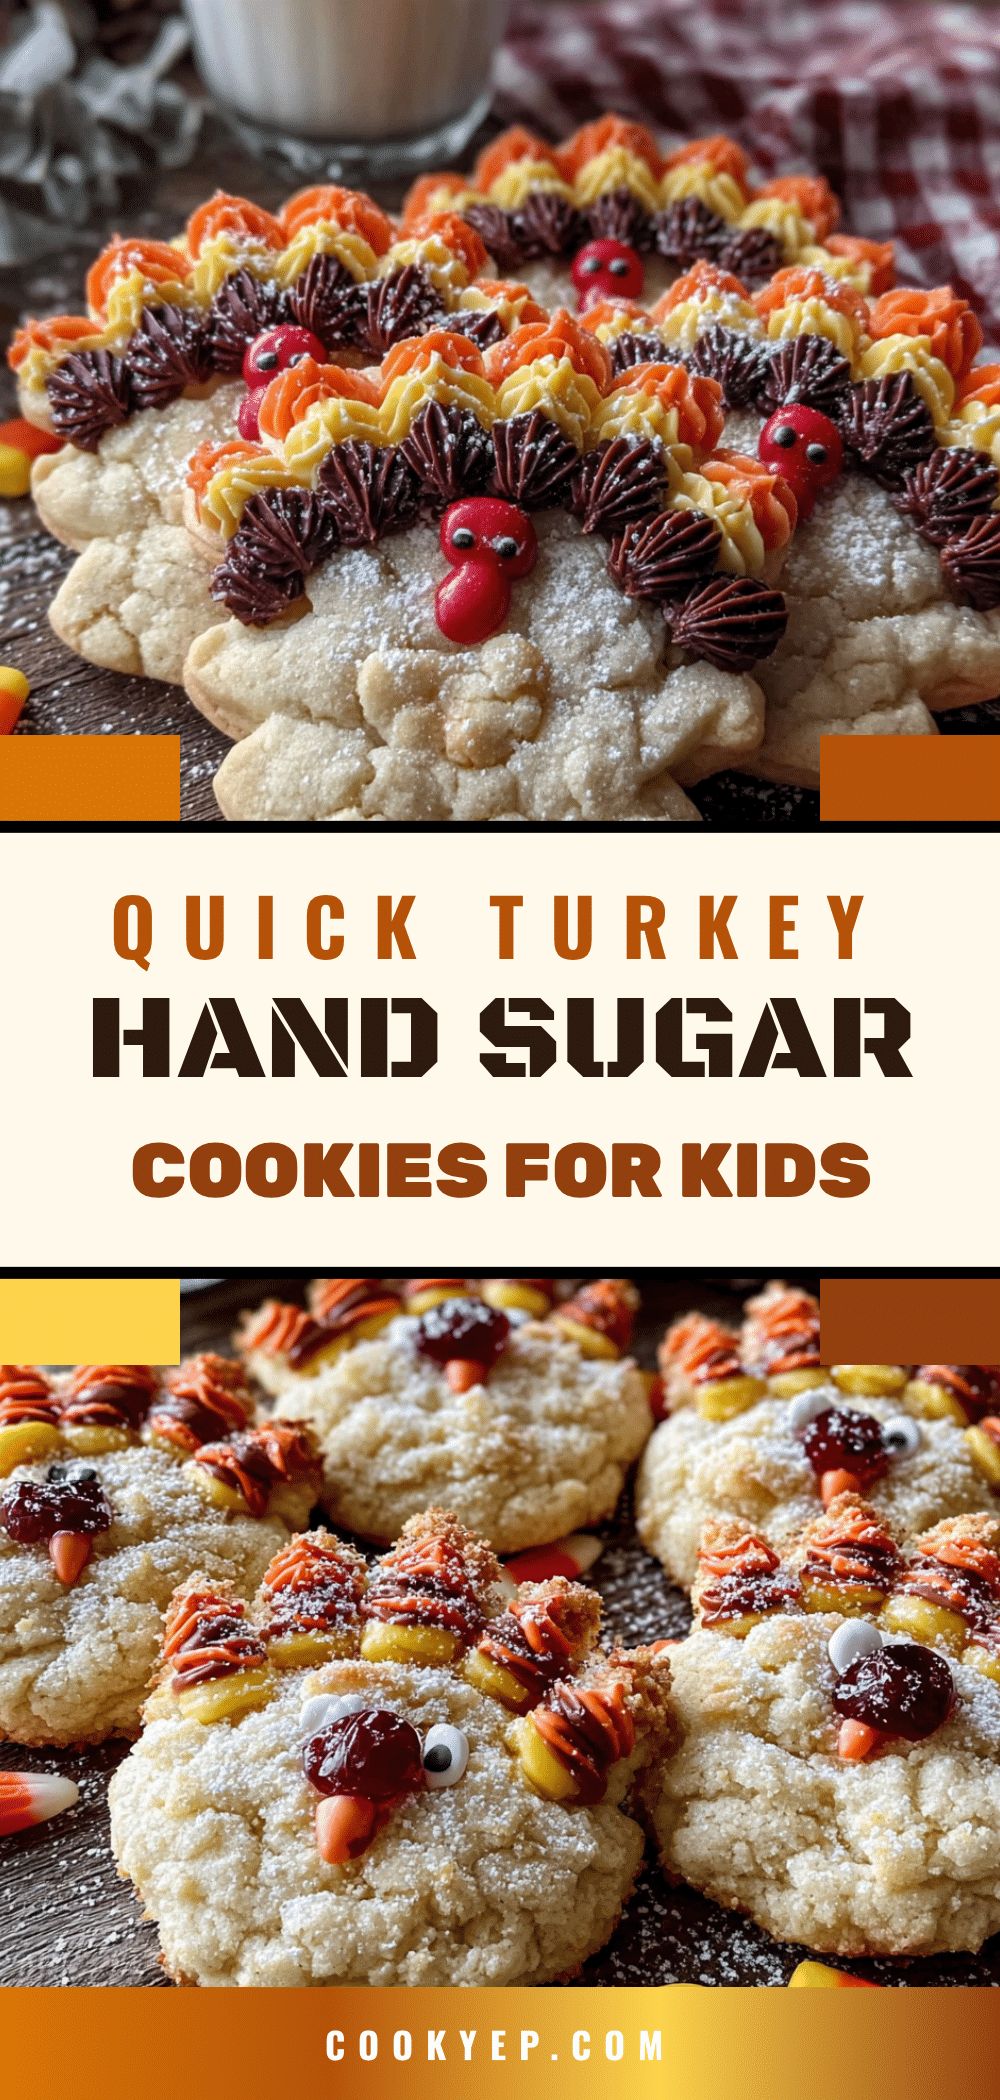
Easy Turkey Hand Cookies Recipe for Kids
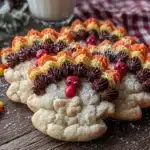
These quick turkey hand sugar cookies for kids are simple, fun, and full of memories. Made from a buttery sugar cookie dough shaped like a handprint and decorated as a turkey, they are perfect for Thanksgiving prep, classroom parties, or a rainy November afternoon.
- Prep Time: 25 minutes
- Cook Time: 10 minutes
- Total Time: 35 minutes
- Yield: 12 servings 1x
- Category: Dessert
- Cuisine: American
Ingredients
- 1 cup (226g) unsalted butter, softened to room temperature
- 1 cup (200g) granulated sugar
- 1 large egg, at room temperature
- 2 teaspoons vanilla extract
- 2 ½ cups (312g) all-purpose flour, plus more for dusting
- 1 teaspoon baking powder
- ½ teaspoon salt
- For decorating: 1 cup (120g) powdered sugar, 2-3 tablespoons milk, food coloring (orange, red, yellow, brown), candy corn, chocolate chips, sprinkles
Instructions
- In a large mixing bowl, beat the softened butter and granulated sugar together until light and fluffy, about 2-3 minutes. Add the egg and vanilla extract, and mix until well combined.
- In a separate small bowl, whisk together the flour, baking powder, and salt. Gradually add to the wet mixture, stirring until a soft dough forms. If too sticky, add another tablespoon of flour; if too dry, add a teaspoon of milk.
- Wrap the dough in plastic wrap and refrigerate for at least 30 minutes (or up to 3 days).
- Preheat oven to 350°F (175°C). Line baking sheets with parchment paper.
- Lightly flour a work surface and rolling pin. Roll the chilled dough out to about ¼-inch thickness.
- Have your child place their hand flat on the dough with fingers slightly spread. Use a sharp knife or pizza cutter to trace around their hand, cutting about ½ inch away from their fingers. Transfer cut-out handprints to prepared baking sheets, leaving about 2 inches between each cookie.
- Bake for 8-10 minutes, until edges are just barely golden. Let cool on baking sheet for 5 minutes, then transfer to a cooling rack to cool completely.
- While cookies cool, whisk together powdered sugar and milk until smooth (consistency of school glue). Divide into small bowls and add food coloring (orange for feathers, red for wattle, white for eyes).
- Once cookies are completely cool, decorate: spread orange icing on fingers for feathers, red icing for wattle, add candy corn for beak, chocolate chips for eyes, and any other decorations. Let icing set for about 15 minutes before serving.
Notes
Don’t skip chilling the dough—it prevents spreading. Bake one sheet at a time for even results. Let kids decorate freely for the best memories. Dough can be made ahead and refrigerated for up to 3 days or frozen for up to 3 months.
Nutrition
- Serving Size: 1 cookie
- Calories: 280
- Sugar: 20
- Sodium: 150
- Fat: 12
- Saturated Fat: 7
- Carbohydrates: 40
- Fiber: 1
- Protein: 3
Keywords: turkey hand cookies, sugar cookies, Thanksgiving cookies, kids baking, handprint cookies, easy holiday cookies