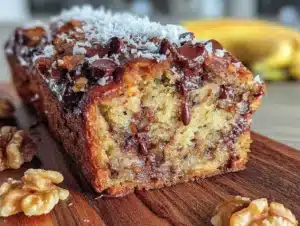
My niece, who is eight and has very strong opinions about baked goods, asked me why I couldn’t just put the chocolate chips and walnuts in the blender with the bananas. I started to explain why that would ruin the texture of banana bread—then stopped. Honestly? I had no good reason. I just assumed it wouldn’t work because that’s not how you do it. So I let her toss a handful of chocolate chips and walnuts into the blender with the wet ingredients. The batter turned into this speckled, chunky mess that I was sure would bake up into a brick. I popped it in the pan anyway, figuring it was a learning experience for both of us.
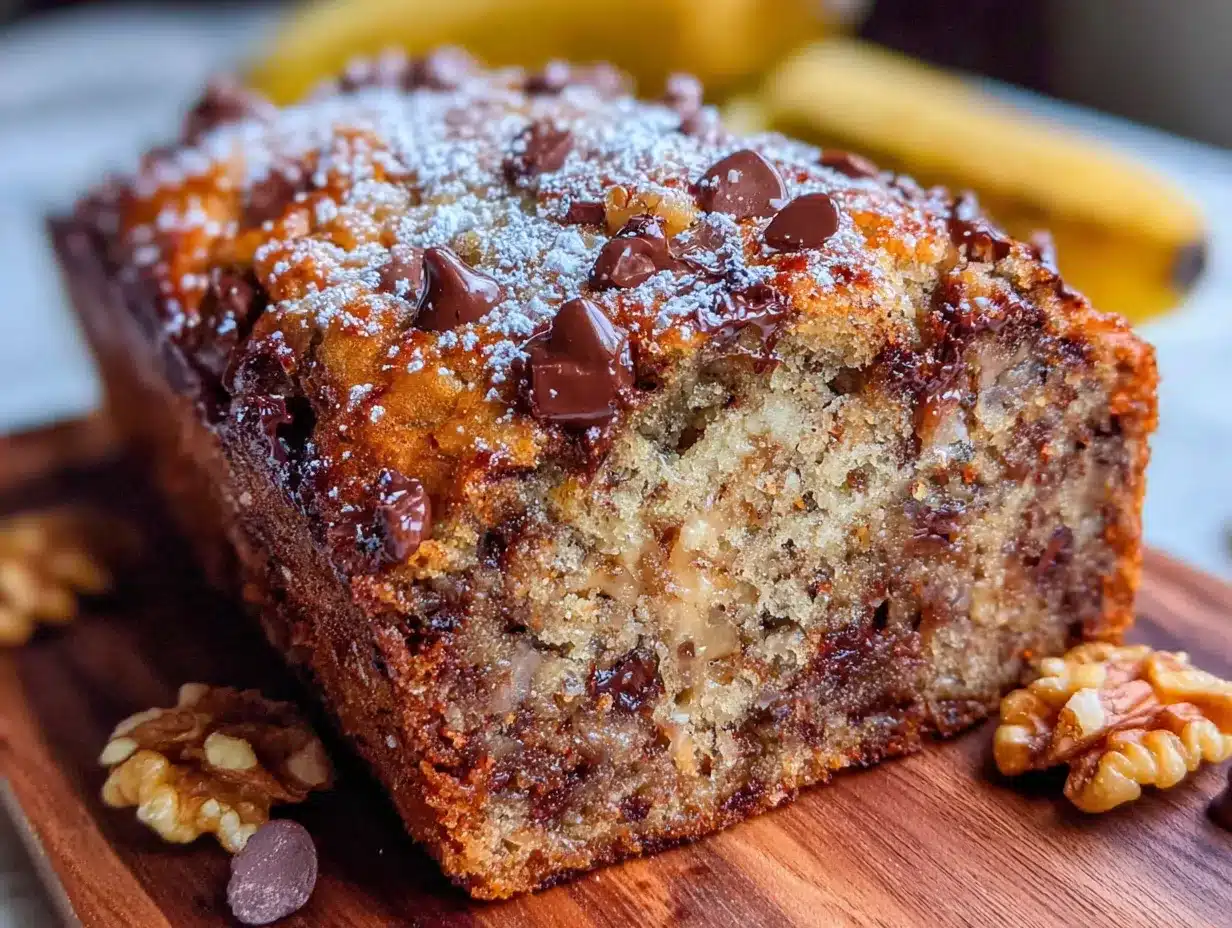
The kitchen smelled incredible—like a bakery that only sold things you actually wanted to eat. When I pulled that loaf out of the oven, it had this gorgeous, crackled top and a deep brown color that made me nervous. I let it cool for maybe ten minutes before slicing into it, which was a mistake because it was still warm and fell apart a little. But that first bite? It was the fudgiest, most decadent banana bread I had ever made. The chocolate chips had melted into these little pockets of gooeyness, and the walnuts added this crunch that made every bite interesting. My niece looked at me with that smug kid expression and said, “See?”
I have been making banana bread for years, trying every trick to keep it moist without it being gummy. And here was an eight-year-old who had never made anything in her life, accidentally perfecting the texture by doing exactly what you are not supposed to do. Maybe you have had that moment where a beginner shows you something you missed. That is what this recipe is for me now. It is the one I make when I want people to stop and close their eyes after the first bite. It is also the one my niece asks for every single time she comes over, which is often. This kid-approved fudgy banana bread with walnuts is not just another banana bread recipe—it is the one that made me rethink everything I thought I knew about baking.
Why You Will Love This Recipe
I have tested this recipe more times than I can count, and every single time, it delivers the same fudgy, chocolate-studded perfection. Here is why this one is different from every other banana bread you have tried.
- Fudgy, Not Cakey: This bread has a dense, almost brownie-like texture that makes it feel like a treat. It is not dry or crumbly—it is the kind of bread that stays moist for days.
- Kid-Approved and Parent-Approved: The chocolate chips make it feel like dessert, but the walnuts add a little something that makes adults happy too. I have yet to meet a picky eater who turns down a slice.
- Simple Pantry Ingredients: You probably have everything you need right now. Overripe bananas, flour, sugar, eggs, butter, chocolate chips, and walnuts. No special trips to the store required.
- Budget-Friendly: This recipe uses affordable ingredients that stretch a long way. One loaf feeds a family of four for several days, and it freezes beautifully so nothing goes to waste.
- Perfect for Busy Weeknights: It comes together in about 15 minutes of active time. The oven does the rest of the work while you handle dinner, homework, or just sitting down for five minutes.
- Customizable for Picky Eaters: Leave out the walnuts for nut-free kids. Swap dark chocolate chips for milk chocolate if that is what your family prefers. The base recipe is forgiving and flexible.
This recipe is the kind that makes you feel like a hero without any stress. It is comfort food that actually works for real life—not just for special occasions, but for a random Tuesday afternoon when you need something good to happen. The fudgy texture comes from a simple trick: blending the wet ingredients a little longer than you think you should. It creates an emulsion that traps moisture and makes every slice incredibly tender. That is the kind of detail I only figured out after burning through three batches in one weekend. You get the benefit of my mistakes without having to make them yourself.
What Ingredients You Will Need
This recipe uses simple, everyday ingredients that work together to create that fudgy, decadent texture. Nothing fancy here—just smart choices that make a big difference in the final loaf.
For the Banana Bread
- 3 large ripe bananas, mashed (about 1 1/2 cups or 360 ml) — The riper the better. Look for bananas with lots of brown spots; they are sweeter and mash into a smoother puree. If your bananas are not ripe enough, you can roast them in a 300°F oven for 15 minutes to soften and sweeten them.
- 1/2 cup unsalted butter, melted (113 grams) — I prefer unsalted butter so I can control the salt level. If you only have salted butter, reduce the added salt to 1/4 teaspoon. Let the butter cool slightly before mixing so it does not cook the eggs.
- 3/4 cup granulated sugar (150 grams) — Regular white sugar gives the bread a clean sweetness. You can substitute with coconut sugar for a deeper flavor, but the texture will be slightly denser.
- 2 large eggs, room temperature — Room temperature eggs blend more evenly into the batter and create a better emulsion. If you forgot to take them out of the fridge, place them in a bowl of warm water for 5 minutes.
- 1 teaspoon vanilla extract (5 ml) — Pure vanilla extract adds warmth and depth. Imitation vanilla works in a pinch, but the flavor is less complex.
- 1 1/2 cups all-purpose flour (180 grams) — Spoon and level the flour into your measuring cup. Scooping directly from the bag packs in too much flour and makes the bread dry.
- 1 teaspoon baking soda (5 grams) — Make sure your baking soda is fresh. Test it by dropping a spoonful into vinegar—if it fizzes vigorously, it is still active.
- 1/2 teaspoon salt (3 grams) — Salt balances the sweetness and enhances the chocolate flavor. Do not skip it.
- 1/2 cup semi-sweet chocolate chips (90 grams) — I recommend Ghirardelli or Guittard for the best melt and flavor. You can use milk chocolate or dark chocolate depending on your preference.
- 1/2 cup chopped walnuts (60 grams) — Toast them lightly in a dry pan for 3-4 minutes before adding to the batter. It brings out their nutty flavor and keeps them crunchy even after baking.
Ingredient Tips and Substitutions
If you need to make this recipe work for your family, here are some swaps that actually work:
- Gluten-Free Option: Use a 1:1 gluten-free baking flour blend. I have had good results with Bob’s Red Mill Gluten Free 1-to-1 Baking Flour. Do not use almond flour or coconut flour alone—they change the texture completely.
- Dairy-Free Option: Substitute the butter with melted coconut oil or a plant-based butter stick. Use dairy-free chocolate chips, like Enjoy Life brand.
- Nut-Free Option: Omit the walnuts entirely, or replace them with sunflower seeds or pepitas for a similar crunch without the allergens.
- Lower Sugar Option: Reduce the sugar to 1/2 cup (100 grams). The bananas provide plenty of natural sweetness, so the bread will still taste good—just less sweet.
- Egg-Free Option: Use 2 flax eggs (2 tablespoons ground flaxseed mixed with 6 tablespoons water, let sit for 5 minutes). The texture will be slightly denser but still delicious.
Equipment Needed
You do not need a fancy kitchen to make this bread. Here is what you will need:
- 9×5-inch loaf pan — This is the standard size. If you use an 8×4-inch pan, the bread will take longer to bake and may dome more. A 10-inch pan will produce a shorter loaf that bakes faster.
- Large mixing bowl — For combining the dry ingredients.
- Medium mixing bowl — For mashing the bananas and mixing the wet ingredients.
- Whisk — For mixing the dry ingredients evenly.
- Rubber spatula — For folding the wet and dry ingredients together without overmixing.
- Parchment paper — Lining the pan makes removing the bread easy and keeps cleanup simple.
- Cooling rack — A wire rack allows air to circulate around the bread so it cools evenly and does not get soggy on the bottom.
- Measuring cups and spoons — For accurate ingredient amounts.
- Kitchen scale (optional but helpful) — Weighing your flour ensures consistent results every time.
If you do not have a loaf pan, you can bake this batter in a muffin tin. Grease 12 muffin cups and fill them about 3/4 full. Bake at 350°F for 18-22 minutes, or until a toothpick inserted in the center comes out clean. Muffins are great for lunchboxes and freeze even better than the loaf.
I have made this recipe with a hand mixer, a stand mixer, and just a wooden spoon. Honestly, the wooden spoon works best because it is harder to overmix the batter. Overmixing develops the gluten and makes the bread tough, which is the opposite of what we want.
Preparation Method
Follow these steps carefully, and you will have a perfect loaf every time. The key is not rushing any step—especially the mixing and cooling.
- Preheat your oven to 350°F (175°C). Position the rack in the center of the oven. While the oven heats, prepare your loaf pan by greasing it lightly with butter or nonstick spray, then lining it with a strip of parchment paper that hangs over the two long sides. This creates handles for lifting the bread out later.
- Mash the bananas. In a medium bowl, mash the three ripe bananas with a fork until they are mostly smooth with a few small lumps. You should have about 1 1/2 cups of mashed banana. Do not over-mash into a liquid—a little texture is fine and adds moisture to the bread.
- Melt the butter. In a small saucepan or microwave-safe bowl, melt the 1/2 cup of butter. Let it cool for 2-3 minutes so it is warm but not hot. Hot butter can scramble the eggs when you add them.
- Combine the wet ingredients. To the mashed bananas, add the melted butter, 3/4 cup sugar, 2 eggs, and 1 teaspoon vanilla extract. Whisk everything together until the mixture is smooth and slightly thickened. This should take about 30 seconds of whisking. The sugar should be mostly dissolved.
- Mix the dry ingredients. In a separate large bowl, whisk together the 1 1/2 cups flour, 1 teaspoon baking soda, and 1/2 teaspoon salt. Make sure the baking soda is evenly distributed—nobody wants a pocket of baking soda in their slice.
- Combine wet and dry ingredients. Pour the wet mixture into the dry ingredients. Use a rubber spatula to fold everything together gently. Stir only until you no longer see streaks of flour. A few small lumps are fine—do not keep mixing to smooth them out. Overmixing at this stage will make the bread tough.
- Fold in the chocolate chips and walnuts. Add the 1/2 cup chocolate chips and 1/2 cup chopped walnuts to the batter. Fold them in with 4-5 strokes of the spatula. Reserve a small handful of chocolate chips to sprinkle on top of the batter before baking—this makes the loaf look beautiful and gives you a little extra chocolate on the crust.
- Pour the batter into the prepared pan. Use the spatula to spread it evenly. Sprinkle the reserved chocolate chips on top, pressing them gently into the batter so they stick.
- Bake for 55-65 minutes. The exact time depends on your oven and pan. Start checking at 50 minutes. The bread is done when a toothpick inserted into the center comes out with a few moist crumbs attached—not wet batter. If the toothpick is clean, the bread is overbaked. The top should be deep golden brown and cracked in a few places.
- Cool in the pan for 15 minutes. Place the pan on a wire rack. After 15 minutes, use the parchment paper handles to lift the bread out of the pan. Transfer it to the wire rack to cool completely. Do not slice it while it is still warm—it will crumble and fall apart. Patience here is hard, but it pays off.
Pro tip for even baking: If the top of your bread is browning too quickly while the center is still raw, tent the pan loosely with aluminum foil after 40 minutes of baking. This prevents the crust from burning while the inside finishes cooking.
Cooking Tips and Techniques
I have made this bread at least twenty times, and I have learned a few things the hard way. Here is what I wish someone had told me when I started.
Do not overmix the batter. This is the number one mistake people make with banana bread. Once you add the flour, mix only until the streaks disappear. Overmixing develops gluten, which makes the bread dense and chewy instead of tender and fudgy. I ruined my first three loaves by being too aggressive with the whisk.
Use bananas that are almost black. The riper the banana, the sweeter and more flavorful your bread will be. Green or yellow bananas do not have enough sugar or moisture to produce that fudgy texture. If your bananas are not ripe enough, place them on a baking sheet and roast at 300°F for 15-20 minutes until the skins darken. Let them cool before mashing.
Toast the walnuts. This step takes three minutes and makes a huge difference. Toasting brings out the natural oils in the walnuts and gives them a deeper, nuttier flavor. It also keeps them crunchy in the finished bread instead of turning soft and mealy. Just toss them in a dry skillet over medium heat for 3-4 minutes, shaking the pan frequently until they smell fragrant.
Let the bread cool completely. I know it is tempting to cut into a warm loaf, but warm banana bread is fragile and will fall apart. The texture also firms up as it cools, so the fudgy quality is more pronounced at room temperature. If you can wait, wrap the cooled loaf in plastic wrap and let it sit overnight. The flavors meld together and the texture becomes even better the next day.
Check for doneness with a thermometer. If you have an instant-read thermometer, the internal temperature of a perfectly baked banana bread should be around 200°F (93°C). This is more reliable than the toothpick test, which can sometimes trick you if you hit a chocolate chip.
Variations and Adaptations
This recipe is a great base for experimenting. Here are some variations I have tried and loved.
Double Chocolate Banana Bread: Replace 1/4 cup of the flour with 1/4 cup of unsweetened cocoa powder. Add an extra 2 tablespoons of milk to keep the batter moist. The result is a deeply chocolatey loaf that tastes like a brownie. My kids call it “breakfast brownie bread,” and they are not wrong.
Nut-Free Crunch: If you need to avoid nuts for school lunches or allergies, replace the walnuts with 1/2 cup of toasted sunflower seeds or pepitas. They add a similar crunch without the allergen risk. You can also use 1/2 cup of chocolate chips instead of walnuts for an extra chocolatey version.
Spiced Banana Bread: Add 1 teaspoon of cinnamon, 1/2 teaspoon of nutmeg, and 1/4 teaspoon of ground ginger to the dry ingredients. This gives the bread a warm, cozy flavor that is perfect for fall. I sometimes add a pinch of cardamom too, which pairs beautifully with the chocolate.
Blueberry Banana Bread: Fold in 1 cup of fresh or frozen blueberries along with the chocolate chips and walnuts. If using frozen blueberries, toss them in a tablespoon of flour first to prevent them from sinking to the bottom of the loaf. The bursts of tart berry against the sweet chocolate are fantastic.
Vegan Version: Use 2 flax eggs, substitute the butter with melted coconut oil, and use dairy-free chocolate chips. The texture will be slightly denser but still fudgy and delicious. I have made this version for friends with dietary restrictions, and they always ask for the recipe.
Serving and Storage Suggestions
This bread is versatile enough for breakfast, snack time, or dessert. Here is how to serve it and keep it fresh.
Serving Temperature: This bread is best at room temperature. If you want to warm a slice, pop it in the microwave for 15 seconds or toast it lightly in a toaster oven. A warm slice with a pat of butter is pure comfort food. For a dessert twist, serve it with a scoop of vanilla ice cream or a drizzle of caramel sauce.
Storage at Room Temperature: Wrap the cooled loaf tightly in plastic wrap or aluminum foil. Store it at room temperature for up to 4 days. Keep it away from direct sunlight and heat sources. The bread actually tastes better on day two as the flavors meld together.
Refrigerator Storage: If you need to keep it longer, wrap the loaf in plastic wrap and then in foil. Store it in the refrigerator for up to 1 week. The texture will be denser and less moist after refrigeration, so let slices come to room temperature before serving.
Freezer Storage: This bread freezes beautifully. Wrap the cooled loaf in plastic wrap, then in a layer of aluminum foil, and place it in a freezer-safe bag. It will keep for up to 3 months. To thaw, leave the wrapped loaf at room temperature for 4-6 hours, or overnight. You can also freeze individual slices for quick snacks—wrap each slice in plastic wrap and store them in a freezer bag. Thaw a slice in the microwave for 30 seconds.
Reheating Instructions: For a single slice, microwave for 15-20 seconds. For a whole loaf, warm it in a 300°F oven for 10-15 minutes wrapped in foil. This restores the fresh-from-the-oven texture without drying it out.
Nutritional Information and Benefits
Here is the estimated nutritional breakdown for one slice of this banana bread (based on 10 slices per loaf):
- Calories: 320
- Total Fat: 16g
- Saturated Fat: 7g
- Cholesterol: 55mg
- Sodium: 210mg
- Total Carbohydrates: 42g
- Dietary Fiber: 3g
- Sugars: 24g
- Protein: 6g
Health Highlights: Bananas are rich in potassium, which supports heart health and muscle function. Walnuts provide omega-3 fatty acids that are good for brain health—especially important for growing kids. The chocolate chips offer antioxidants from cocoa, though let us be honest, we are eating this for the joy of it. This bread is also a good source of fiber from the bananas and walnuts, which helps with digestion and keeps you feeling full longer.
Dietary Considerations: This recipe can be made gluten-free, dairy-free, nut-free, and vegan with the substitutions listed in the ingredients section. It contains eggs, dairy, and nuts in its standard form, so be mindful of allergies when serving to others.
I do not pretend this is health food, but I feel good about serving it to my family because it uses real ingredients and provides some nutritional value. It is a treat that does not come from a box, and that counts for something.
Conclusion
This kid-approved fudgy banana bread with walnuts has become a staple in my kitchen, and I think it will become one in yours too. It is the recipe that reminds me that sometimes the best things come from letting go of what you think you know and trying something unexpected. My niece taught me that, and every time I make this bread, I remember to stay open to happy accidents.
I love this recipe because it works for real life. It uses ingredients I always have on hand. It comes together quickly. It makes my kitchen smell amazing. And most importantly, it makes the people I love happy. Whether you are feeding a family of picky eaters, bringing a treat to a potluck, or just treating yourself on a quiet afternoon, this bread delivers every single time.
I would love to hear how this recipe turns out for you. Did you try one of the variations? Did your kids help you make it? Did you discover your own happy accident? Leave a comment below and let me know. Share a photo of your loaf on Pinterest and tag me—I love seeing your creations. And if you have a picky eater who finally found a banana bread they love, that is the kind of win worth celebrating.
Now go mash those bananas and make something delicious. You have got this.
Frequently Asked Questions
Can I use frozen bananas for this recipe?
Absolutely. Frozen bananas work great—just thaw them completely and drain off any excess liquid before mashing. They are often even sweeter and more flavorful than fresh ripe bananas because the freezing process breaks down the cell walls and concentrates the sugars. I keep a bag of overripe bananas in my freezer specifically for baking.
Why did my banana bread turn out dry?
Dry banana bread usually means one of three things: you used too much flour, you overbaked it, or your bananas were not ripe enough. Make sure you spoon and level your flour, check the bread at 50 minutes, and use bananas that are heavily spotted or black. If your bread is already baked and dry, try serving it toasted with a little butter or a drizzle of honey.
Can I make this recipe into muffins instead of a loaf?
Yes, and it works beautifully. Grease a 12-cup muffin tin and fill each cup about 3/4 full. Bake at 350°F for 18-22 minutes, or until a toothpick inserted in the center of a muffin comes out clean. Muffins bake faster than a loaf, so start checking at 18 minutes. They are perfect for lunchboxes and freeze even better than the loaf.
How do I know when the banana bread is fully baked?
The most reliable method is to insert a toothpick or skewer into the center of the loaf. It should come out with a few moist crumbs attached—not wet batter and not completely clean. If the toothpick is clean, the bread is overbaked. You can also use an instant-read thermometer; the internal temperature should be around 200°F (93°C). The top should be deep golden brown and cracked in a few places.
Can I leave out the walnuts?
Of course. If you or your kids do not like walnuts, simply omit them. The bread will still be fudgy and delicious. You can replace them with an extra 1/4 cup of chocolate chips, or add 1/2 cup of chopped pecans or almonds if you prefer a different nut. For a nut-free crunch, try toasted sunflower seeds or pepitas.
Pin This Recipe!
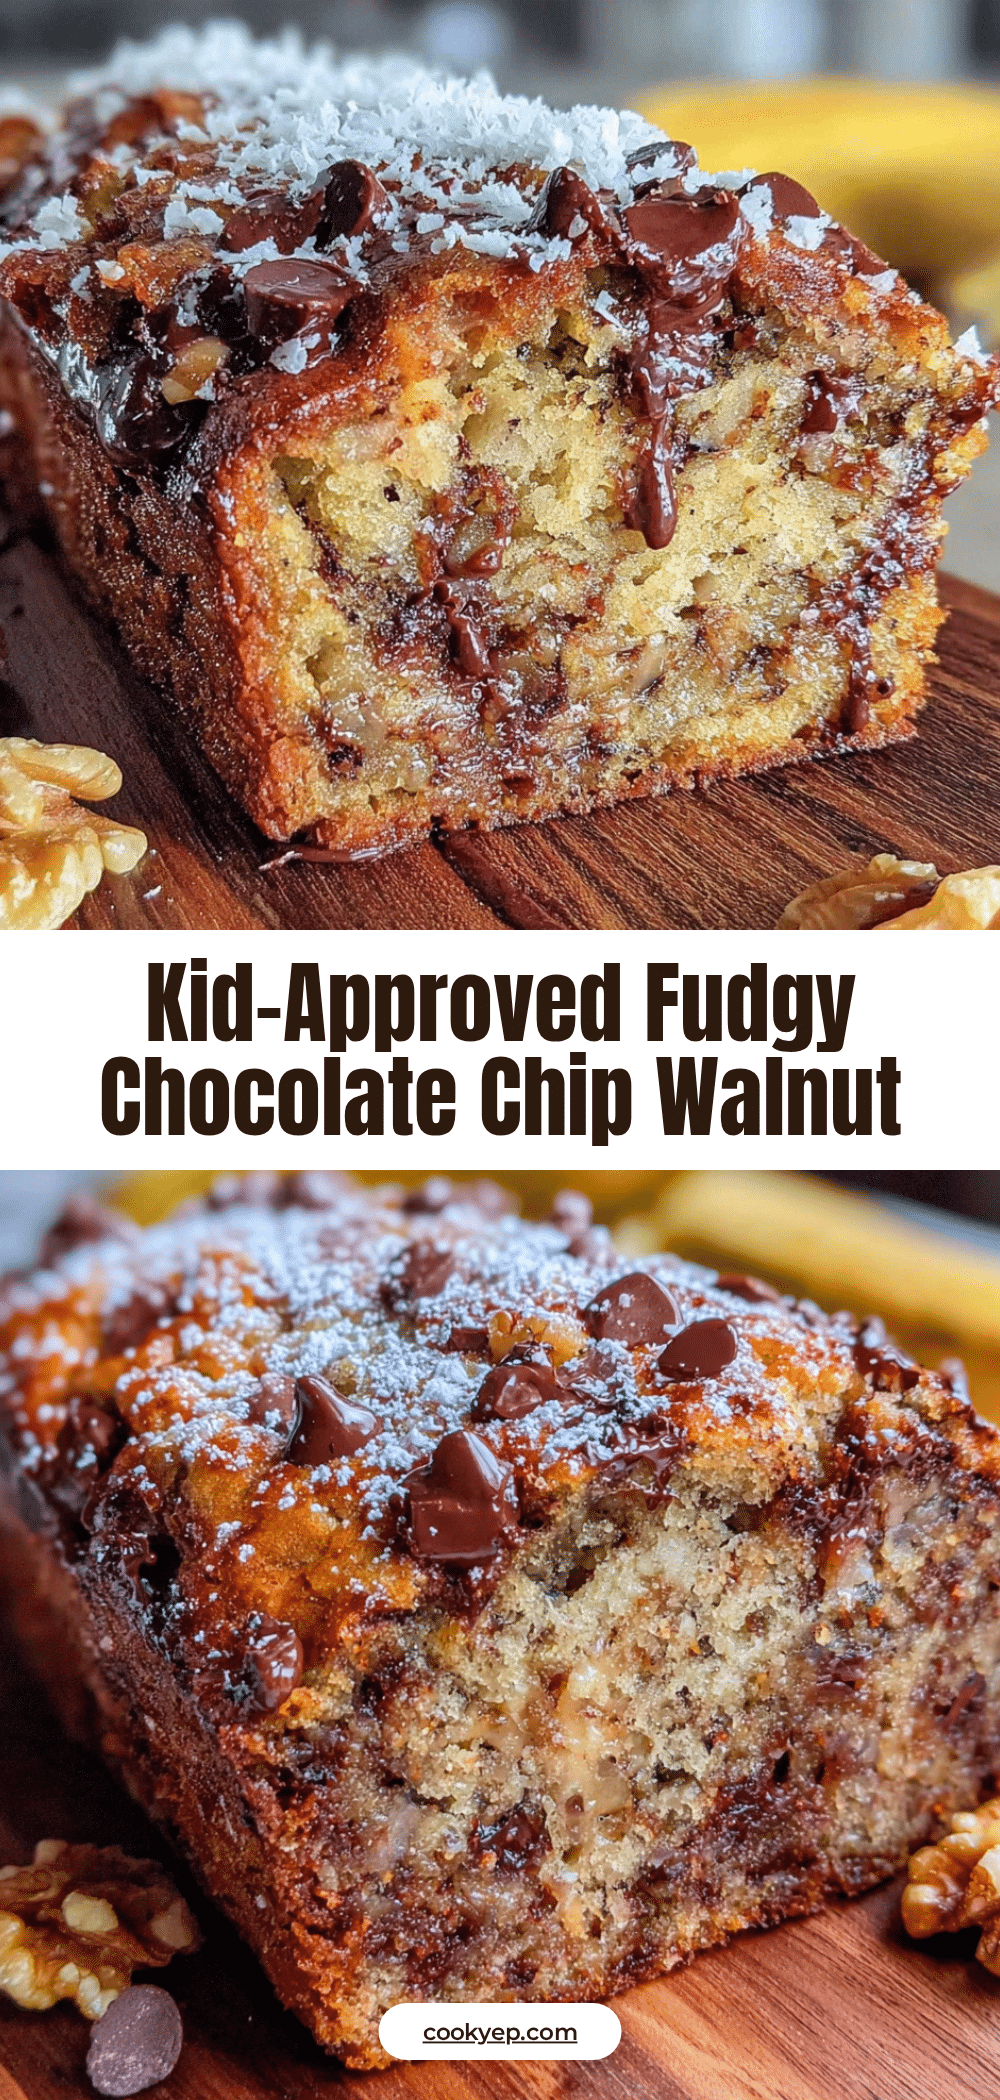
Easy Kid-Approved Fudgy Banana Bread with Walnuts
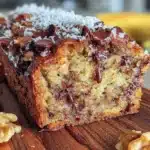
This fudgy banana bread with walnuts and chocolate chips is a kid-approved treat that stays moist for days. It’s simple to make with pantry ingredients and perfect for busy weeknights.
- Prep Time: 15 minutes
- Cook Time: 55 minutes
- Total Time: 1 hour 10 minutes
- Yield: 10 servings 1x
- Category: Dessert
- Cuisine: American
Ingredients
- 3 large ripe bananas, mashed (about 1 1/2 cups or 360 ml)
- 1/2 cup unsalted butter, melted (113 grams)
- 3/4 cup granulated sugar (150 grams)
- 2 large eggs, room temperature
- 1 teaspoon vanilla extract (5 ml)
- 1 1/2 cups all-purpose flour (180 grams)
- 1 teaspoon baking soda (5 grams)
- 1/2 teaspoon salt (3 grams)
- 1/2 cup semi-sweet chocolate chips (90 grams)
- 1/2 cup chopped walnuts (60 grams)
Instructions
- Preheat your oven to 350°F (175°C). Position the rack in the center of the oven. Grease a 9×5-inch loaf pan lightly with butter or nonstick spray, then line it with a strip of parchment paper that hangs over the two long sides.
- In a medium bowl, mash the three ripe bananas with a fork until mostly smooth with a few small lumps. You should have about 1 1/2 cups of mashed banana.
- In a small saucepan or microwave-safe bowl, melt the 1/2 cup of butter. Let it cool for 2-3 minutes so it is warm but not hot.
- To the mashed bananas, add the melted butter, 3/4 cup sugar, 2 eggs, and 1 teaspoon vanilla extract. Whisk together until smooth and slightly thickened, about 30 seconds.
- In a separate large bowl, whisk together the 1 1/2 cups flour, 1 teaspoon baking soda, and 1/2 teaspoon salt.
- Pour the wet mixture into the dry ingredients. Use a rubber spatula to fold together gently until no streaks of flour remain. Do not overmix.
- Add the 1/2 cup chocolate chips and 1/2 cup chopped walnuts to the batter. Fold them in with 4-5 strokes. Reserve a small handful of chocolate chips to sprinkle on top.
- Pour the batter into the prepared pan and spread evenly. Sprinkle the reserved chocolate chips on top, pressing them gently into the batter.
- Bake for 55-65 minutes, starting to check at 50 minutes. The bread is done when a toothpick inserted into the center comes out with a few moist crumbs attached. The top should be deep golden brown and cracked.
- Cool in the pan for 15 minutes on a wire rack. Then use the parchment paper handles to lift the bread out and transfer to the wire rack to cool completely before slicing.
Notes
Do not overmix the batter. Use bananas that are almost black for best sweetness. Toast the walnuts for deeper flavor. Let the bread cool completely before slicing to avoid crumbling. For even baking, tent the pan with foil after 40 minutes if the top browns too quickly.
Nutrition
- Serving Size: 1 slice
- Calories: 320
- Sugar: 24
- Sodium: 210
- Fat: 16
- Saturated Fat: 7
- Carbohydrates: 42
- Fiber: 3
- Protein: 6
Keywords: banana bread, fudgy banana bread, kid-friendly banana bread, chocolate chip banana bread, walnut banana bread, easy banana bread