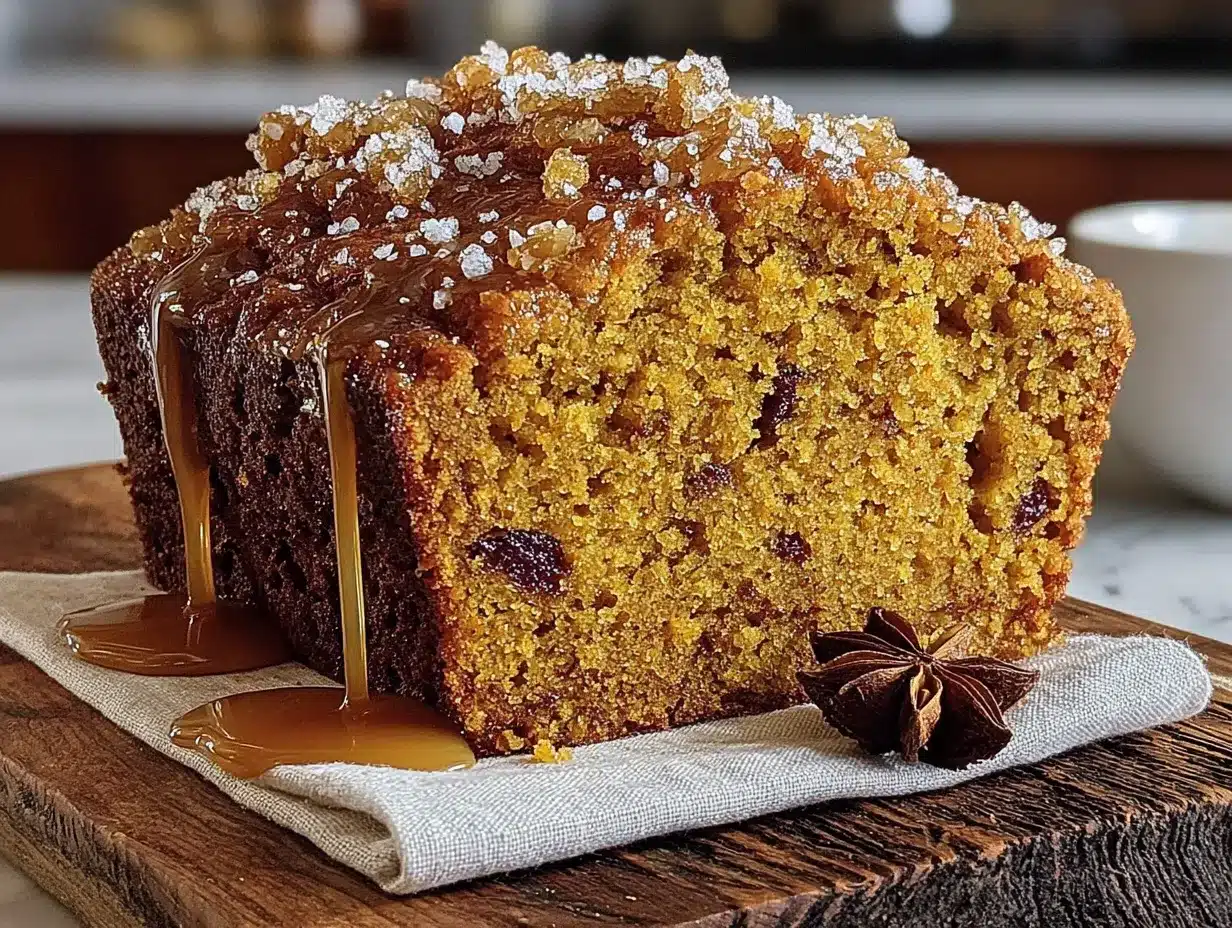
My husband took a bite of this bread, stopped chewing, and just looked at me. Not in a dramatic way, more like he was processing something. He swallowed and said, “Wait, what did you do to this?” That was the moment I knew the brown butter pumpkin banana bread was staying in the rotation. I had been playing around with a leftover banana and half a can of pumpkin, trying to make something that didn’t taste like fall had a identity crisis. But that first slice, still warm, with the edges just a little darker than I planned, told me I had accidentally stumbled onto something good. It wasn’t trying to be fancy. It just worked.
There is something about brown butter that changes the whole mood of a quick bread. It adds this nutty, almost toasty depth that regular melted butter just can’t touch. Pair that with the earthy sweetness of pumpkin and the familiar comfort of banana bread, and you get a loaf that feels both cozy and a little bit special. No mixer required, no weird ingredients, just a few pantry staples and one extra step that makes all the difference. This is the kind of bread you make on a Sunday afternoon and find yourself slicing into again on Tuesday morning, standing over the counter with a cup of coffee, not even bothering with a plate.
Why You’ll Love This Recipe
I have tested this brown butter pumpkin banana bread more times than I care to admit. Some loaves came out too dense. Others were dry around the edges. But this version, the one I am sharing with you today, is the one that finally made my husband stop mid-chew. It is the one that got requested three weekends in a row. Here is why it works.
- Quick & Easy : From start to oven in about 15 minutes. The brown butter takes maybe 5 minutes extra, and it is absolutely worth standing at the stove for.
- Simple Ingredients : You probably have everything already. Butter, flour, sugar, eggs, a banana, and a can of pumpkin. Nothing that requires a specialty grocery run.
- Perfect for Fall Mornings : This bread pairs beautifully with a cozy pumpkin chai latte with oat milk for those crisp October mornings. It also works for Thanksgiving brunch or just a quiet Tuesday snack.
- Crowd-Pleaser : I have brought this to a potluck and watched it disappear before the main course. Kids love it. Adults hover near the cutting board.
- Unbelievably Delicious : The brown butter adds a richness that makes this taste like you tried way harder than you actually did. It is moist, tender, and has that perfect crumb that holds together without being heavy.
What makes this recipe different from all the other pumpkin banana breads out there is the brown butter and the way it interacts with the pumpkin. Pumpkin can sometimes make baked goods taste a little flat or earthy in a way that needs balancing. The brown butter brings a toasty, caramel-like note that lifts the whole loaf. It is not just another version. It is the version I keep coming back to.
Honestly, this is the kind of bread that makes you close your eyes after the first bite. It is comfort food reimagined, faster and more flavorful, with the same soul-soothing satisfaction you want from a slice of something warm.
What Ingredients You Will Need
This recipe uses simple, wholesome ingredients to deliver bold flavor and a tender texture without any fuss. Most of these are pantry staples, which makes this an easy last-minute bake when you have a brown banana staring at you from the counter.
- Unsalted butter , ½ cup (1 stick) — You will brown this yourself, so start with good butter. I prefer Kerrygold for the fat content, but any unsalted butter works. Salted butter will make the bread too salty since we add salt separately.
- Ripe banana , 1 medium — The spottier the better. A brown banana is a sweet banana. Mash it well with a fork until it is mostly smooth with a few small lumps for texture.
- Pumpkin puree , ¾ cup — Not pumpkin pie filling. Make sure you grab 100% pure pumpkin. Libby’s is my go-to because it is consistently thick and not watery. If your pumpkin puree looks thin, blot it with a paper towel before using.
- All-purpose flour , 1 ¾ cups (210g) — Spoon and level it into your measuring cup. Scooping directly can pack the flour and make the bread dry.
- Granulated sugar , ½ cup — Adds sweetness and helps with browning.
- Light brown sugar , ½ cup, packed — Adds moisture and a deeper molasses note that plays well with the brown butter.
- Large eggs , 2, at room temperature — Room temperature eggs incorporate more evenly into the batter. If you forget to set them out, place them in a bowl of warm water for 5 minutes.
- Vanilla extract , 1 teaspoon — Pure vanilla is best, but imitation works in a pinch.
- Baking soda , 1 teaspoon — This is the main leavener. Make sure it is fresh (not expired) or your bread won’t rise properly.
- Baking powder , ½ teaspoon — Adds a little extra lift.
- Salt , ½ teaspoon — Balances the sweetness and enhances the brown butter flavor.
- Ground cinnamon , 1 teaspoon
- Ground nutmeg , ½ teaspoon — Freshly grated is amazing if you have it.
- Ground ginger , ¼ teaspoon — Adds a little warmth without being spicy.
- Ground cloves , ⅛ teaspoon — Just a pinch. Cloves are strong.
For substitutions, you can swap the all-purpose flour with a 1:1 gluten-free baking flour blend. I have tested this with Bob’s Red Mill 1:1 and it worked beautifully. If you want to reduce the sugar, cut the granulated sugar to ¼ cup and keep the brown sugar at ½ cup. The bread will be less sweet but still delicious. For a dairy-free option, use vegan butter, but make sure it is a block-style butter, not a spread, because spreads have too much water and won’t brown the same way.
Equipment Needed
You do not need a stand mixer or any fancy gadgets for this recipe. A few basic tools will get the job done.
- 9×5-inch loaf pan — A standard metal or glass loaf pan works. If you use a dark nonstick pan, reduce the oven temperature by 25°F to prevent over-browning.
- Medium saucepan — For browning the butter. Light-colored pans are best so you can see the color change clearly.
- Large mixing bowl — For the wet ingredients.
- Medium mixing bowl — For the dry ingredients.
- Whisk — For mixing the dry ingredients.
- Wooden spoon or rubber spatula — For folding the batter together. Do not use an electric mixer here; it can overwork the gluten.
- Parchment paper — Line the loaf pan for easy removal. Leave an overhang on the long sides so you can lift the bread out cleanly.
- Cooling rack — Essential for even cooling and preventing a soggy bottom.
If you do not have a loaf pan, you can bake this in an 8×8 square pan and reduce the baking time to about 35-40 minutes. Just keep an eye on it. I have also made these as muffins in a standard 12-cup muffin tin, baking for 18-20 minutes. They freeze beautifully, too.
Preparation Method
Preheat your oven to 350°F (175°C). Line your 9×5-inch loaf pan with parchment paper, leaving some overhang on the two long sides. Lightly grease the exposed ends with a little butter or nonstick spray.
- Brown the butter. Place the ½ cup of unsalted butter in a medium saucepan over medium heat. Let it melt completely, then swirl the pan occasionally. The butter will start to foam and bubble. After a few minutes, you will see small brown specks forming at the bottom of the pan. The butter will smell nutty and toasty. This happens quickly, so do not walk away. Once the specks are golden brown and the butter smells fragrant, remove it from the heat immediately and pour it into a heatproof bowl to stop the cooking. Let it cool for about 10 minutes. If you leave it in the hot pan, it will continue to darken and could burn.
- Mash the banana. In a large mixing bowl, mash the ripe banana with a fork until it is mostly smooth. A few small lumps are fine. You want about ⅓ cup of mashed banana.
- Mix the wet ingredients. To the mashed banana, add the pumpkin puree, granulated sugar, brown sugar, eggs, and vanilla extract. Whisk everything together until smooth and well combined. The mixture will look a little thick and glossy. Slowly drizzle in the cooled brown butter while whisking continuously. The brown butter might separate slightly, but whisking will incorporate it.
- Combine the dry ingredients. In a separate medium bowl, whisk together the all-purpose flour, baking soda, baking powder, salt, cinnamon, nutmeg, ginger, and cloves. Whisking aerates the flour and distributes the spices evenly. No sifting needed.
- Fold the batter together. Add the dry ingredients to the wet ingredients in two additions. Use a rubber spatula to gently fold everything together. Stir just until you no longer see streaks of flour. A few small lumps are okay. Overmixing will make the bread tough and dense. The batter will be thick and slightly fluffy.
- Pour into the pan. Scrape the batter into the prepared loaf pan and spread it into an even layer. Give the pan a gentle tap on the counter to release any air bubbles.
- Bake. Place the pan in the preheated oven and bake for 50-60 minutes. At the 30-minute mark, check the top. If it is browning too quickly, loosely tent a piece of aluminum foil over the pan. The bread is done when a toothpick inserted into the center comes out clean or with just a few moist crumbs. The internal temperature should be around 200-205°F (93-96°C) if you want to use a thermometer.
- Cool. Let the bread cool in the pan on a wire rack for 15 minutes. Then, use the parchment paper overhang to lift the bread out of the pan and transfer it to the rack to cool completely. Resist the urge to slice it warm. It will be too fragile and might crumble. Wait at least 1 hour for the best texture.
One thing I learned the hard way: do not skip the parchment paper. My first loaf stuck to the pan so badly I had to eat it with a spoon out of the pan. Not my proudest moment, but it was still delicious.
Cooking Tips & Techniques
Brown butter can be intimidating the first time, but it is really just butter that has been cooked until the milk solids toast. The key is to watch it closely. Once you see those brown specks, you have about 10 seconds before it goes from perfect to burnt. I always pour it into a separate bowl immediately to stop the cooking. If you accidentally burn it, just start over. Burnt butter tastes bitter and will ruin the bread.
Another common mistake is overmixing the batter. I have done this more times than I want to count. The gluten in the flour develops as you stir, and if you stir too much, the bread becomes dense and rubbery. Fold the dry ingredients in gently and stop as soon as the flour disappears. It is okay if there are a few tiny lumps.
For consistent results, make sure your banana is truly ripe. A green or even yellow banana without spots will not be sweet enough or soft enough to mash properly. The banana should be brown and soft, almost to the point where you think it is too far gone. That is exactly when you want it.
If you are baking on a humid day, you might need to add an extra 5-10 minutes to the baking time. Humidity adds moisture to the flour and the air, which can make the batter wetter. Just check with a toothpick and trust your instincts.
I also recommend rotating the pan halfway through baking. Ovens have hot spots, and rotating ensures even browning. My oven runs hot on the left side, so I always turn the pan 180 degrees at the 25-minute mark.
Variations & Adaptations
This brown butter pumpkin banana bread is forgiving enough to play around with. Here are a few variations I have tried and loved.
Chocolate Chip Version : Fold in ½ cup of semi-sweet chocolate chips with the dry ingredients. The chocolate melts into little pockets of richness that pair beautifully with the brown butter. My kids prefer this version, and honestly, I do too sometimes.
Gluten-Free Adaptation : Substitute the all-purpose flour with a 1:1 gluten-free baking flour blend that contains xanthan gum. I have used King Arthur Measure for Measure and Bob’s Red Mill 1:1 with great results. The texture is slightly more delicate, so let the bread cool completely before slicing.
Nutty Crunch Topping : Before baking, sprinkle ¼ cup of chopped pecans or walnuts over the top of the batter. Press them in gently so they stick. The nuts toast in the oven and add a lovely crunch against the soft crumb. This is my personal favorite variation because the nuts echo the nuttiness of the brown butter.
Maple Glaze Drizzle : Whisk together ½ cup of powdered sugar, 1 tablespoon of maple syrup, and 1-2 teaspoons of milk until smooth. Drizzle over the cooled bread. This adds a beautiful presentation and a touch of extra sweetness. It is perfect for when you are serving this as a dessert rather than a breakfast bread. If you love maple flavors, you might also enjoy this cozy pumpkin chocolate chip bread with maple glaze.
Dairy-Free Option : Use vegan butter for the browning step. I have tested this with Miyoko’s European Style Cultured Vegan Butter and it browned beautifully. The flavor is slightly different, less rich, but still very good. Use a dairy-free milk alternative in the glaze if you go that route.
Serving & Storage Suggestions
This bread is best served at room temperature or slightly warm. If you want to reheat a slice, pop it in the toaster for about 30 seconds or microwave it for 10-15 seconds. The toaster method gives the edges a little crispness that I really enjoy.
For serving, I love a thick slice with a generous smear of salted butter on top. The salt cuts through the sweetness and makes the brown butter flavor pop. It is also wonderful with a dollop of Greek yogurt or a drizzle of honey. For a more indulgent treat, serve it alongside a scoop of vanilla ice cream or a warm apple cider margarita with cinnamon sugar rim for a fun fall dessert pairing.
To store, wrap the cooled bread tightly in plastic wrap or aluminum foil and keep it at room temperature for up to 3 days. The moisture from the pumpkin and banana helps it stay soft. If you live in a humid climate, you might want to store it in the refrigerator after day two to prevent mold.
For longer storage, this bread freezes beautifully. Slice it first, then wrap each slice individually in plastic wrap and place them in a freezer-safe bag or container. They will keep for up to 3 months. When you want a slice, just pull it out and let it thaw at room temperature for about 30 minutes, or pop it in the toaster straight from frozen. This is my favorite trick for having a quick breakfast or snack ready to go.
The flavors actually develop and deepen after a day or two. The brown butter note becomes more pronounced, and the spices meld together. I honestly think this bread tastes even better on day two than it does fresh out of the oven.
Nutritional Information & Benefits
Here is the estimated nutritional breakdown for one slice of this brown butter pumpkin banana bread, based on 10 slices per loaf.
| Nutrient | Amount Per Slice |
|---|---|
| Calories | 265 |
| Total Fat | 11g |
| Saturated Fat | 6g |
| Cholesterol | 55mg |
| Sodium | 280mg |
| Total Carbohydrates | 38g |
| Dietary Fiber | 2g |
| Sugars | 20g |
| Protein | 4g |
This bread offers some nutritional benefits thanks to the pumpkin and banana. Pumpkin is packed with vitamin A, which supports eye health and immune function. It is also a good source of fiber and antioxidants. Bananas provide potassium, which is important for heart health and muscle function. The eggs add a little protein, and the brown butter, while indulgent, provides a small amount of vitamin A and healthy fats.
Dietary considerations: This recipe contains gluten, dairy, and eggs. It is not suitable for vegan or gluten-free diets unless you use the substitutions mentioned earlier. It is also relatively low in fiber, so pair it with a protein source like eggs or Greek yogurt for a more balanced breakfast.
Conclusion
This brown butter pumpkin banana bread is the kind of recipe that makes you look forward to fall baking season. It is simple enough for a weekday morning but special enough to bring to a holiday gathering. The brown butter adds a depth of flavor that feels luxurious without any extra effort, and the combination of pumpkin and banana creates a moist, tender crumb that stays soft for days.
I encourage you to make this your own. Add chocolate chips, throw in some nuts, or drizzle it with that maple glaze. The base recipe is solid, but it is also a canvas for whatever you are craving. That is the beauty of a good quick bread.
Honestly, I love this recipe because it reminds me that sometimes the best things come from using up what you have. A sad banana and half a can of pumpkin turned into something my husband still asks for by name. That is the kind of magic that keeps me coming back to the kitchen.
If you make this bread, I would love to hear about it. Leave a comment below and let me know what variation you tried, or tag me in your photos. Happy baking, friend.
Frequently Asked Questions
Can I use frozen banana for this recipe?
Yes, absolutely. Thaw the banana completely and drain off any excess liquid before mashing. Frozen bananas tend to release more water, which can make the batter too wet if you do not drain them. The flavor will be even sweeter because freezing breaks down the starches.
Why did my bread sink in the middle?
A sunken middle usually means the bread was underbaked or the oven temperature was too low. Make sure your oven is fully preheated to 350°F and test the bread with a toothpick before pulling it out. If the toothpick comes out wet with batter, give it another 5-10 minutes. Also, do not open the oven door during the first 30 minutes of baking, as the cold air can cause the bread to collapse.
Can I make this recipe without browning the butter?
You can, but you will miss out on the nutty, toasty flavor that makes this bread special. If you are short on time, just melt the butter and use it as is. The bread will still be good, just not as complex. If you want a similar flavor without browning, add ½ teaspoon of maple extract or a tablespoon of toasted sesame oil to the batter.
How do I know when the bread is done baking?
Insert a toothpick or a thin knife into the center of the loaf. If it comes out clean or with just a few moist crumbs attached, it is done. You can also use an instant-read thermometer; the internal temperature should be between 200-205°F (93-96°C). The top should be golden brown and feel firm to the touch.
Can I double this recipe?
Yes, this recipe doubles beautifully. Use two 9×5-inch loaf pans and bake them on the same oven rack. You may need to add a few extra minutes to the baking time because the oven will be more crowded. Rotate the pans halfway through for even baking. You can also freeze one loaf for later.
Pin This Recipe!
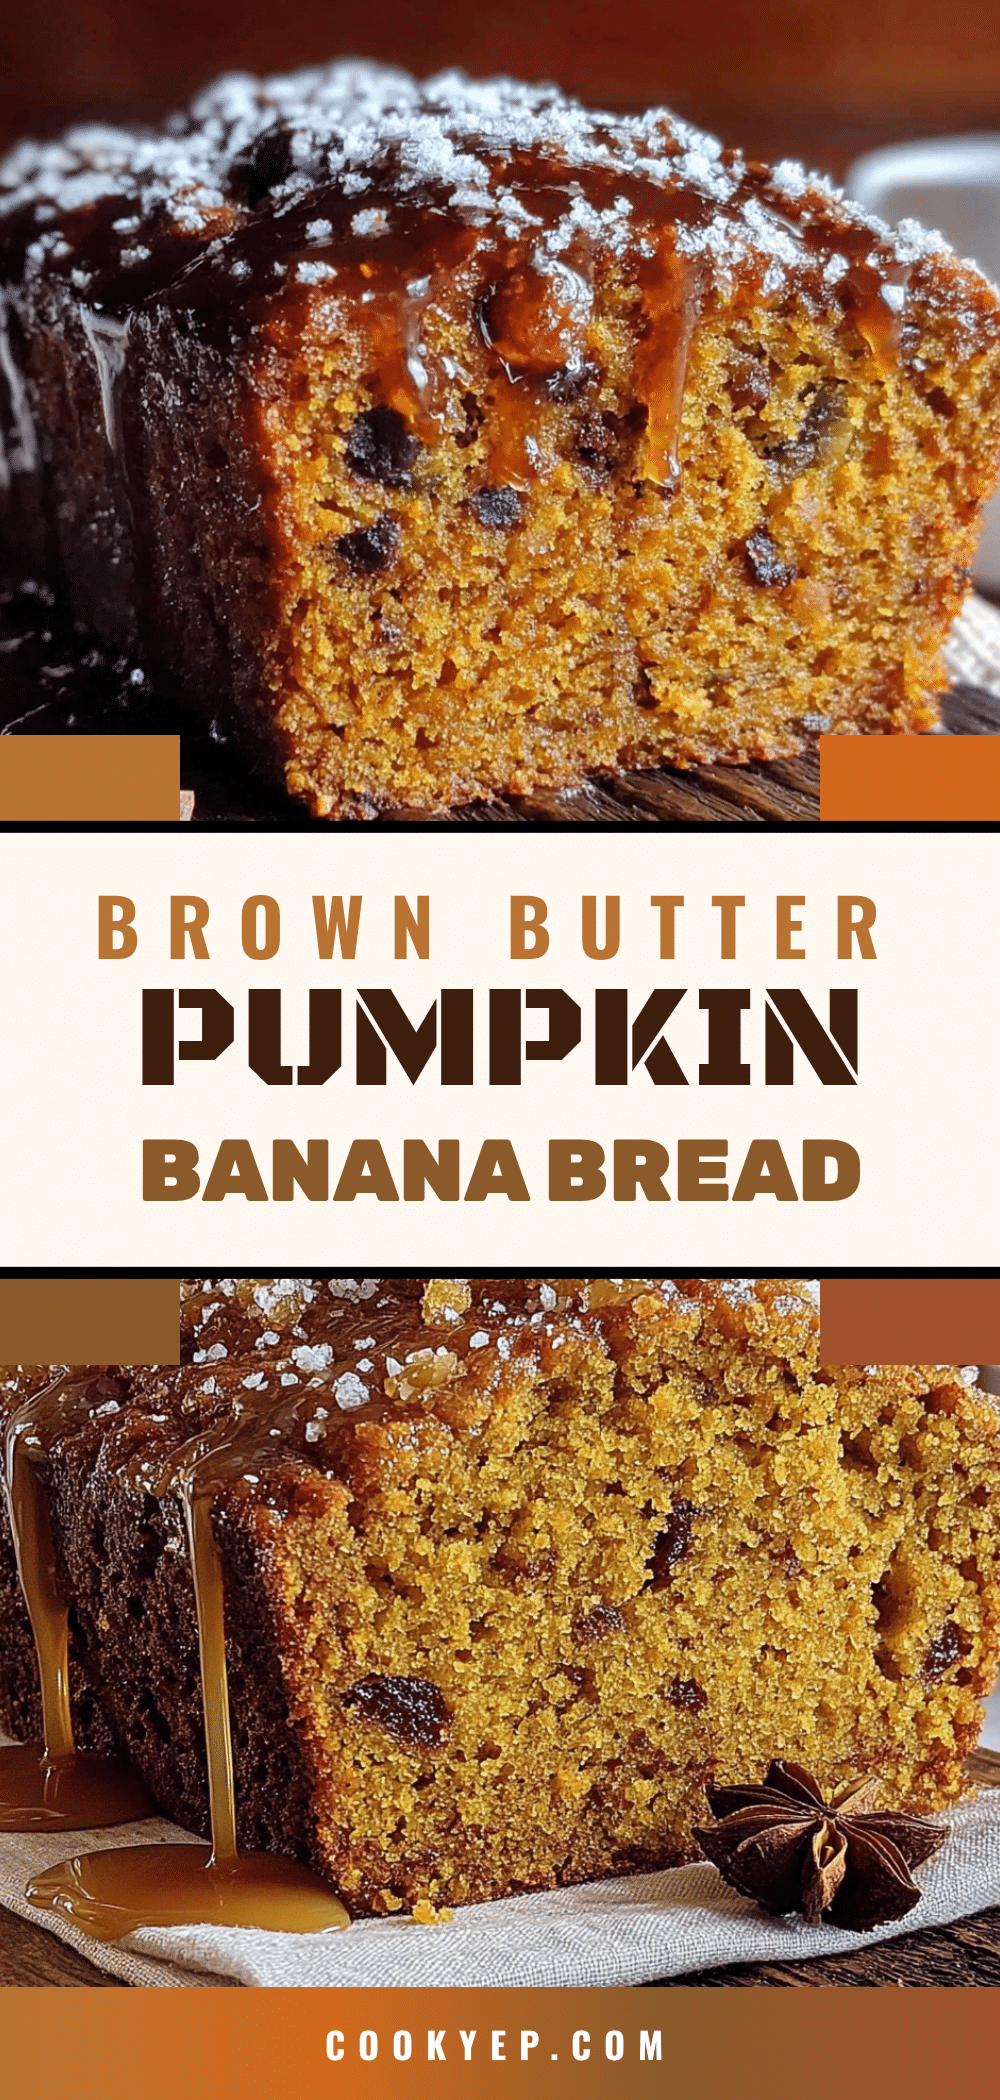
Easy Brown Butter Pumpkin Banana Bread Recipe
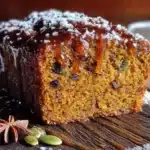
This brown butter pumpkin banana bread is moist, tender, and packed with nutty, toasty flavor from browned butter. It’s a simple, one-bowl recipe that turns pantry staples into a cozy fall favorite.
- Prep Time: 15 minutes
- Cook Time: 55 minutes
- Total Time: 1 hour 10 minutes
- Yield: 10 servings 1x
- Category: Quick Bread
- Cuisine: American
Ingredients
- ½ cup (1 stick) unsalted butter
- 1 medium ripe banana (about ⅓ cup mashed)
- ¾ cup pumpkin puree (not pumpkin pie filling)
- 1 ¾ cups (210g) all-purpose flour
- ½ cup granulated sugar
- ½ cup light brown sugar, packed
- 2 large eggs, at room temperature
- 1 teaspoon vanilla extract
- 1 teaspoon baking soda
- ½ teaspoon baking powder
- ½ teaspoon salt
- 1 teaspoon ground cinnamon
- ½ teaspoon ground nutmeg
- ¼ teaspoon ground ginger
- ⅛ teaspoon ground cloves
Instructions
- Preheat oven to 350°F (175°C). Line a 9×5-inch loaf pan with parchment paper, leaving overhang on the long sides. Lightly grease exposed ends.
- Brown the butter: Place ½ cup unsalted butter in a medium saucepan over medium heat. Melt completely, then swirl occasionally. Butter will foam and bubble; when small brown specks form and it smells nutty, remove from heat immediately and pour into a heatproof bowl. Let cool for 10 minutes.
- In a large mixing bowl, mash the ripe banana with a fork until mostly smooth (a few lumps are fine).
- Add pumpkin puree, granulated sugar, brown sugar, eggs, and vanilla extract to the mashed banana. Whisk until smooth and well combined. Slowly drizzle in cooled brown butter while whisking continuously.
- In a separate medium bowl, whisk together flour, baking soda, baking powder, salt, cinnamon, nutmeg, ginger, and cloves.
- Add dry ingredients to wet ingredients in two additions, folding gently with a rubber spatula until just combined (a few small lumps are okay). Do not overmix.
- Pour batter into prepared loaf pan and spread evenly. Tap pan gently on counter to release air bubbles.
- Bake for 50-60 minutes. At 30 minutes, check top; if browning too quickly, tent loosely with aluminum foil. Bread is done when a toothpick inserted in center comes out clean or with a few moist crumbs (internal temperature 200-205°F / 93-96°C).
- Cool in pan on a wire rack for 15 minutes. Use parchment overhang to lift bread out and transfer to rack to cool completely (at least 1 hour before slicing).
Notes
Brown butter can burn quickly; watch closely and pour into a separate bowl immediately once brown specks appear. Overmixing batter will make bread dense. Use a very ripe (brown) banana for best sweetness and texture. Bread keeps at room temperature for up to 3 days, or freeze slices for up to 3 months.
Nutrition
- Serving Size: 1 slice
- Calories: 265
- Sugar: 20
- Sodium: 280
- Fat: 11
- Saturated Fat: 6
- Carbohydrates: 38
- Fiber: 2
- Protein: 4
Keywords: brown butter, pumpkin banana bread, fall baking, quick bread, easy recipe