It was 10:47 PM on a frantic Tuesday, and I had a very specific craving: Friendsgiving. Not the adult kind with fancy cheese and wine pairings, you know, but the version where nobody spills red wine on the rug and the biggest crisis is who gets the last dinosaur-shaped chicken nugget. I didn’t have a charcuterie board big enough for eight kids, but I had a stack of disposable cups left over from a birthday party and an idea that arrived in a panic—what if I just built the whole thing vertically?
Honestly, I was tired. The kind of tired where you’re staring into the fridge and the cheese drawer looks like a chaotic puzzle. My daughter’s school was doing a mini-Friendsgiving celebration the next day, and I’d promised to bring something “fun and shareable.” The clock was ticking, and the last thing I wanted was a mess of crackers and spilled grapes. So I grabbed those cups and started layering. A few cubes of cheddar here, some salami roses there, a handful of pretzel sticks poking out like little edible flags. I mean, it was a bit of a gamble.
Let me tell you, when I dropped those cups off the next morning, the kids went absolutely nuts. They each had their own little “snack bouquet,” and there was zero fighting over who got the last piece of pepperoni. I stood there, bleary-eyed but vindicated, watching a room full of five-year-olds politely munching on their personal charcuterie cups. It was a weird, wonderful victory. Maybe you’ve been there—that moment when a snack idea just clicks, and you wonder why you never thought of it sooner. That’s why these cups have stayed in my rotation ever since.
Why You’ll Love This Recipe
These Kid-Friendly Charcuterie Cups for Friendsgiving are a total game-changer for anyone feeding a crowd of little ones. I’ve tested this idea at school parties, family gatherings, and even a few playdates, and it never fails. Here’s why you’re going to want to make them for your next event:
- Quick & Easy : You can assemble a dozen of these cups in under 15 minutes. Honestly, it’s faster than trying to arrange a proper board, and there’s way less cleanup.
- Simple Ingredients : No fancy grocery trips needed. You likely already have everything in your kitchen—crackers, cheese sticks, lunch meat, and whatever fruit is hanging around.
- Perfect for Friendsgiving : Great for school parties, potlucks, or even a cozy dinner where you want the kids to feel special without the stress of a big spread.
- Crowd-Pleaser : Always gets rave reviews from kids and adults alike. The individual portions mean no arguments, and everyone gets exactly what they like.
- Unbelievably Delicious : The texture and flavor combo is next-level comfort food. Salty pretzels, creamy cheese, sweet fruit—it’s a little party in a cup.
What makes this recipe different from the rest? It’s the method. By building everything in a cup, you’re creating a self-contained snack that’s portable, mess-free, and incredibly fun to eat. I’ve tried serving charcuterie on plates for kids before, and it always ends up as a pile of crumbs. This way, they can grab a cup and go, and you don’t have to worry about spills or sharing.
This recipe isn’t just good—it is the kind that makes you close your eyes after the first bite. It’s comfort food reimagined—healthier, faster, but with the same soul-soothing satisfaction. Perfect for impressing other parents without stress, or turning a simple Friendsgiving into something memorable.
What Ingredients You Will Need
This recipe uses simple, wholesome ingredients to deliver bold flavor and satisfying texture without the fuss. Most of these are pantry staples or easy to find at any grocery store.
- For the Base:
- Mini pretzel twists (about 1 cup per 4 cups)
- Goldfish crackers (1/2 cup per cup)
- Mini cheese cubes (cheddar or Colby Jack, about 1/2 cup per cup)
- For the Protein:
- Sliced salami or pepperoni (folded into quarters, about 4-5 slices per cup)
- Turkey or ham roll-ups (thin slices, rolled and cut into bite-sized pieces)
- String cheese sticks (cut into 1-inch chunks)
- For the Fruit & Sweet:
- Red grapes (washed and dried, about 5-6 per cup)
- Apple slices (tossed in lemon juice to prevent browning, 3-4 per cup)
- Mini chocolate chips or yogurt-covered raisins (a tablespoon per cup, optional but a hit)
- For the Fun Factor:
- Small cookie cutters (for cutting cheese or fruit into shapes—stars, hearts, or dinosaurs)
- Edible markers (for drawing faces on cheese cubes—trust me, kids love this)
I recommend using Sargento cheese cubes for best texture—they hold their shape well and don’t get soggy. For the fruit, look for firm, seedless grapes and crisp apples like Honeycrisp or Fuji. In the fall, you can swap in fresh berries instead of grapes if they’re in season. Use gluten-free pretzels and crackers for a gluten-free option, or swap the cheese with dairy-free cheese cubes if needed.
Equipment Needed
You don’t need anything fancy for these cups. Here’s what you’ll need to have on hand:
- Disposable cups: 9-ounce plastic or paper cups work best. I’ve used both, and the plastic ones are sturdier for stacking.
- Small cookie cutters: Star, heart, or animal shapes make the cheese and fruit more fun. You can find these at any craft store for a few bucks.
- Sharp knife and cutting board: For slicing cheese, fruit, and meat. A paring knife works well for detail work.
- Edible markers: These are optional, but they add a personal touch. I found a set at the grocery store near the baking aisle.
- Paper towels: For drying grapes and apple slices—wet fruit can make the crackers soggy.
If you don’t have cookie cutters, you can just cube the cheese and fruit—the kids won’t mind. For a budget-friendly option, use small mason jars instead of disposable cups. They’re reusable and look cute on the table. Just make sure to wash them thoroughly between uses.
Preparation Method
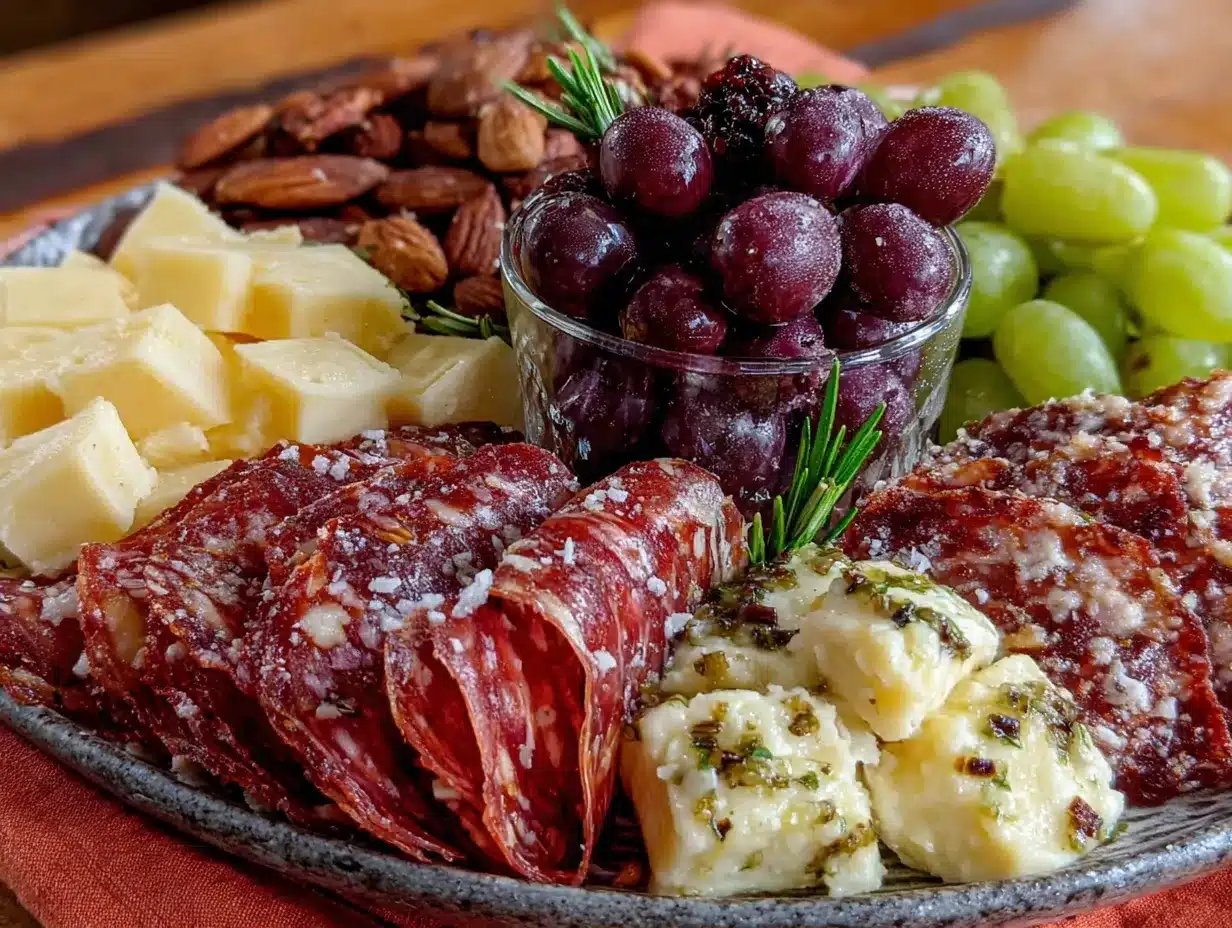
Follow these steps to build your Kid-Friendly Charcuterie Cups for Friendsgiving. It’s a straightforward process, but the order matters to keep everything fresh and crunchy.
- Prep the ingredients (5 minutes): Wash and dry the grapes thoroughly. Cut the apple slices and toss them in a little lemon juice to prevent browning. Cube the cheese into bite-sized pieces if you’re not using pre-cubed cheese. Cut the string cheese into 1-inch chunks. Roll up the turkey or ham slices and slice them into pinwheels.
- Set up your assembly line (2 minutes): Arrange all your ingredients in bowls on the counter. Have your cups ready and lined up. This makes the process much faster, especially if you’re making a lot of cups.
- Layer the base (1 minute per cup): Start with a handful of mini pretzel twists at the bottom of each cup. This creates a crunchy foundation. Add a layer of Goldfish crackers on top of the pretzels. The crackers will help absorb any moisture from the fruit later.
- Add the protein (2 minutes per cup): Place 4-5 folded salami slices or pepperoni pieces around the inside edges of the cup. Press them gently against the sides so they stay visible. Add a few turkey or ham roll-ups in the center. Tuck in some string cheese chunks between the meat pieces.
- Add the fruit (2 minutes per cup): Carefully place 5-6 grapes on top of the meat layer. Add 3-4 apple slices, arranging them so they stick out slightly for a pretty presentation. If you’re using berries, scatter them on top.
- Top with fun extras (1 minute per cup): Sprinkle a tablespoon of mini chocolate chips or yogurt-covered raisins over the top. If you have cookie cutters, press a star or heart shape into a slice of cheese and place it on top. Use edible markers to draw a little smiley face on a cheese cube—this is always a hit with the kids.
- Finish and serve (1 minute): Give each cup a gentle shake to settle the ingredients. Don’t press down too hard, or the crackers will break. Serve immediately, or cover with plastic wrap and refrigerate for up to 2 hours. The cups should look colorful and inviting, with each layer visible through the sides.
A quick tip: If you’re making these for a party, assemble them no more than 2 hours ahead of time. The pretzels and crackers will start to soften if they sit too long. I learned this the hard way when I made them the night before—the texture was still good, but the crunch was gone.
Cooking Tips & Techniques
Here are some lessons I’ve learned from making these cups more times than I can count. Some of these came from failures, but that’s how we grow, right?
- Keep it dry: Wet fruit is the enemy of crunchy crackers. Make sure you dry your grapes and apple slices thoroughly with paper towels before adding them to the cups. I once skipped this step, and the bottom of the cups turned into a sad, soggy mess.
- Layer strategically: Always put the crackers and pretzels at the bottom, then the meat, then the fruit. The meat acts as a barrier, preventing moisture from seeping down to the crunchy base. It’s a simple trick, but it makes a huge difference.
- Don’t overfill: It’s tempting to pack as much as possible into each cup, but leave a little space at the top. Kids need to be able to grab the pieces easily, and an overstuffed cup just becomes a frustrating jumble. Aim for about 3/4 full.
- Use themed shapes: For Friendsgiving, I like to use turkey-shaped cookie cutters for the cheese. For Halloween, it’s pumpkins. For Christmas, it’s stars. It takes an extra minute, but the kids notice, and it makes the cups feel special.
- Let the kids help: If you’re making these at home, let the kids assemble their own cups. It’s a fun activity, and they’re more likely to eat everything if they built it themselves. Just supervise the cutting.
One mistake I made early on was using too many different types of crackers. It looked chaotic, and the flavors didn’t always work together. Stick to two or three types max—pretzels and Goldfish are a classic combo that never fails.
Variations & Adaptations
These cups are incredibly versatile. Here are a few ways to switch them up depending on the season, dietary needs, or just your mood.
- Dietary Variations:
- Gluten-Free: Use gluten-free pretzels and crackers. Most brands work well, but I prefer Schär for their texture.
- Dairy-Free: Swap the cheese with dairy-free cheese cubes or sliced avocado. Use vegan pepperoni or turkey slices made from plant-based protein.
- Nut-Free: Skip the chocolate chips if they’re processed on shared equipment. Use sunflower seeds or pumpkin seeds instead for a crunchy topping.
- Seasonal Variations:
- Fall Friendsgiving: Add mini pumpkin-shaped crackers, dried cranberries, and a small candy corn on top.
- Winter Holidays: Use red and green grapes, star-shaped cheese, and a sprinkle of pomegranate seeds.
- Summer Picnic: Swap the salami for grilled chicken strips and add fresh blueberries and raspberries.
- Flavor Twists:
- Sweet & Salty: Add a few mini marshmallows and a drizzle of melted chocolate over the top.
- Spicy Kick: Use spicy salami and add a small pickled jalapeño slice for the adults (keep the kids’ cups mild).
- Breakfast Version: Use mini pancakes as the base, add scrambled egg bites, and top with fresh fruit. Perfect for a morning Friendsgiving!
I tried a “breakfast charcuterie cup” for a school brunch once, and it was surprisingly good. The kids loved the mini pancakes, and the parents appreciated the protein from the eggs. It’s a fun twist if you’re doing a morning celebration.
Serving & Storage Suggestions
These cups are best served at room temperature, so take them out of the fridge about 15 minutes before serving. Arrange them on a large tray or platter with a few extra napkins nearby—kids will grab and go, so make it easy for them.
For presentation, I like to use a mix of clear plastic cups and colored paper cups. The clear cups show off the layers, which looks really pretty on the table. If you’re using paper cups, choose ones with a festive pattern to match the occasion.
Complement these cups with a warm drink like apple cider or hot chocolate. For a full Friendsgiving spread, add a plate of mini muffins, a bowl of popcorn, and some veggie sticks with ranch dip. The cups are the star, but a few extras round out the meal.
Storage is simple: if you have leftovers, cover each cup with plastic wrap and refrigerate for up to 24 hours. The texture won’t be as crunchy, but the flavors will still be good. I wouldn’t recommend freezing them—the fruit and cheese will get watery when thawed.
To reheat? You don’t really need to. Just let them sit at room temperature for a bit. If you want to revive the crunch, you can pop the pretzels and crackers in a toaster oven for a minute, but honestly, it’s easier to just eat them as is. The flavors actually meld together a bit after sitting, which some people prefer.
Nutritional Information & Benefits
Here’s an estimated breakdown per cup (based on a standard serving with pretzels, cheese, salami, grapes, and a few chocolate chips):
- Calories: 280-320
- Protein: 12-15g
- Carbohydrates: 28-32g
- Fat: 14-18g
- Fiber: 2-3g
- Sugar: 12-15g (mostly from fruit)
The health benefits here come from the balance of protein, healthy fats, and fiber. The cheese and meat provide protein to keep kids full, while the fruit offers natural sweetness and vitamins. Grapes are rich in antioxidants, and apples provide fiber for digestion. The pretzels and crackers add quick energy, which is great for active kids.
This recipe is naturally gluten-free if you use the right crackers, and it can be made dairy-free with simple swaps. Potential allergens include dairy (cheese), gluten (pretzels), and nuts (if you add chocolate chips processed on shared equipment). Always check labels if you’re serving kids with allergies.
From a personal perspective, I love that these cups let kids have a “grown-up” snack without the fuss. It’s a way to introduce them to different flavors in a low-pressure format. They feel fancy, but you know it’s just cheese and crackers in a cup.
Conclusion
These Kid-Friendly Charcuterie Cups for Friendsgiving are worth every minute of prep. They’re fun, portable, and solve the age-old problem of feeding a crowd without creating a huge mess. Whether you’re hosting a school party, a family gathering, or just a cozy night in, these cups bring a little joy to the table.
I encourage you to customize them based on your kids’ preferences. Swap out the salami for turkey, use their favorite crackers, or add a special treat on top. The beauty of this recipe is that it’s a template, not a strict rule. Make it your own.
Personally, I love these cups because they remind me of that late-night revelation—the moment I realized that sometimes the best ideas come from being tired and desperate. It’s a little reminder that creativity doesn’t need a fancy kitchen or a perfect plan. Just a stack of cups and a willingness to try something weird.
I’d love to hear how your cups turn out! Drop a comment below sharing your favorite variation or tag me in your photos. And if you know another parent who’s stressed about the next school party, share this recipe with them. Happy Friendsgiving!
Frequently Asked Questions
Can I make these cups ahead of time?
Yes, you can assemble them up to 2 hours ahead. Just cover them with plastic wrap and keep them in the fridge. For best crunch, add the pretzels and crackers just before serving.
What are the best cups to use?
Clear plastic cups (9-ounce size) work best because they show off the layers. Paper cups are fine too, but avoid styrofoam—it can get crushed easily.
Can I make these cups nut-free?
Absolutely! Skip the chocolate chips and use sunflower seeds or pumpkin seeds instead. Check all labels to ensure they’re processed in a nut-free facility.
How do I keep the fruit from making the crackers soggy?
Dry the fruit thoroughly with paper towels before adding it to the cups. Also, layer the meat between the crackers and the fruit—it acts as a moisture barrier.
What if my child has a dairy allergy?
Use dairy-free cheese cubes or sliced avocado instead. You can also add extra meat or fruit to make up for the missing cheese. Just check the labels on the crackers and pretzels to ensure they’re dairy-free too.
Pin This Recipe!
Easy Kid-Friendly Charcuterie Cups for Friendsgiving
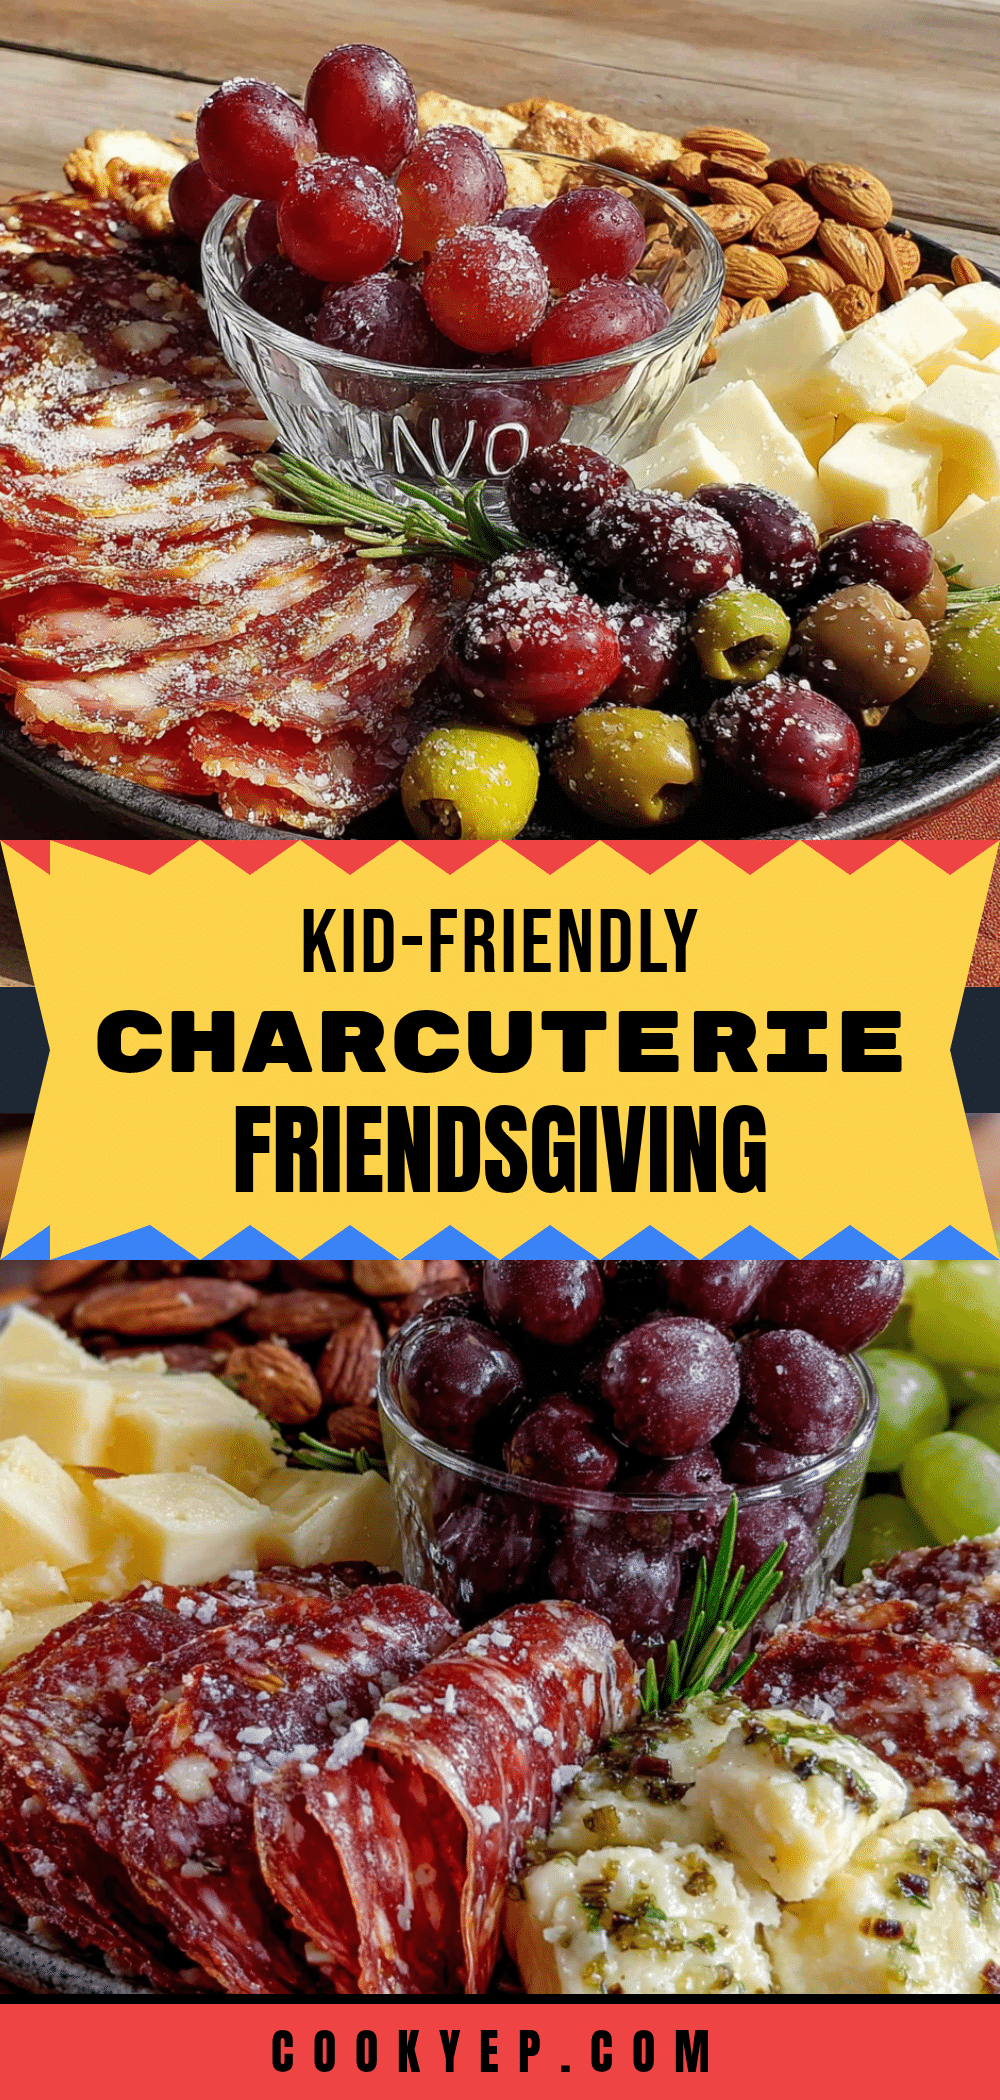
These portable, mess-free charcuterie cups are perfect for kids’ parties and Friendsgiving celebrations. Each cup is a self-contained snack bouquet with pretzels, cheese, salami, fruit, and fun extras that kids love.
- Prep Time: 15 minutes
- Cook Time: 0 minutes
- Total Time: 15 minutes
- Yield: 8 servings
- Category: Appetizer
- Cuisine: American
Ingredients
- Mini pretzel twists (about 1 cup per 4 cups)
- Goldfish crackers (1/2 cup per cup)
- Mini cheese cubes (cheddar or Colby Jack, about 1/2 cup per cup)
- Sliced salami or pepperoni (folded into quarters, about 4-5 slices per cup)
- Turkey or ham roll-ups (thin slices, rolled and cut into bite-sized pieces)
- String cheese sticks (cut into 1-inch chunks)
- Red grapes (washed and dried, about 5-6 per cup)
- Apple slices (tossed in lemon juice to prevent browning, 3-4 per cup)
- Mini chocolate chips or yogurt-covered raisins (a tablespoon per cup, optional)
- Small cookie cutters (for cutting cheese or fruit into shapes)
- Edible markers (for drawing faces on cheese cubes, optional)
Instructions
- Prep the ingredients (5 minutes): Wash and dry the grapes thoroughly. Cut the apple slices and toss them in a little lemon juice to prevent browning. Cube the cheese into bite-sized pieces if you’re not using pre-cubed cheese. Cut the string cheese into 1-inch chunks. Roll up the turkey or ham slices and slice them into pinwheels.
- Set up your assembly line (2 minutes): Arrange all your ingredients in bowls on the counter. Have your cups ready and lined up.
- Layer the base (1 minute per cup): Start with a handful of mini pretzel twists at the bottom of each cup. Add a layer of Goldfish crackers on top of the pretzels.
- Add the protein (2 minutes per cup): Place 4-5 folded salami slices or pepperoni pieces around the inside edges of the cup. Press them gently against the sides. Add a few turkey or ham roll-ups in the center. Tuck in some string cheese chunks between the meat pieces.
- Add the fruit (2 minutes per cup): Carefully place 5-6 grapes on top of the meat layer. Add 3-4 apple slices, arranging them so they stick out slightly. If using berries, scatter them on top.
- Top with fun extras (1 minute per cup): Sprinkle a tablespoon of mini chocolate chips or yogurt-covered raisins over the top. If using cookie cutters, press a shape into a slice of cheese and place it on top. Use edible markers to draw a smiley face on a cheese cube.
- Finish and serve (1 minute): Give each cup a gentle shake to settle the ingredients. Serve immediately, or cover with plastic wrap and refrigerate for up to 2 hours.
Notes
Assemble no more than 2 hours ahead to keep crackers crunchy. Dry fruit thoroughly to prevent sogginess. Layer meat between crackers and fruit as a moisture barrier. Let kids help assemble for fun. For best results, use clear plastic cups to show off the layers.
Nutrition
- Serving Size: 1 cup
- Calories: 300
- Sugar: 13.5
- Sodium: 650
- Fat: 16
- Saturated Fat: 6
- Carbohydrates: 30
- Fiber: 2.5
- Protein: 13.5
Keywords: charcuterie cups, kid-friendly, Friendsgiving, school party, snack cups, easy appetizer, portable snack