My husband looked up from his plate on a random Tuesday night and said, “This might be the best chicken I’ve ever had.” And he wasn’t even trying to be sweet—he was still chewing. That caught me off guard because this wasn’t some complicated, multi-step recipe I’d spent hours perfecting. It was a Tuesday. I was tired. I basically threw things in a pan and hoped for the best.
That’s the thing about this Easy One-Pan Garlic Butter Chicken Thighs with Vegetables recipe. It came together on a night when I had absolutely nothing left to give, and somehow it turned into the kind of dinner that makes you forget you’re eating vegetables. The chicken thighs come out impossibly juicy with that crispy, golden skin we all fight over. And the vegetables? They soak up all that garlic butter sauce and get these gorgeous caramelized edges that honestly taste better than the main event.
I’ve made this dish at least a dozen times since that Tuesday, tweaking it here and there (okay, mostly just figuring out how to get more of that garlic butter sauce on my plate). It’s become my go-to for those nights when I want something that feels special but doesn’t require a sink full of dishes. The whole thing happens in one pan, which means less cleanup and more time actually enjoying dinner. And let me tell you, there’s something deeply satisfying about pulling a single pan out of the oven and watching everyone’s eyes light up.
Why You’ll Love This Recipe
Let me be honest with you—I’ve tested a lot of chicken thigh recipes over the years, and most of them fall into one of two camps: they’re either boring or they’re a pain to clean up after. This one breaks that cycle completely.
- One Pan, Minimal Mess : Everything cooks together in a single skillet or baking dish. No separate pots for vegetables, no extra pans for sauce. Your sink will thank you.
- Juicy Chicken Every Time : Chicken thighs are naturally more forgiving than breasts, but this method practically guarantees tender, flavorful meat with crispy skin that actually stays crispy.
- Built-In Vegetable Side : The vegetables roast right alongside the chicken, soaking up all those garlic butter drippings. You get a complete meal without thinking about a separate side dish.
- Weeknight Friendly : From start to finish, you’re looking at about 45 minutes. Most of that is hands-off oven time, giving you space to make a salad or pour yourself a glass of wine.
- Customizable to Your Fridge : The vegetable combination is flexible—use what you have on hand or what looks good at the market. I’ve made this with everything from zucchini to sweet potatoes.
What sets this recipe apart from the dozens of one-pan chicken dinners out there is the garlic butter situation. Instead of just brushing butter on top, we create a garlic herb butter that melts down over everything as it cooks, infusing every single bite with flavor. The vegetables get coated in it, the chicken basks in it, and you end up with a pan sauce that’s basically liquid gold. I’ve caught myself spooning it over rice, potatoes, even just eating it straight from the pan (no judgment, please).
This is the kind of meal that makes you feel like you’ve got your life together, even when you absolutely don’t. It’s impressive enough for company but simple enough for a random Tuesday. And honestly, after the first time you make it, you’ll understand why my husband couldn’t wait to finish chewing before he spoke.
What Ingredients You Will Need
This recipe relies on simple, everyday ingredients that come together to create something much greater than the sum of their parts. Most of these are probably already in your kitchen, which is exactly how I like to cook.
For the Chicken
- 4 bone-in, skin-on chicken thighs (about 1.5 pounds total) — I prefer bone-in for maximum flavor and juiciness, but boneless works too (just reduce cooking time by about 10 minutes). Look for thighs with the skin still attached—that crispy skin is non-negotiable in my book.
- 1 teaspoon salt — I use kosher salt for its clean flavor and easy pinch-ability. Diamond Crystal is my go-to brand because it’s less salty by volume, giving me more control.
- ½ teaspoon black pepper — Freshly ground makes a noticeable difference here. The pre-ground stuff just doesn’t have the same pop.
- ½ teaspoon garlic powder — This adds a subtle garlic backbone that complements the fresh garlic in the butter.
- ½ teaspoon paprika — Regular or smoked both work. Smoked paprika adds a lovely depth that I’m particularly fond of.
For the Vegetables
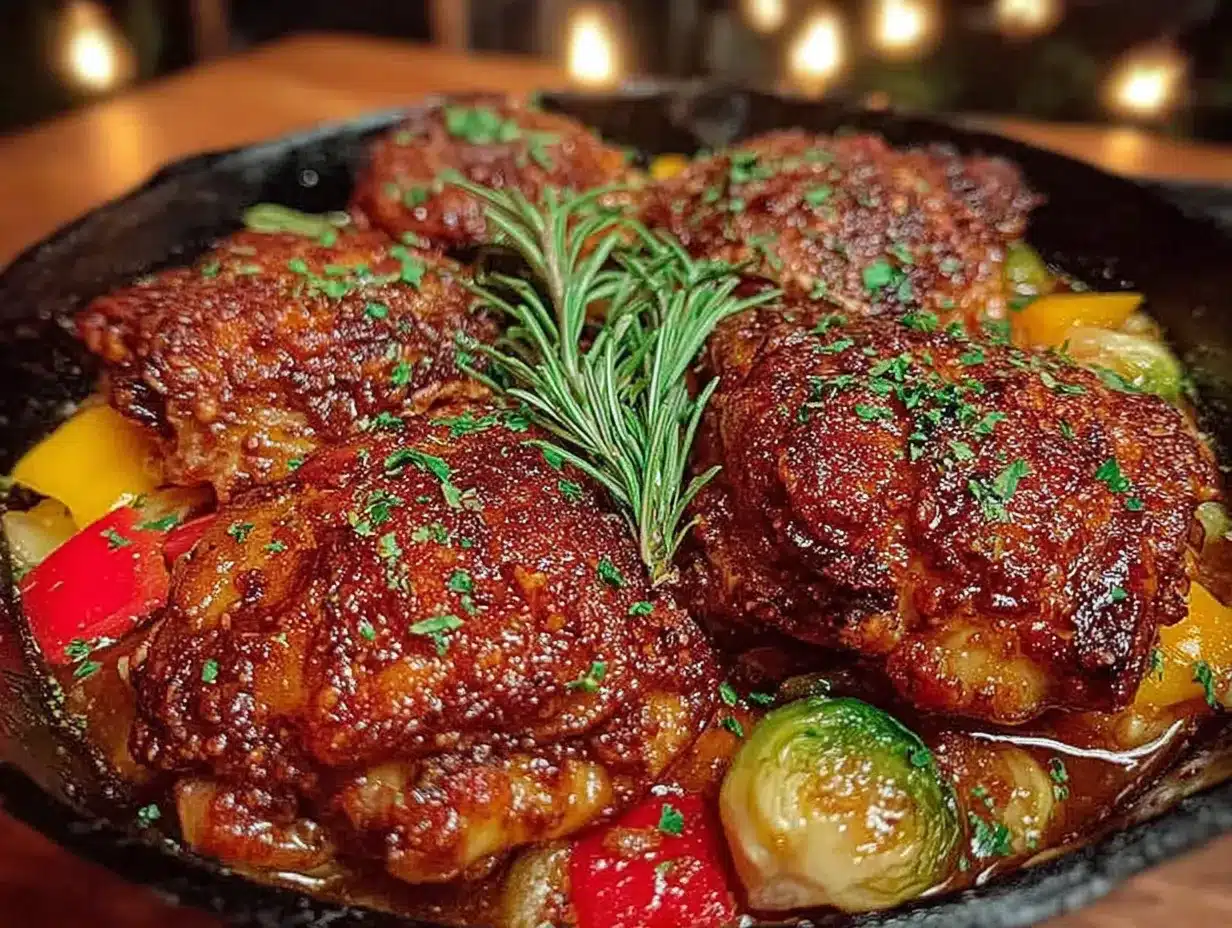
- 1 pound baby potatoes (halved or quartered depending on size) — Yukon Gold or red potatoes hold up well and get beautifully crispy edges. If you’re using larger potatoes, cut them into 1-inch chunks so they cook evenly.
- 2 cups broccoli florets — About 1 medium head. Cut them into similar-sized pieces for even roasting. I like leaving a bit of stem attached for texture.
- 1 medium red onion (cut into 1-inch wedges) — Red onion adds sweetness as it roasts and looks gorgeous against the green broccoli and golden chicken.
- 3 tablespoons olive oil — A good quality extra virgin olive oil works beautifully here. It helps the vegetables caramelize without burning.
- ½ teaspoon salt — For seasoning the vegetables. Don’t skip this—underseasoned vegetables are sad vegetables.
- ¼ teaspoon black pepper
For the Garlic Butter Sauce
- 4 tablespoons unsalted butter (softened to room temperature) — Salted butter works too, just reduce the added salt slightly. I use Kerrygold when I want something extra rich.
- 4 cloves garlic (minced) — Fresh garlic is essential here. Don’t use the jarred stuff—it has a sharper, less sweet flavor that doesn’t melt into the butter the same way.
- 1 tablespoon fresh parsley (chopped) — Plus more for garnish. Flat-leaf Italian parsley has more flavor than the curly kind, but either works.
- 1 teaspoon fresh thyme leaves (or ½ teaspoon dried) — Thyme and chicken are a classic pairing for good reason. If using dried, rub it between your palms to release the oils before adding.
- ½ teaspoon red pepper flakes (optional) — I add these about half the time, depending on my mood. They don’t make the dish spicy so much as they add a gentle warmth in the background.
For the Pan Sauce (Optional but Recommended)
- ½ cup chicken broth — Low sodium is best so you can control the salt level. I like Better Than Bouillon for its rich flavor.
- 1 tablespoon lemon juice (fresh squeezed) — This brightens everything up and cuts through the richness of the butter.
Equipment Needed
One of the best things about this recipe is how little equipment it requires. Here’s what you’ll need:
- Large oven-safe skillet (12-inch cast iron or stainless steel) — This is the star of the show. Cast iron gives you the best sear and even heat distribution, but any oven-safe skillet works. If you don’t have one, a baking sheet lined with parchment paper will do in a pinch.
- Mixing bowl — For tossing the vegetables with oil and seasonings. Any medium bowl works.
- Small bowl — For mixing the garlic butter. I use a tiny prep bowl I’ve had for years.
- Chef’s knife and cutting board — For prepping vegetables and mincing garlic. A sharp knife makes this go so much faster.
- Tongs — For flipping the chicken and moving things around in the pan. Silicone-tipped tongs won’t scratch your skillet.
- Meat thermometer — This isn’t strictly necessary if you’re comfortable judging doneness, but it takes the guesswork out. Chicken thighs should reach 165°F (74°C) at the thickest part.
If you don’t have a cast iron skillet, don’t run out and buy one for this recipe. A regular baking sheet works perfectly fine—just line it with foil for easier cleanup. I’ve made this on a sheet pan plenty of times when my skillet was otherwise occupied, and it turns out great.
Preparation Method
Let me walk you through this step by step. Trust me, it’s easier than it looks, and I’ve included all the little cues I’ve learned along the way.
Step 1: Preheat and Prep
Preheat your oven to 400°F (200°C). While it’s heating up, pat the chicken thighs dry with paper towels. This is genuinely important—dry skin equals crispy skin. Season both sides generously with salt, pepper, garlic powder, and paprika. Don’t be shy with the seasoning; you want every bite to be flavorful.
Step 2: Prepare the Vegetables
In a mixing bowl, combine the halved baby potatoes, broccoli florets, and red onion wedges. Drizzle with olive oil, then sprinkle with salt and pepper. Toss everything together until the vegetables are evenly coated. I use my hands for this—it’s faster and ensures everything gets covered. Set the bowl aside while you work on the chicken.
Step 3: Make the Garlic Butter
In a small bowl, combine the softened butter, minced garlic, chopped parsley, thyme leaves, and red pepper flakes if using. Mash everything together with a fork until it’s well combined. The butter should be soft enough to spread easily but not melted. If your butter is too cold, microwave it for 5-10 seconds, but watch it carefully—you don’t want it melted.
Step 4: Sear the Chicken
Place your oven-safe skillet over medium-high heat and add a tablespoon of olive oil (or any neutral oil). Once the oil is shimmering—you’ll see it ripple and maybe a wisp of smoke—carefully place the chicken thighs skin-side down. Let them cook undisturbed for 5-6 minutes. This is crucial for getting that golden, crispy skin. Don’t poke at them or try to move them early. You’ll know they’re ready when the skin is deep golden brown and releases easily from the pan.
Flip the chicken thighs and cook for another 2-3 minutes on the other side. The second side doesn’t need as long since it won’t be skin-side down in the oven. Remove the chicken to a plate and set aside. Don’t wipe out the pan—those browned bits are flavor gold.
Step 5: Assemble the Dish
Add the seasoned vegetables directly to the same skillet (or transfer everything to a baking sheet if you’re using one). Spread them out in an even layer. Nestle the seared chicken thighs on top of the vegetables, skin-side up. Take your garlic butter and dollop it evenly over each chicken thigh—about a tablespoon per thigh. Don’t worry if some butter falls onto the vegetables; that’s a good thing.
Step 6: Roast to Perfection
Place the skillet in the preheated oven and roast for 25-30 minutes. Halfway through, give the vegetables a gentle stir (being careful not to disturb the chicken too much) so they cook evenly. The chicken is done when the internal temperature reaches 165°F (74°C) at the thickest part, and the vegetables are tender and caramelized around the edges.
If you want extra crispy chicken skin, switch the oven to broil for the last 2-3 minutes. Watch it carefully—broiling can go from perfect to burnt in seconds. I learned this the hard way.
Step 7: Make the Pan Sauce (Optional)
Once the chicken and vegetables are done, transfer them to a serving platter and tent loosely with foil. Place the skillet over medium heat on the stovetop. Add the chicken broth and lemon juice, scraping up all those browned bits from the bottom of the pan. Let it simmer for 2-3 minutes until slightly reduced. Pour this over the chicken and vegetables, or serve it on the side for people to add themselves.
Step 8: Rest and Serve
Let the chicken rest for 5 minutes before serving. This allows the juices to redistribute, keeping the meat moist and tender. Sprinkle with fresh parsley and a few extra thyme leaves for a pop of color and freshness.
Cooking Tips & Techniques
I’ve made this recipe enough times to know exactly where things can go wrong—and how to fix them. Here are the lessons I’ve learned the hard way so you don’t have to.
Dry the chicken thoroughly. This is the number one tip I give everyone. Moisture is the enemy of crispy skin. After patting the chicken dry, let it sit uncovered in the fridge for 15-20 minutes if you have time. This dries out the skin even more and gives you that crackling finish we’re all after.
Don’t crowd the pan during searing. If your chicken thighs are touching each other, they’ll steam instead of sear. Use a large enough skillet, or work in batches if needed. The extra few minutes are worth it for that golden crust.
Cut vegetables to similar sizes. This ensures even cooking. I’ve had batches where the potatoes were done but the broccoli was still crunchy because I got lazy with my knife work. Take the extra 30 seconds to cut things uniformly.
Watch the garlic butter. Fresh garlic can burn if the oven is too hot or if it’s exposed directly to high heat. Placing it on top of the chicken (rather than directly on the pan) protects it while still allowing the flavor to infuse everything. If you notice the garlic getting too dark, tent the pan loosely with foil.
Use a meat thermometer. I know I sound like a broken record, but chicken thighs can handle a bit more cooking than breasts, and the difference between perfectly cooked and dry is surprisingly small. 165°F (74°C) is your target. Let it rest, and the carryover cooking will bring it up another 5 degrees.
Make extra garlic butter. Seriously. Double the butter mixture and keep half in the fridge. It’s incredible on roasted vegetables, grilled steak, or stirred into pasta. I’ve been known to spread it on crusty bread and toast it under the broiler for a quick garlic bread situation.
Variations & Adaptations
One of the reasons I keep coming back to this recipe is how adaptable it is. Here are some of my favorite variations when I want to switch things up.
Vegetable Swap : Not a fan of broccoli? Try asparagus (add it in the last 10 minutes so it doesn’t get mushy), bell peppers and zucchini, or cubed sweet potatoes and Brussels sprouts. Root vegetables need a head start—parboil them for 5 minutes before adding to the pan, or cut them smaller so they cook through.
Herb Variations : The garlic butter is a blank canvas. Try rosemary and lemon zest for a brighter flavor, oregano and basil for an Italian twist, or cumin and coriander for something warmer and more aromatic. Each combination gives the dish a completely different personality.
Dietary Adaptations : For a dairy-free version, substitute the butter with olive oil or a good quality vegan butter. For a lower-carb option, swap the potatoes for cauliflower florets or radishes (they mellow out beautifully when roasted). If you’re avoiding nightshades, use sweet potatoes and green beans instead of regular potatoes and broccoli.
Spice It Up : Add a teaspoon of harissa paste to the garlic butter, or sprinkle the finished dish with Aleppo pepper flakes for a fruity, mild heat. My husband loves when I add a pinch of cayenne to the chicken seasoning—it’s subtle but noticeable.
Make It a Meal Prep Hero : This recipe reheats beautifully. Make a double batch on Sunday and portion it out for lunches throughout the week. The vegetables will soften slightly upon reheating, but the flavors actually meld together even more overnight. I’ve been known to eat the leftovers cold, straight from the fridge, standing over the sink. No shame.
Serving & Storage Suggestions
This dish is a complete meal on its own, but a few thoughtful accompaniments can take it to the next level.
Serve it hot — straight from the oven is best. The garlic butter should be melted and glossy, pooling around the vegetables. A sprinkle of flaky sea salt and fresh parsley right before serving adds a final touch that makes everything pop.
Pair it with something starchy to soak up all that garlic butter sauce. Crusty bread is my go-to, but steamed rice, quinoa, or even buttered egg noodles work beautifully. I’ve also served this over a bed of arugula for a lighter meal—the warm chicken wilts the greens slightly, and the bitterness cuts through the richness.
A simple green salad on the side adds freshness and crunch. Something with a bright vinaigrette—lemon, olive oil, a touch of Dijon—balances the richness of the dish. If you’re looking for a refreshing drink to round things out, this refreshing sparkling citrus ginger mojito mocktail is a perfect non-alcoholic option that cuts through the butter beautifully.
For storage : Let the chicken and vegetables cool completely, then transfer to an airtight container. They’ll keep in the refrigerator for up to 4 days. The vegetables will soften a bit, but the flavor only gets better. I often make a double batch just for the leftovers.
To reheat : The oven is best for maintaining texture. Place everything on a baking sheet and warm at 350°F (175°C) for 10-15 minutes. The microwave works in a pinch, but you’ll lose the crispy skin. If using the microwave, cover with a damp paper towel to prevent the chicken from drying out.
Freezer instructions : This dish freezes well for up to 3 months. Cool completely, then transfer to a freezer-safe container or zip-top bag. To reheat, thaw overnight in the refrigerator, then warm in a 350°F (175°C) oven until heated through. The vegetables will be softer after freezing, so consider adding fresh vegetables when reheating if texture is important to you.
Flavor development note : Like many braised dishes, the flavors actually improve after a day or two in the fridge. The garlic mellows, the herbs infuse deeper, and everything becomes more cohesive. I’ve made this on a Sunday and served it on Tuesday, and honestly, it was even better.
Nutritional Information & Benefits
While I don’t pretend this is a health food, it’s a well-balanced meal that happens to be incredibly satisfying. Here’s the estimated nutritional breakdown per serving (one chicken thigh with vegetables):
| Nutrient | Amount Per Serving |
|---|---|
| Calories | 485 |
| Protein | 32g |
| Fat | 28g |
| Saturated Fat | 10g |
| Carbohydrates | 28g |
| Fiber | 5g |
| Sugar | 4g |
| Sodium | 680mg |
Chicken thighs are an excellent source of protein, iron, and B vitamins, particularly B12 and niacin, which support energy metabolism. The skin contains healthy fats that help with nutrient absorption. Broccoli is packed with vitamin C, vitamin K, and fiber, while potatoes provide potassium and complex carbohydrates for sustained energy.
This recipe is naturally gluten-free and can be made dairy-free with a simple butter swap. If you’re watching your sodium, reduce the added salt and use low-sodium chicken broth for the pan sauce. The red pepper flakes add a metabolism-boosting compound called capsaicin, though the amount here is minimal.
I personally love that this meal keeps me full for hours without feeling heavy. It’s the kind of dinner that satisfies a craving for comfort food while still being packed with vegetables and real ingredients. That balance is hard to find, and this recipe nails it.
Conclusion
This Easy One-Pan Garlic Butter Chicken Thighs with Vegetables has become a staple in my kitchen for good reason. It’s the recipe I turn to when I want something that feels indulgent but doesn’t require a ton of effort or a sink full of dishes. The chicken comes out juicy and golden, the vegetables are tender and caramelized, and that garlic butter sauce ties everything together in a way that feels almost too good to be this simple.
What I love most about this dish is how forgiving it is. You can swap vegetables based on what’s in your fridge, adjust the seasonings to match your mood, and it still turns out beautifully every time. It’s the kind of recipe that builds confidence in the kitchen—you realize you can create something genuinely impressive with just a few basic ingredients and one pan.
If you make this recipe, I’d love to hear how it turns out. Did you try a different vegetable combination? Add extra spice? Serve it over something unexpected? Drop a comment below or tag me in your photos—I genuinely get excited seeing how people make these recipes their own. And if you’re looking for more one-pan dinners that deliver big flavor without the fuss, you might also enjoy this crispy herb crusted roast chicken with seasonal vegetables for another weeknight winner.
Happy cooking, and don’t forget to save that extra garlic butter for your morning toast. Trust me on this one.
Frequently Asked Questions
Can I use chicken breasts instead of thighs?
Absolutely, but you’ll need to adjust the cooking time. Boneless, skinless chicken breasts cook faster—check for doneness at around 20 minutes. Bone-in breasts will need closer to 30 minutes. Just be careful not to overcook them, as breasts dry out more quickly than thighs. I recommend brining the breasts for 30 minutes beforehand if you have time, which helps keep them juicy.
How do I prevent the broccoli from getting mushy?
Cut the broccoli into larger florets (about 2 inches across) and arrange them around the edges of the pan rather than directly under the chicken. The edges get more direct heat, which helps them caramelize without steaming. If you prefer your broccoli with more bite, add it halfway through the roasting time instead of at the beginning.
Can I make this recipe ahead of time?
Yes, with a few caveats. You can prep the vegetables and garlic butter up to 24 hours in advance and store them separately in the fridge. The actual cooking is best done right before serving for the crispiest skin. Leftovers keep well for 3-4 days and actually taste better the next day as the flavors meld. Just reheat in the oven for best texture.
What’s the best pan to use if I don’t have cast iron?
A stainless steel skillet works great—just make sure it’s oven-safe up to 400°F (200°C). A heavy-duty baking sheet lined with parchment paper is another excellent option. The key is using a pan that can go from stovetop to oven without issues. Avoid non-stick pans if possible, as they don’t achieve the same level of browning and can be damaged by high oven heat.
How do I get the garlic butter to really flavor the chicken?
Make sure your butter is soft enough to spread easily, and don’t be shy about pushing it into the nooks and crannies of the chicken thighs. If you have time, let the butter-coated chicken sit at room temperature for 15-20 minutes before roasting. This allows the flavors to start penetrating the meat. For even more garlic flavor, you can rub a cut garlic clove directly onto the chicken skin before applying the butter.
Pin This Recipe!
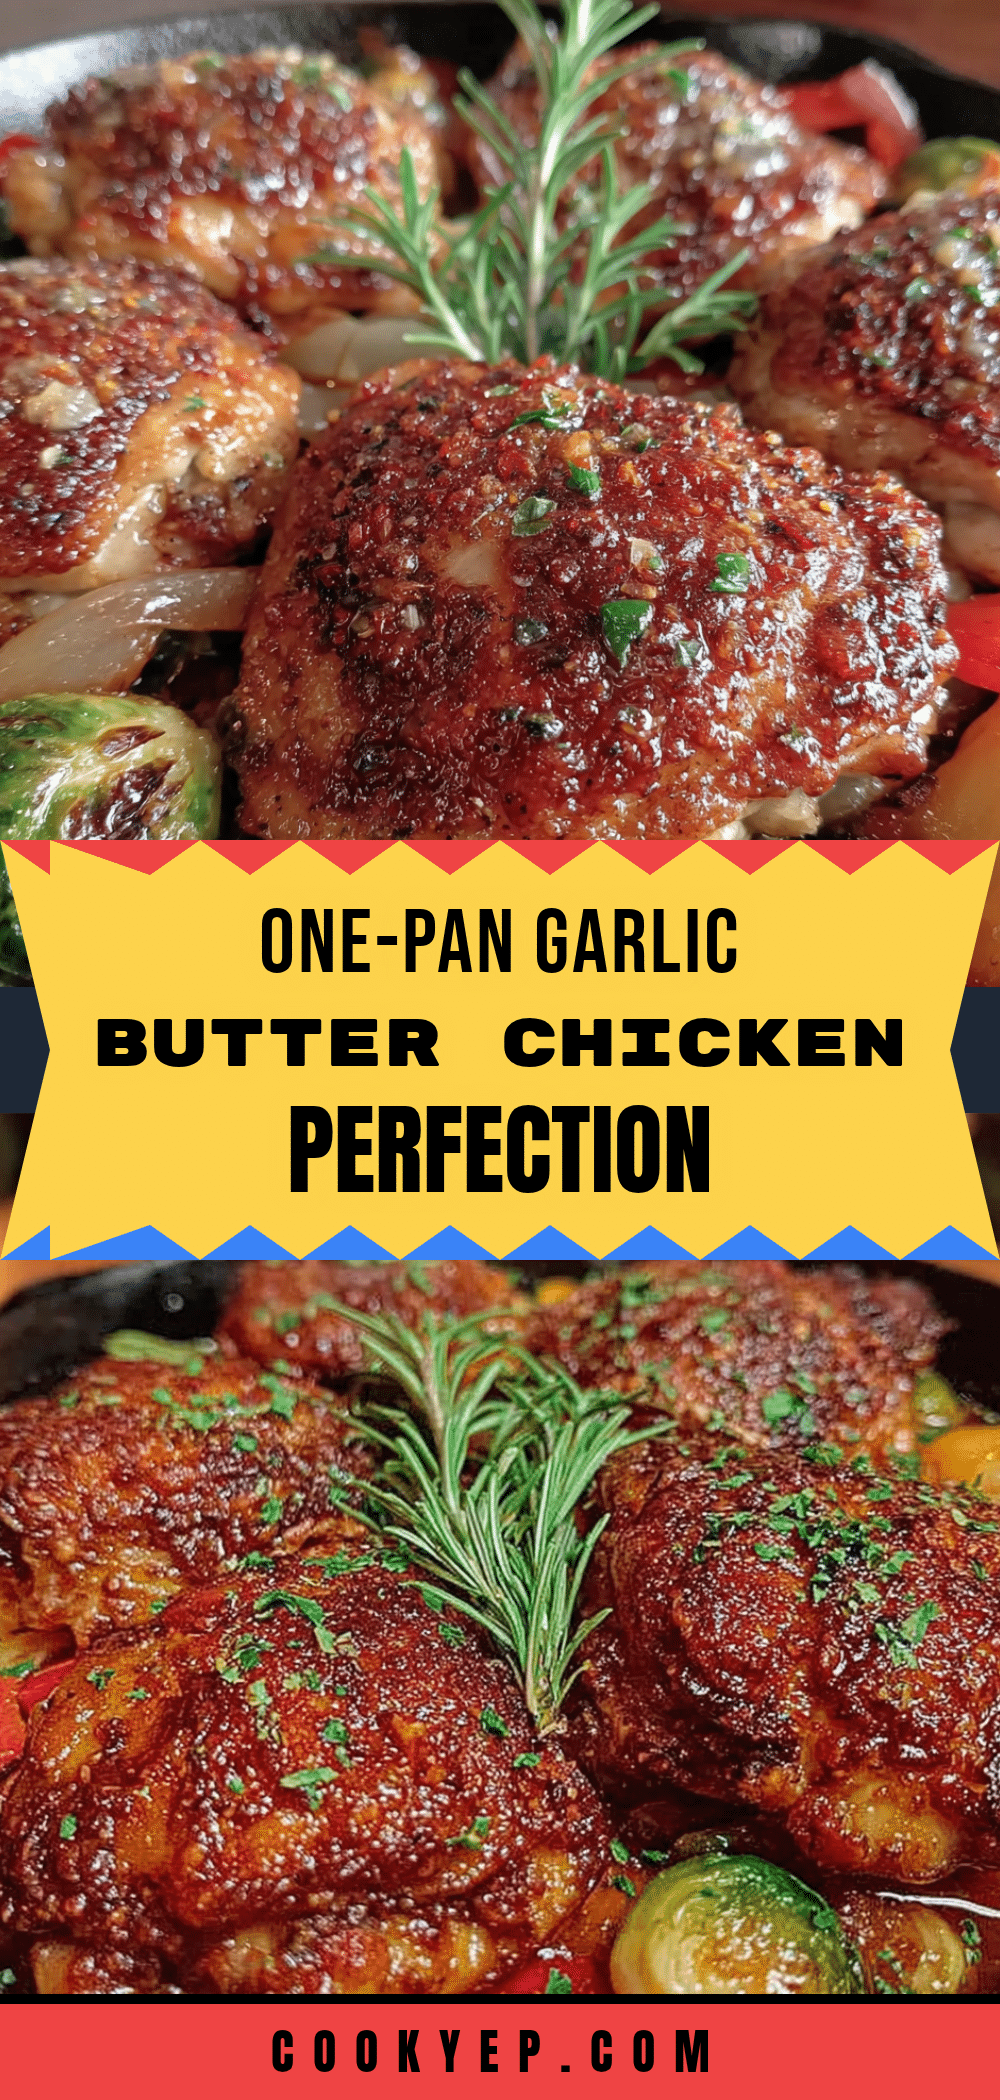
Easy One-Pan Garlic Butter Chicken Thighs with Vegetables

Juicy, golden chicken thighs with crispy skin and tender, caramelized vegetables, all roasted together in a single pan with a rich garlic herb butter sauce. This weeknight-friendly meal is simple to prepare, requires minimal cleanup, and delivers incredible flavor.
- Prep Time: 15 minutes
- Cook Time: 35 minutes
- Total Time: 50 minutes
- Yield: 4 servings 1x
- Category: Main Course
- Cuisine: American
Ingredients
- 4 bone-in, skin-on chicken thighs (about 1.5 pounds total)
- 1 teaspoon salt
- ½ teaspoon black pepper
- ½ teaspoon garlic powder
- ½ teaspoon paprika
- 1 pound baby potatoes (halved or quartered)
- 2 cups broccoli florets
- 1 medium red onion (cut into 1-inch wedges)
- 3 tablespoons olive oil
- ½ teaspoon salt (for vegetables)
- ¼ teaspoon black pepper (for vegetables)
- 4 tablespoons unsalted butter (softened)
- 4 cloves garlic (minced)
- 1 tablespoon fresh parsley (chopped)
- 1 teaspoon fresh thyme leaves (or ½ teaspoon dried)
- ½ teaspoon red pepper flakes (optional)
- ½ cup chicken broth (low sodium, for pan sauce)
- 1 tablespoon lemon juice (fresh squeezed, for pan sauce)
Instructions
- Preheat oven to 400°F (200°C). Pat chicken thighs dry with paper towels. Season both sides with salt, pepper, garlic powder, and paprika.
- In a mixing bowl, combine baby potatoes, broccoli florets, and red onion wedges. Drizzle with olive oil, sprinkle with salt and pepper, and toss to coat evenly.
- In a small bowl, combine softened butter, minced garlic, chopped parsley, thyme leaves, and red pepper flakes (if using). Mash together with a fork until well combined.
- Heat an oven-safe skillet over medium-high heat and add 1 tablespoon olive oil. Once shimmering, place chicken thighs skin-side down. Cook undisturbed for 5-6 minutes until skin is deep golden brown. Flip and cook for another 2-3 minutes. Remove chicken to a plate.
- Add seasoned vegetables to the same skillet (or transfer to a baking sheet). Spread in an even layer. Nestle seared chicken thighs on top, skin-side up. Dollop garlic butter evenly over each chicken thigh.
- Roast in preheated oven for 25-30 minutes. Halfway through, gently stir vegetables. Chicken is done when internal temperature reaches 165°F (74°C). For extra crispy skin, broil for 2-3 minutes at the end.
- Optional pan sauce: Transfer chicken and vegetables to a serving platter. Place skillet over medium heat, add chicken broth and lemon juice, scraping up browned bits. Simmer for 2-3 minutes until slightly reduced. Pour over chicken and vegetables.
- Let chicken rest for 5 minutes before serving. Garnish with fresh parsley and extra thyme leaves.
Notes
For extra crispy skin, pat chicken dry and let sit uncovered in the fridge for 15-20 minutes before seasoning. Cut vegetables to similar sizes for even cooking. Make extra garlic butter and keep in the fridge for other uses. Leftovers keep for up to 4 days in the refrigerator and reheat well in the oven.
Nutrition
- Serving Size: 1 chicken thigh with
- Calories: 485
- Sugar: 4
- Sodium: 680
- Fat: 28
- Saturated Fat: 10
- Carbohydrates: 28
- Fiber: 5
- Protein: 32
Keywords: one-pan chicken, garlic butter chicken, chicken thighs, roasted vegetables, easy dinner, weeknight meal, gluten-free


