This was supposed to be a simple grazing platter for the football game. You know, the kind you throw together in fifteen minutes with some store-bought crackers, a hunk of cheddar, and whatever fruit is hanging around. I had it all planned out in my head—neat little piles, everyone grabbing and chatting, no big deal. But then I walked into the kitchen on Thanksgiving morning, and the counter was an absolute disaster zone. My sister had already claimed the cutting board for her sweet potato casserole, the good cheese board was buried under a bag of rolls, and I was already running late because I’d forgotten to pick up the prosciutto. Honestly, I almost just gave up and put everything on a paper plate.
But here’s the thing about being the person who’s “in charge of appetizers” on the biggest food holiday of the year—you can’t really show up with a paper plate. So I grabbed the first flat surface I could find, which happened to be a wooden pastry board I’d bought at a flea market last summer and never used. I started piling things on, not in any particular order, just trying to get it done. I threw on some rosemary crackers, a wedge of brie I’d been saving, and a handful of dried figs I found in the back of the pantry. It looked messy. It looked chaotic. And honestly? It looked kind of beautiful.
That first Thanksgiving charcuterie board was born out of pure desperation and a cluttered countertop. And it was a hit. People stood around it for hours, picking at this and that, layering a slice of apple with a piece of manchego, dipping a pretzel into the honey. It wasn’t the main event, but it was the thing everyone kept coming back to. I’ve been making a version of it every year since, refining the combos and adding a few seasonal touches. And now, I’m pretty sure it’s the best part of the whole meal. Maybe you’ve been there—staring at a pile of ingredients, wondering how to make it look special without losing your mind. This board is your answer.
Why You’ll Love This Thanksgiving Charcuterie Board
Let me tell you why this particular board has earned a permanent spot on my Thanksgiving table. I’ve tested it through four different holidays, three different kitchens, and one very memorable year when I forgot the cheese knife. It works every single time.
- Stress-Free Entertaining : This board comes together in under 20 minutes, which is practically a miracle on a day when the oven is full and the stovetop is covered. No cooking required, just arranging.
- Simple, Seasonal Ingredients : You don’t need to hunt down fancy imported cheeses or obscure cured meats. Most of these items are available at your regular grocery store, and you can swap things in and out based on what looks good.
- Perfect for Thanksgiving Grazing : While the turkey rests and the rolls finish baking, your guests have something beautiful to snack on. It keeps everyone happy and out of the kitchen.
- Crowd-Pleaser for All Ages : From the kids who go straight for the grapes and cheddar cubes to the adults who discover they love fig jam with blue cheese, there’s something for everyone.
- Unbelievably Festive : The combination of deep reds, golden cheeses, and fresh herbs makes this board look like a centerpiece. It’s almost too pretty to eat. Almost.
What makes this different from every other charcuterie board out there is the seasonal spin. I’m not just throwing random meats and cheeses on a board. I’m thinking about what tastes like November—roasted nuts, apple slices, a drizzle of maple syrup, and a sprinkle of fresh thyme. It’s the kind of board that makes you close your eyes after that first bite of brie with a little cranberry sauce on top. It’s comfort food, but it’s also impressive enough to pull out when your mother-in-law walks in the door.
What Ingredients You Will Need
This recipe uses simple, seasonal ingredients to deliver big flavor and a gorgeous presentation without any of the stress. Most of these are pantry staples or easy to find at your local grocery store during the fall months.
For the Cheeses
- Brie (8 ounces) – A soft, creamy cheese that everyone loves. I prefer a double-cream brie for extra richness. (Look for one that’s slightly soft to the touch at the store.)
- Aged Cheddar (6 ounces) – Sharp and crumbly, it adds a nice contrast to the softer cheeses. I like Cabot or Beecher’s for reliable quality.
- Manchego (6 ounces) – A firm Spanish sheep’s milk cheese with a nutty, buttery flavor. It slices beautifully and pairs perfectly with quince paste or honey.
- Blue Cheese (4 ounces) – Optional, but I love a good Point Reyes or Roquefort for the bold, tangy kick. If you’re not a blue cheese fan, swap in a gouda or gruyere.
For the Meats
- Prosciutto (4 ounces) – Thinly sliced, salty, and delicate. I ask the deli counter to slice it fresh for the best texture.
- Salami (4 ounces) – Choose a good quality Genoa salami or soppressata. Slice it into thin rounds or small wedges.
- Turkey Breast (4 ounces) – A nod to the Thanksgiving theme! Use oven-roasted deli turkey or leftover sliced turkey if you have it. (Adds a savory, familiar flavor.)
For the Fruits & Spreads
- Fresh Grapes (1 cup) – Red or green, halved if large. They add a burst of sweetness and a pop of color.
- Apple Slices (1 apple) – Use a crisp variety like Honeycrisp or Fuji. Toss them in a little lemon juice to prevent browning.
- Dried Figs (½ cup) – Soft and chewy, they’re perfect for pairing with cheese. Look for Mission figs for the sweetest flavor.
- Cranberry Sauce (¼ cup) – Leftover or canned, this is the secret weapon. It adds a tart, festive touch that ties everything together.
- Honey or Maple Syrup (2 tablespoons) – A drizzle over the brie or blue cheese is a game-changer. Use local honey for a floral note.
- Fig Jam or Quince Paste (¼ cup) – A little goes a long way. It’s the perfect sweet companion for manchego.
For the Crunchy Bits
- Crackers (about 20-30) – A mix of plain water crackers, rosemary or herb crackers, and a gluten-free option if needed. I like Rain Coast or Mary’s Gone Crackers.
- Breadsticks or Crostini (1 cup) – Adds height and texture. You can make crostini by toasting baguette slices with olive oil.
- Roasted Nuts (½ cup) – Marcona almonds or candied pecans are fantastic. (Roast them yourself with a little butter and rosemary for extra flavor.)
- Pretzels (½ cup) – Mini pretzels or pretzel sticks add a salty, crunchy element that kids especially love.
For the Garnish
- Fresh Herbs – Rosemary sprigs, fresh thyme, or sage leaves. They make the board look instantly professional.
- Pomegranate Seeds (¼ cup) – Optional, but they add beautiful jewel-like color and a pop of tartness.
Equipment Needed
You don’t need a lot of fancy equipment to pull off a stunning charcuterie board. Here’s what I use and what you can substitute if you’re in a pinch.
- Large Wooden Board or Platter (at least 12×18 inches) – A wooden cutting board, a marble slab, or even a large baking sheet will work. I use a round acacia wood board I found at HomeGoods for under $20.
- Small Bowls (2-3) – For the cranberry sauce, fig jam, and nuts. Little ramekins or even small mason jars work great.
- Cheese Knives (2-3) – A soft cheese knife for the brie, a hard cheese knife for the cheddar, and a small spreader for the jam. If you only have one, a good paring knife will do.
- Cutting Board and Sharp Knife – For slicing the apple, cheese, and meats. A serrated knife works best for the brie.
- Tweezers or Small Tongs – Not essential, but they help with placing delicate herbs and pomegranate seeds without making a mess.
Pro tip: If your board isn’t quite big enough, use a few smaller plates or a clean baking sheet lined with parchment paper. The food is the star, not the board.
Preparation Method
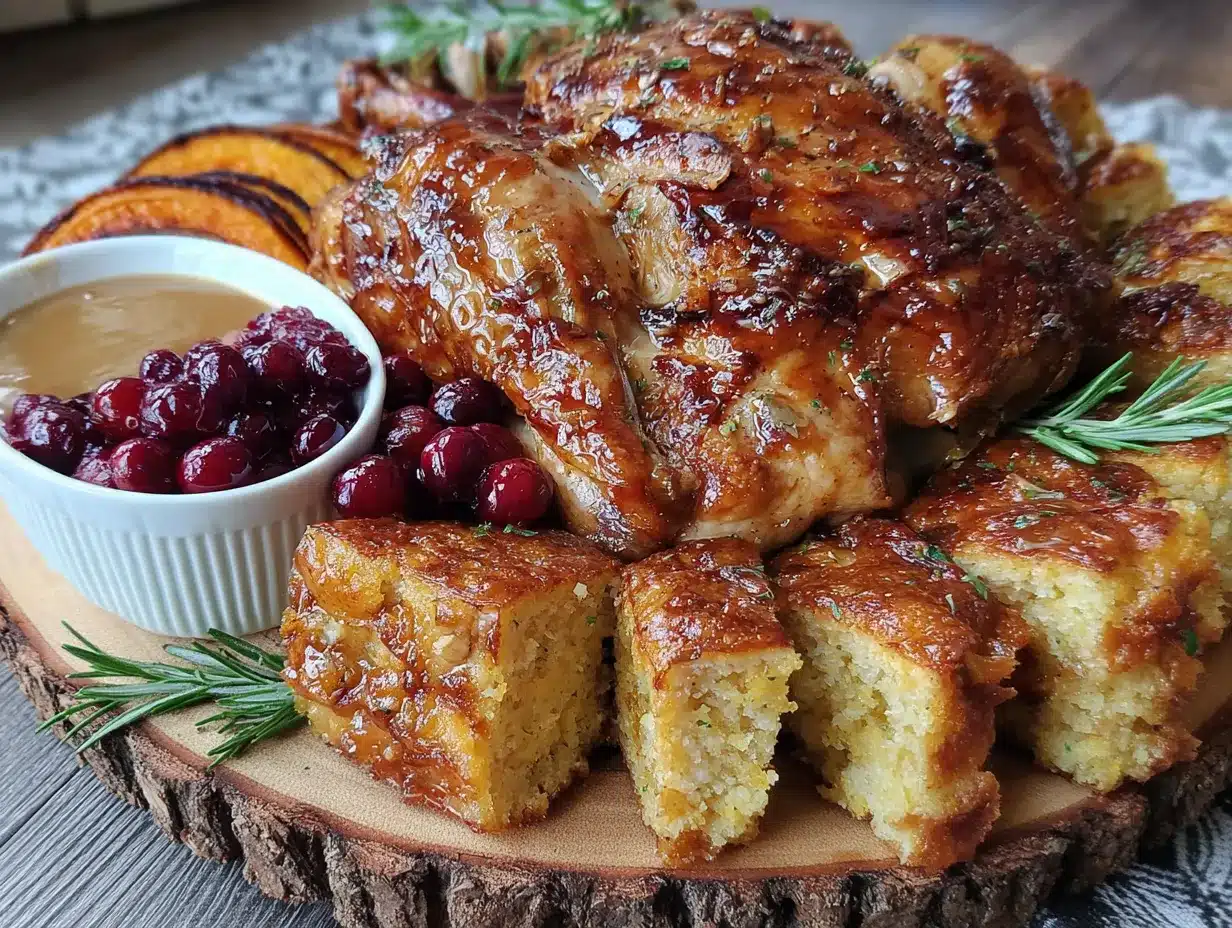
This is where the magic happens. Follow these steps, and you’ll have a board that looks like it took hours—even though it only took twenty minutes.
- Start with the bowls and spreads. Place your small bowls of cranberry sauce, fig jam, and honey on the board first. I like to space them out so they act as anchors for the rest of the ingredients. Put one bowl in the upper left corner, one in the lower right, and one in the center if you have room. (About 2 minutes.)
- Add the cheeses. Place the brie whole on the board—don’t bother slicing it. Let your guests do that. Slice the aged cheddar into thin wedges or cubes and arrange them in a small cluster. Slice the manchego into thin triangles and fan them out. If you’re using blue cheese, crumble a small portion or leave it in a wedge. Spread them out across the board so there’s a cheese option in every section. (About 3 minutes.)
- Layer in the meats. Fold the prosciutto slices into loose ribbons or rosettes and place them near the brie. Fan the salami slices in a small pile. Arrange the turkey slices in a neat stack or roll them up. Don’t overcrowd—you want people to be able to grab a piece without knocking everything over. (About 3 minutes.)
- Fill in with fruits. Scatter the grapes in small clusters. Fan out the apple slices near the cheddar. Place the dried figs in a little pile next to the manchego. This is where the board starts to look really beautiful. (About 3 minutes.)
- Add the crunchy elements. Fill in the empty spaces with crackers, breadsticks, and pretzels. I like to create little “rivers” of crackers that flow between the cheese and meat clusters. Add the roasted nuts in a small pile or scatter them around. (About 4 minutes.)
- Drizzle and garnish. Drizzle a little honey or maple syrup over the brie and blue cheese. Sprinkle the pomegranate seeds over the board like jewels. Tuck fresh rosemary sprigs and thyme leaves in between the ingredients. This is the step that makes it look like a professional food stylist did it. (About 2 minutes.)
- Final check and serve. Stand back and look at your board. Are there any empty gaps? Fill them with extra crackers or a few more grapes. Make sure every ingredient is easy to reach. Then set it out on the table with a few extra cheese knives and small plates. (About 1 minute.)
Total time: About 20 minutes. And honestly, most of that is just arranging things in a pretty way. The hardest part is not eating all the cheese while you’re building it.
Cooking Tips & Techniques
I’ve made this board enough times to know what works and what doesn’t. Here are my best tips for getting it right every time.
Take the cheese out of the fridge 30 minutes before serving. This is the single most important tip I can give you. Cold cheese is rubbery and bland. Room temperature cheese is creamy, flavorful, and spreads beautifully. Set it out while you’re prepping the rest of the board.
Slice the apple just before serving. Or toss the slices in a little lemon juice to keep them from turning brown. I learned this the hard way when I made a board two hours ahead and the apples looked sad and brown by the time guests arrived. A quick squeeze of lemon juice is a lifesaver.
Don’t be afraid of repetition. I used to think I needed ten different cheeses and five kinds of meat. But honestly, three cheeses and two meats is plenty. The repetition of flavors and textures makes the board feel cohesive, not boring. Plus, it keeps the grocery bill manageable.
Build in layers. Start with the biggest items (cheese, bowls) and work your way down to the smallest (herbs, pomegranate seeds). This creates visual depth and prevents you from having to move things around later.
Keep a backup stash of crackers. I always buy one extra box of crackers than I think I’ll need. Because someone will inevitably eat half of them before the board even hits the table. Trust me.
Use a damp paper towel under the bowls. If your board is slippery or your bowls are light, a little moisture underneath will keep them from sliding around when guests reach for the cranberry sauce.
Variations & Adaptations
One of the best things about a charcuterie board is how flexible it is. Here are a few ways to make this board your own.
Vegetarian Version: Skip the meats entirely and double up on the cheeses. Add roasted vegetables like butternut squash wedges or caramelized onions. You can also add marinated artichokes or roasted red peppers for extra flavor and color.
Gluten-Free Version: Use gluten-free crackers and breadsticks. Most cheeses and meats are naturally gluten-free, but double-check the labels on any pre-seasoned nuts or spreads. Rice crackers or corn chips work great as a crunchy base.
Dairy-Free Version: Replace the cheeses with high-quality vegan alternatives. There are some amazing cashew-based brie-style cheeses and nut-based cheddar options available now. Pair them with plenty of fruits, nuts, and roasted vegetables.
Sweet & Savory Twist: Add a few dark chocolate squares or chocolate-covered almonds to the board. The combination of salty cheese and dark chocolate is surprisingly addictive. I tried this one year on a whim, and now I can’t imagine the board without it.
Mini Board for Two: Cut all the quantities in half and use a small cheese board or a dinner plate. This is perfect for a cozy Thanksgiving for two or a pre-dinner snack while you’re cooking.
Serving & Storage Suggestions
This board is best served at room temperature, so take it out of the fridge about 20 minutes before you plan to serve. Set it on the table as a grazing appetizer while the turkey rests and the side dishes are finished. It’s also wonderful as a light lunch the next day with leftover turkey and cranberry sauce.
Storage: If you have leftovers (which is rare in my house), separate the components into airtight containers. Cheeses should be wrapped in wax paper or cheese paper, not plastic wrap, to keep them from getting sweaty. Store meats in the fridge for up to 3 days. Crackers will stay fresh in a sealed bag at room temperature.
Reheating: You don’t really need to reheat anything, but if you want to soften the brie, pop it in a 300°F oven for 5-7 minutes. It gets all gooey and delicious. Just watch it carefully so it doesn’t melt into a puddle.
Flavor Development: The flavors actually get better after a few hours at room temperature. The cheese softens, the fruit releases a little juice, and everything starts to meld together. If you’re making this for a party, you can assemble it up to 2 hours ahead and just cover it loosely with plastic wrap until serving.
Nutritional Information & Benefits
While this board is definitely a treat, it also offers some surprising nutritional benefits. The cheeses provide protein and calcium, while the nuts and seeds offer healthy fats and fiber. The fruits add natural sweetness and a dose of vitamins.
Estimated per serving (based on 8 servings):
- Calories: 450-550
- Protein: 20-25g
- Fat: 30-35g
- Carbohydrates: 30-40g
- Fiber: 4-6g
- Sugar: 15-20g (mostly from fruit)
Dietary Considerations: This board can be adapted to be gluten-free, vegetarian, or dairy-free as noted above. It contains common allergens including dairy, nuts, and gluten (depending on your cracker choice).
Wellness Perspective: I love that this board encourages mindful eating. You’re picking and choosing, savoring small bites, and enjoying a variety of flavors. It’s not about stuffing yourself—it’s about enjoying the moment and the company. And that feels good.
Conclusion
This Thanksgiving charcuterie board started as a happy accident on a cluttered countertop, and now it’s a tradition I look forward to every year. It’s the thing that keeps people gathered around the kitchen, chatting and laughing and sneaking one more slice of manchego before dinner. It’s not fancy or complicated, but it is special. And it’s proof that sometimes the best dishes come from the most chaotic moments.
I’d love to hear how your board turns out. Did you add something unexpected? Did your family fight over the last piece of brie? Drop a comment below and let me know—I read every single one. And if you’re looking for more easy holiday appetizers, check out my easy holiday appetizer collection for more crowd-pleasing ideas.
Now go build that board. Your Thanksgiving table is waiting.
Frequently Asked Questions
Can I make this charcuterie board ahead of time?
Yes, you can assemble the board up to 2 hours ahead of time. Just cover it loosely with plastic wrap and keep it in the fridge. Take it out 20 minutes before serving to let the cheeses come to room temperature.
How much cheese and meat do I need per person?
For a grazing board before a big meal like Thanksgiving, plan on about 2-3 ounces of cheese and 1-2 ounces of meat per person. If this is the main appetizer, increase to 3-4 ounces of cheese per person.
What if I don’t have a wooden board?
No problem! Use a large baking sheet, a marble pastry board, or even a clean cutting board. You can also arrange everything on a few smaller plates and group them together on the table.
Can I use leftover Thanksgiving turkey on the board?
Absolutely! Leftover sliced turkey is perfect for this board. It adds a familiar flavor and is a great way to use up leftovers. Just make sure it’s well-chilled before adding it to the board.
How do I keep the apple slices from turning brown?
Toss the apple slices in a little lemon juice or lime juice right after slicing. This will keep them looking fresh and bright for hours. You can also use a firm apple variety like Honeycrisp or Fuji, which browns more slowly.
Pin This Recipe!
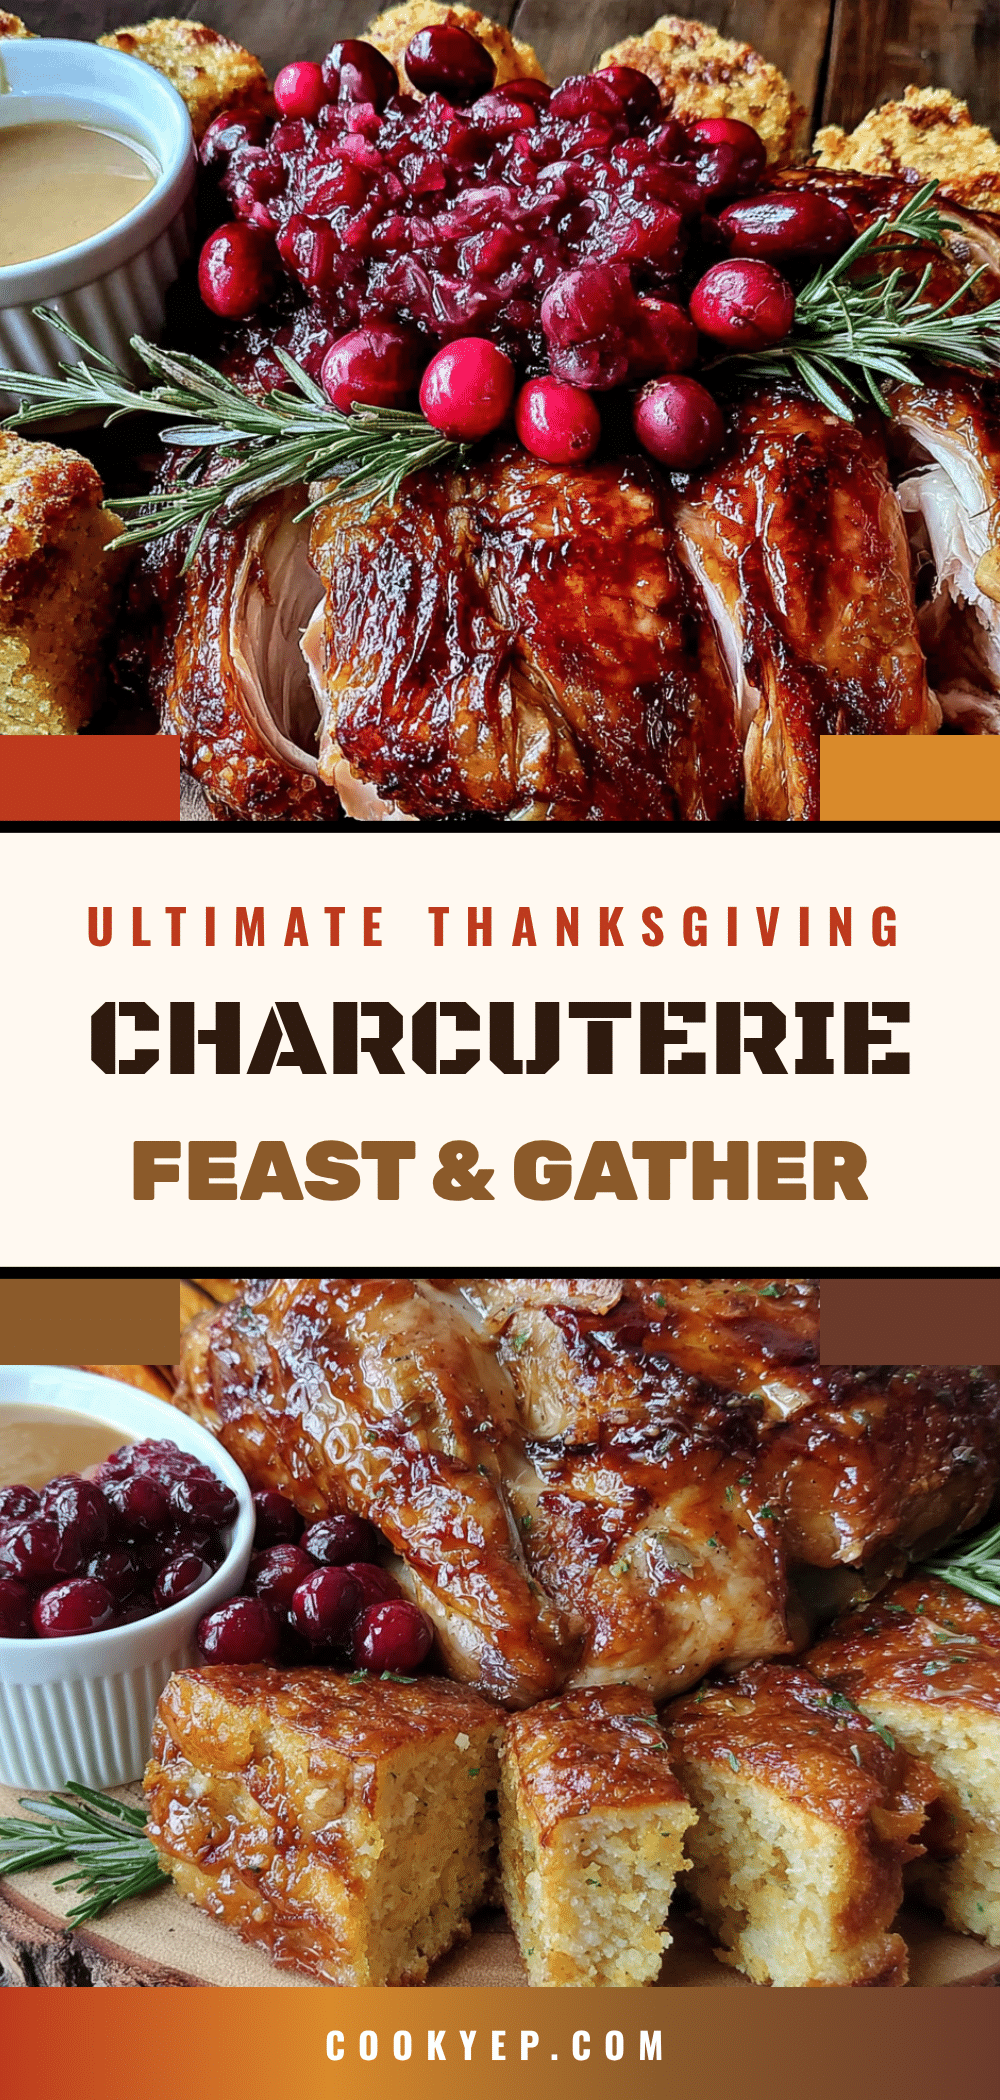
The Ultimate Thanksgiving Charcuterie Board (Easy + Festive)
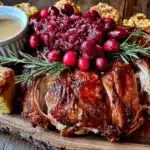
A stress-free, no-cook charcuterie board featuring seasonal ingredients like brie, aged cheddar, manchego, prosciutto, salami, turkey, fresh fruits, and crunchy elements. Perfect for Thanksgiving grazing while the turkey rests.
- Prep Time: 20 minutes
- Cook Time: 0 minutes
- Total Time: 20 minutes
- Yield: 8 servings 1x
- Category: Appetizer
- Cuisine: American
Ingredients
- 8 ounces brie
- 6 ounces aged cheddar
- 6 ounces manchego
- 4 ounces blue cheese (optional)
- 4 ounces prosciutto
- 4 ounces salami (Genoa or soppressata)
- 4 ounces turkey breast (oven-roasted deli or leftover)
- 1 cup fresh grapes (red or green, halved if large)
- 1 apple (Honeycrisp or Fuji, sliced)
- ½ cup dried figs (Mission figs)
- ¼ cup cranberry sauce
- 2 tablespoons honey or maple syrup
- ¼ cup fig jam or quince paste
- 20–30 crackers (mix of plain water crackers, rosemary or herb crackers, and gluten-free if needed)
- 1 cup breadsticks or crostini
- ½ cup roasted nuts (Marcona almonds or candied pecans)
- ½ cup mini pretzels or pretzel sticks
- Fresh herbs (rosemary sprigs, fresh thyme, or sage leaves)
- ¼ cup pomegranate seeds (optional)
Instructions
- Start with the bowls and spreads. Place small bowls of cranberry sauce, fig jam, and honey on the board first, spacing them out as anchors.
- Add the cheeses. Place the brie whole on the board. Slice the aged cheddar into thin wedges or cubes and arrange in a small cluster. Slice the manchego into thin triangles and fan them out. If using blue cheese, crumble a small portion or leave it in a wedge. Spread cheeses across the board.
- Layer in the meats. Fold prosciutto slices into loose ribbons or rosettes and place near the brie. Fan salami slices in a small pile. Arrange turkey slices in a neat stack or roll them up.
- Fill in with fruits. Scatter grapes in small clusters. Fan out apple slices near the cheddar. Place dried figs in a little pile next to the manchego.
- Add the crunchy elements. Fill empty spaces with crackers, breadsticks, and pretzels, creating little ‘rivers’ of crackers between cheese and meat clusters. Add roasted nuts in a small pile or scattered around.
- Drizzle and garnish. Drizzle honey or maple syrup over the brie and blue cheese. Sprinkle pomegranate seeds over the board. Tuck fresh rosemary sprigs and thyme leaves between ingredients.
- Final check and serve. Fill any empty gaps with extra crackers or grapes. Ensure every ingredient is easy to reach. Set out with extra cheese knives and small plates.
Notes
Take cheese out of fridge 30 minutes before serving. Slice apple just before serving and toss with lemon juice to prevent browning. Build in layers starting with largest items. Keep a backup stash of crackers. Use a damp paper towel under bowls to prevent sliding. Board can be assembled up to 2 hours ahead; cover loosely with plastic wrap and refrigerate, then take out 20 minutes before serving.
Nutrition
- Serving Size: 1 serving (based on
- Calories: 450550
- Sugar: 1520
- Fat: 3035
- Carbohydrates: 3040
- Fiber: 46
- Protein: 2025
Keywords: Thanksgiving charcuterie board, holiday appetizer, grazing board, cheese board, easy appetizer, festive, no-cook