I still remember the first time I tried making meringue cookies. It was late October, and I had a carton of egg whites sitting in my fridge with absolutely no plan for them. I just wanted something light, something that felt like a little magic trick in the kitchen. That night, I accidentally made the spookiest, cutest little ghosts you’ve ever seen, and honestly, I haven’t stopped making them since. These Easy Ghost Meringue Cookies with Chocolate Chip Eyes are exactly what you need when you want a Halloween treat that’s impressive but not complicated. They’re airy, they’re sweet, and they disappear faster than you’d expect from something made of mostly egg whites and sugar.
There’s something about watching a meringue puff up in the oven that never gets old. You pipe these little ghosts onto a baking sheet, pop them in, and when they come out, they’re crisp on the outside with this soft, marshmallowy center. The chocolate chip eyes give them just the right amount of personality, and they’re easy enough that even a beginner baker can nail them on the first try. If you’ve ever been intimidated by meringue, trust me, this is the recipe that will change your mind.
Why You’ll Love This Recipe
These ghost meringue cookies are the kind of recipe that makes you look like a kitchen wizard without actually having to do much work. I’ve tested this method at least a dozen times, and I can promise you, it works every single time. No weeping meringue, no cracked ghosts, just perfectly crisp little spirits ready for your Halloween party.
- Quick & Easy : From start to finish, you’re looking at about 2 hours total, but most of that is hands-off baking time. The active prep is maybe 15 minutes.
- Simple Ingredients : You only need egg whites, sugar, cream of tartar, vanilla, and chocolate chips. Chances are, you already have most of these in your pantry.
- Perfect for Halloween : These are the cutest addition to any spooky spread. I served them alongside my Easy Mummy Pigs in a Blanket last year, and the combo was a huge hit.
- Crowd-Pleaser : Kids love them, adults love them, and they’re naturally gluten-free, so almost everyone can enjoy them.
- Unbelievably Delicious : The texture is what gets you. Crunchy on the outside, then it just melts away on your tongue. The chocolate chips add little pockets of richness that balance the sweetness perfectly.
What sets this recipe apart is the technique. I spent a long time figuring out how to get meringue cookies that don’t crack or turn brown in the oven. The secret is a low, slow bake and letting them cool completely inside the oven. It sounds simple, but it makes all the difference between a ghost that looks like it’s been through a haunted house and one that looks like it just floated out of a friendly graveyard.
What Ingredients You Will Need
This recipe uses simple, everyday ingredients to create something that feels special. No fancy extracts or hard-to-find baking supplies here. Just good old-fashioned pantry staples that come together beautifully.
- Large egg whites (4, room temperature) — Room temperature egg whites whip up higher and more stable than cold ones. I always separate my eggs when they’re cold and then let the whites sit on the counter for about 30 minutes before I start. The extra volume is totally worth the wait.
- Granulated sugar (1 cup / 200g) — Regular white sugar works perfectly here. I’ve tried superfine sugar before, and while it does dissolve a little faster, it’s not necessary. Just make sure you’re using granulated, not powdered.
- Cream of tartar (1/2 teaspoon) — This is the stabilizer that keeps your meringue from collapsing. If you don’t have it, you can substitute with a teaspoon of lemon juice or white vinegar, but cream of tartar gives the most reliable results.
- Vanilla extract (1 teaspoon) — Pure vanilla is best, but imitation works in a pinch. I use pure because the flavor is cleaner and it doesn’t leave any weird aftertaste.
- Mini chocolate chips (1/4 cup / 45g) — These become the eyes. I like mini chips because they’re the perfect size for little ghost faces. Regular chips work too, but they look a bit oversized. If you’re feeling creative, you can also use dark chocolate chips for a slightly less sweet option.
- Pinch of salt — Just a tiny bit to balance the sweetness and help the flavors pop.
I recommend using a brand like Bob’s Red Mill for your sugar if you can find it, but honestly, any brand works. The most important thing is that your egg whites are fresh and at room temperature. Older eggs actually whip up better than super fresh ones, so if you’ve had your eggs in the fridge for a week or so, that’s perfect.
If you’re looking for a substitution, you can use coconut sugar, but the color will be darker and the ghosts won’t be as white. They’ll look more like toasted marshmallow ghosts, which is still cute, just different. For a completely sugar-free version, I haven’t personally tested this with alternatives like monk fruit sweetener, so I can’t guarantee the texture will hold up.
Equipment Needed
- Electric stand mixer or hand mixer — You can whip meringue by hand with a whisk, but your arm will get a serious workout. I use my KitchenAid stand mixer because it frees up my hands for other tasks, but a hand mixer works just as well.
- Large mixing bowl — Make sure it’s completely clean and dry. Any grease residue will prevent your egg whites from whipping up properly.
- Piping bag with a round tip (or a zip-top bag with the corner snipped off) — I’ve used both methods, and honestly, the zip-top bag works fine. Just make sure you don’t snip too much off, or the ghosts will come out too wide.
- Baking sheet (lined with parchment paper) — Parchment is non-negotiable here. The meringue will stick to foil or a greased pan.
- Rubber spatula — For folding in the chocolate chips gently.
- Cooling rack — Not strictly necessary, but it helps the ghosts cool evenly.
If you don’t have a piping bag, don’t stress. I’ve made these using a sturdy zip-top bag with the corner snipped off, and they came out just as cute. The key is to cut a small opening, maybe 1/4 inch wide. Too big and your ghosts will spread out like puddles instead of standing up tall.
Preparation Method
- Preheat your oven to 200°F (95°C) and line a large baking sheet with parchment paper. This low temperature is crucial. If your oven runs hot, use an oven thermometer to double-check. I learned this the hard way when my first batch turned golden brown instead of ghostly white.
- Make sure your mixing bowl and whisk attachment are completely clean. Wipe them down with a little white vinegar on a paper towel if you’re worried about any grease residue. Even a tiny bit of oil can ruin your meringue.
- Place the room temperature egg whites and cream of tartar in the bowl. Start mixing on medium speed until the egg whites become foamy, about 1 to 2 minutes. You’ll see lots of small bubbles forming.
- Gradually add the sugar, about 1 tablespoon at a time, while the mixer is running on medium-high speed. This slow addition helps the sugar dissolve completely. If you dump it all in at once, your meringue won’t be as stable.
- Continue beating until stiff peaks form. This usually takes about 5 to 7 minutes with a stand mixer. You know it’s ready when you lift the whisk and the meringue stands up straight without drooping. The mixture should also feel smooth between your fingers, not gritty. If it feels grainy, keep beating for another minute or two.
- Add the vanilla extract and a pinch of salt, then beat for another 30 seconds to incorporate.
- Gently fold in the mini chocolate chips using a rubber spatula. Be careful not to overmix, or the meringue will deflate. You want the chips evenly distributed throughout the mixture.
- Transfer the meringue to your piping bag. If you’re using a zip-top bag, stand it up in a tall glass and fold the edges over the rim to make filling easier.
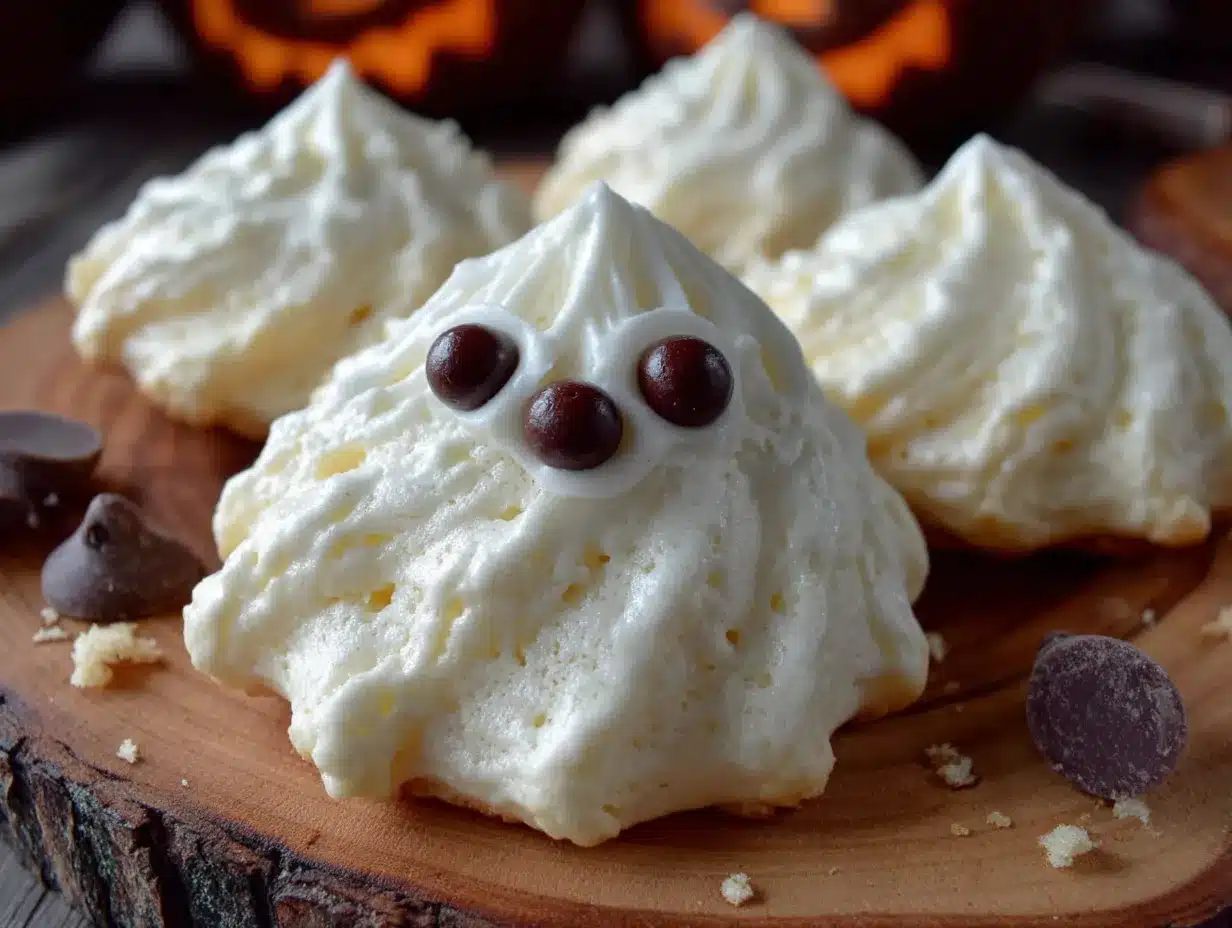
- Pipe small ghost shapes onto the prepared baking sheet. Hold the piping bag straight up and down, squeeze out a round base, then lift up slightly and continue squeezing as you pull upward to create a tall, tapered shape. Leave about an inch of space between each ghost because they don’t spread much.
- Add extra chocolate chips for eyes if needed. Sometimes the chips that folded into the batter don’t end up in the right spot. I gently press two mini chips into each ghost for eyes while the meringue is still wet.
- Bake for 60 minutes at 200°F. Do not open the oven door during baking. The steam needs to escape slowly, and opening the door can cause the meringues to crack.
- Turn off the oven and leave the ghosts inside to cool completely, about 1 to 2 hours. This is the most important step. The residual heat finishes drying them out without browning them. If you take them out too soon, they’ll be chewy instead of crisp.
Your ghosts are done when they lift easily off the parchment paper. If they stick at all, they need more time in the cooling oven. Don’t rush this step, I promise it’s worth the wait.
Cooking Tips & Techniques
The first time I made meringue cookies, I was so impatient. I opened the oven door three times to check on them, and they all cracked and sunk in the middle. It was a total disaster. But that’s how I learned that patience is the secret ingredient here.
One of the most common mistakes is under-whipping the egg whites. You really need those stiff peaks. If you’re unsure, stop the mixer and lift the whisk attachment. The meringue should hold its shape without any drooping. If it flops over, keep beating.
Humidity is another factor. Meringue does not like humid days. If you live in a humid climate like I do, try to make these on a dry day. If that’s not possible, you can add an extra tablespoon of sugar to help absorb moisture. I’ve also heard of people adding a teaspoon of cornstarch to the sugar for extra stability, but I haven’t tried that myself.
Timing-wise, I like to prep the egg whites first, then get everything else ready while they come to room temperature. It saves a few minutes and keeps the workflow smooth. I also like to pipe all the ghosts at once rather than in batches, because the meringue can start to deflate if it sits too long in the piping bag.
For consistent results, use a kitchen scale to measure your sugar. Weighing is more accurate than scooping, and with meringue, precision matters. I know it’s an extra step, but it makes a noticeable difference in texture.
Variations & Adaptations
Over the years, I’ve experimented with a few different versions of these ghost cookies, and some of them turned out surprisingly great.
- Chocolate Ghosts : Replace 2 tablespoons of the granulated sugar with unsweetened cocoa powder. The ghosts will be a light brown color, but they’ll taste like chocolate meringue. Add the cocoa powder with the sugar and beat as usual.
- Peppermint Ghosts : Swap the vanilla extract for 1/2 teaspoon of peppermint extract. These are perfect for a Christmas-themed Halloween party or just for fun. The chocolate eyes pair beautifully with the mint flavor.
- Vegan Version : Use aquafaba (the liquid from a can of chickpeas) instead of egg whites. You’ll need about 1/2 cup of aquafaba, and it whips up just like egg whites. The texture is slightly less stable, but it works. I tried this once for a friend with egg allergies, and she loved them.
- Colored Ghosts : Add a drop of gel food coloring after the stiff peaks form. Gel coloring is better than liquid because it won’t add extra moisture. I’ve made purple ghosts for a spooky vibe and green ghosts for a more monster-like look.
If you want to make these without a piping bag, you can also drop spoonfuls of meringue onto the baking sheet and shape them into ghost-like forms with the back of the spoon. They won’t be as tall, but they’ll still taste amazing. I’ve done this when I was in a rush, and honestly, they looked like little ghost blobs, which was kind of adorable.
Serving & Storage Suggestions
These ghost meringue cookies are best served at room temperature. I like to arrange them on a platter with some fake spiderwebs or alongside other Halloween treats. Last year, I served them with my Spooky Buffalo Chicken Taco Dip for a sweet and savory combo that everyone loved.
For storage, keep them in an airtight container at room temperature. Do not refrigerate them. The fridge introduces moisture that will make them sticky and chewy. They’ll stay crisp for up to two weeks if stored properly. I’ve also frozen them successfully. Place them in a single layer in a freezer-safe container with parchment between layers. They’ll keep for about a month. Thaw them at room temperature for about 10 minutes before serving.
The flavors don’t really change over time, but the texture can soften slightly after a few days. If that happens, you can pop them back in a 200°F oven for 10 minutes to re-crisp them. I’ve done this multiple times, and it works like a charm.
These also make great party favors. I’ve bagged them up in little cellophane bags tied with orange ribbon and handed them out to guests. They’re always a hit, and they look so festive.
Nutritional Information & Benefits
Per serving (about 3 ghosts): Calories: 85, Total Fat: 1g, Saturated Fat: 0.5g, Cholesterol: 0mg, Sodium: 20mg, Total Carbohydrates: 18g, Dietary Fiber: 0g, Sugars: 17g, Protein: 2g.
These cookies are naturally gluten-free and low in fat, which makes them a lighter option compared to traditional Halloween treats like brownies or cookies. The egg whites provide a small amount of protein, and the chocolate chips add a touch of antioxidants from the cocoa. They’re not exactly health food, but they’re a fun, relatively guilt-free indulgence.
If you’re watching your sugar intake, you can reduce the sugar slightly, but keep in mind that sugar is what gives meringue its structure. Cutting it too much will result in flat, chewy ghosts. I’ve found that 3/4 cup of sugar still works, but the texture is slightly less crisp.
Potential allergens include eggs and dairy (from the chocolate chips). If you use dairy-free chocolate chips, these become completely dairy-free as well. Always check your chocolate chip labels if you’re serving someone with allergies.
Conclusion
These Easy Ghost Meringue Cookies with Chocolate Chip Eyes are the kind of recipe that makes you feel like a Halloween baking pro without any of the stress. They’re light, they’re cute, and they’re surprisingly forgiving once you know the tricks. I’ve made them for Halloween parties, school events, and just because I wanted something sweet that didn’t weigh me down.
I really hope you give these a try. Feel free to customize the eyes or add different colored sprinkles to match your party theme. If you make them, I’d love to hear how they turned out. Drop a comment below or tag me in your photos. Happy Halloween baking!
Frequently Asked Questions
Can I make these ghost meringue cookies without a stand mixer?
Absolutely. A hand mixer works perfectly fine. You’ll just need to hold it for a few minutes longer, but the results are the same. Just make sure your bowl is deep enough to prevent splashing.
Why did my meringue cookies turn brown?
This usually happens when the oven temperature is too high or the cookies bake too long. Make sure your oven is at exactly 200°F. I recommend using an oven thermometer because many ovens run hotter than the dial shows.
Can I use liquid food coloring for colored ghosts?
I don’t recommend it. Liquid food coloring adds extra moisture to the meringue, which can cause it to deflate or become sticky. Use gel food coloring instead. Just a tiny drop is enough to get a vibrant color.
How do I know when the meringue is fully baked?
The ghosts should lift easily off the parchment paper without sticking. If they feel soft or stick, they need more time in the cooling oven. The outside should be dry and crisp, while the inside remains light and airy.
Can I freeze these ghost meringue cookies?
Yes, you can freeze them for up to a month. Place them in a single layer in a freezer-safe container with parchment paper between layers to prevent sticking. Thaw at room temperature for about 10 minutes before serving.
Pin This Recipe!
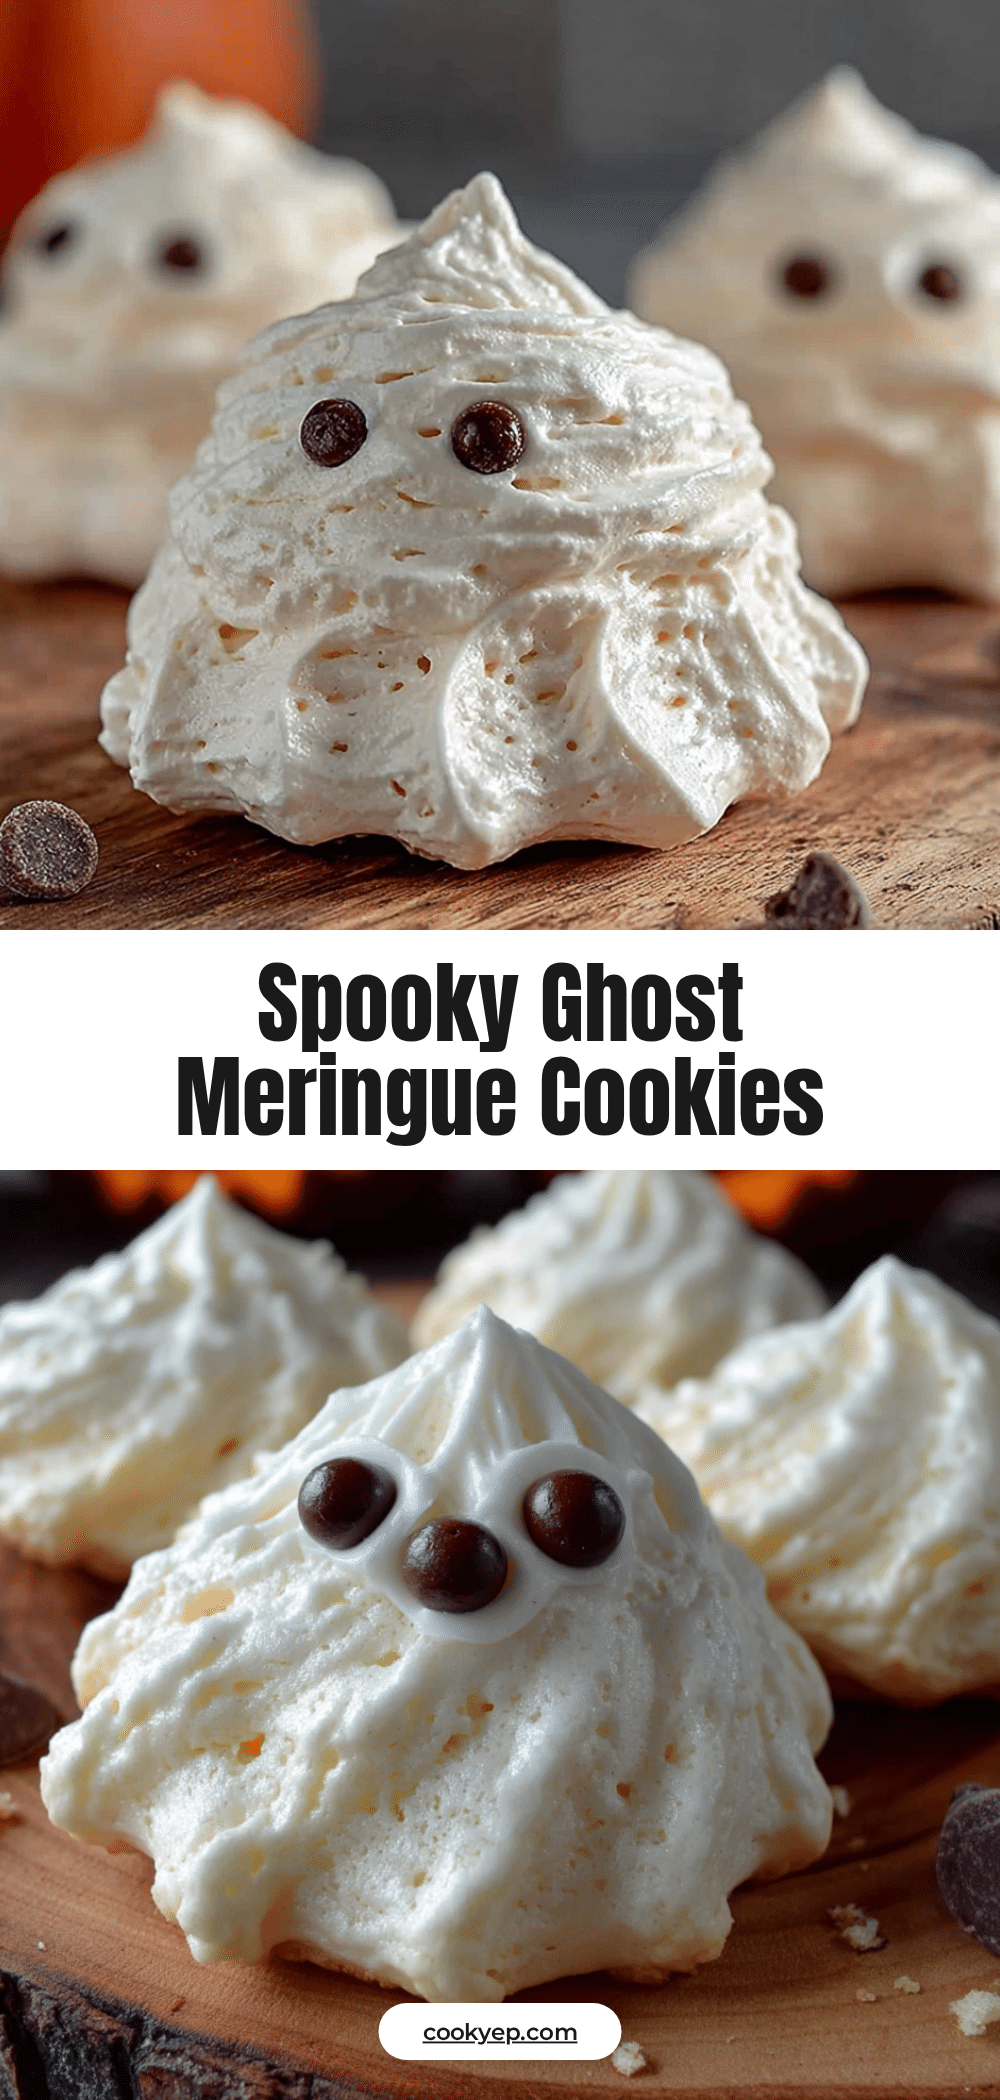
Easy Ghost Meringue Cookies with Chocolate Chip Eyes
These airy, sweet ghost meringue cookies are crisp on the outside with a soft, marshmallowy center. Decorated with chocolate chip eyes, they’re a fun and easy Halloween treat that’s naturally gluten-free.
- Prep Time: 15 minutes
- Cook Time: 60 minutes
- Total Time: 2 hours 15 minutes
- Yield: 4 servings 1x
- Category: Dessert
- Cuisine: American
Ingredients
- 4 large egg whites, room temperature
- 1 cup (200g) granulated sugar
- 1/2 teaspoon cream of tartar
- 1 teaspoon vanilla extract
- 1/4 cup (45g) mini chocolate chips
- Pinch of salt
Instructions
- Preheat your oven to 200°F (95°C) and line a large baking sheet with parchment paper.
- Make sure your mixing bowl and whisk attachment are completely clean and dry.
- Place the room temperature egg whites and cream of tartar in the bowl. Start mixing on medium speed until foamy, about 1 to 2 minutes.
- Gradually add the sugar, about 1 tablespoon at a time, while the mixer is running on medium-high speed.
- Continue beating until stiff peaks form, about 5 to 7 minutes. The meringue should stand up straight without drooping and feel smooth between your fingers.
- Add the vanilla extract and a pinch of salt, then beat for another 30 seconds to incorporate.
- Gently fold in the mini chocolate chips using a rubber spatula. Be careful not to overmix.
- Transfer the meringue to a piping bag fitted with a round tip (or a zip-top bag with a small corner snipped off).
- Pipe small ghost shapes onto the prepared baking sheet: squeeze out a round base, then lift up slightly and continue squeezing as you pull upward to create a tall, tapered shape. Leave about an inch of space between each ghost.
- Gently press two mini chocolate chips into each ghost for eyes while the meringue is still wet.
- Bake for 60 minutes at 200°F. Do not open the oven door during baking.
- Turn off the oven and leave the ghosts inside to cool completely, about 1 to 2 hours. They are done when they lift easily off the parchment paper.
Notes
For best results, ensure egg whites are at room temperature and the mixing bowl is completely clean and grease-free. Do not open the oven door during baking. Let the ghosts cool completely in the turned-off oven to prevent cracking and ensure a crisp texture. If the meringue feels gritty, continue beating until smooth. For a vegan version, use 1/2 cup aquafaba instead of egg whites.
Nutrition
- Serving Size: 3 ghosts
- Calories: 85
- Sugar: 17
- Sodium: 20
- Fat: 1
- Saturated Fat: 0.5
- Carbohydrates: 18
- Protein: 2
Keywords: ghost meringue cookies, Halloween cookies, meringue cookies, chocolate chip eyes, gluten-free cookies, easy Halloween treat