I found a crushed-up granola bar in the bottom of my backpack last week. It was from back-to-school night. That’s when I knew we had a problem. My kids were hungry the second they walked through the door, and I was handing them whatever I could grab. Usually something that had been sitting in a car or a coat pocket for hours.
So I decided to fix it. Not with more store-bought snacks that would get smashed or ignored. I wanted something I could actually feel good about. Something that would survive a backpack. Something they would actually eat. These no-bake snack bites came out of that moment of frustration. Honestly, they were born from a very specific kind of mom desperation.
I tested about four versions before landing on this one. The first batch was too sticky. The second fell apart. The third was dry and nobody touched it. But this version? It disappeared in two days. My youngest asked for them in her lunchbox. My oldest asked if we could make more for her after-school study sessions. That’s when I knew I had something worth sharing.
These easy freezer-friendly after-school snack bites are no-bake, packed with good-for-you ingredients, and they actually taste like a treat. They don’t feel like a compromise. They feel like a win.
Why You’ll Love This Recipe
I’ve tested this recipe more times than I care to admit. I wanted it to be foolproof. I wanted it to be something you could make with your eyes half-closed on a Sunday afternoon. Here is why I think this recipe works.
- No baking required: This is a no-bake recipe from start to finish. No oven. No mixer. Just a bowl and your hands. Perfect for hot days or busy weeks.
- Freezer-friendly: These snack bites freeze beautifully. You can make a double batch and have snacks ready for weeks. Just grab and go.
- Simple ingredients: You probably have most of these in your pantry right now. Rolled oats, peanut butter, honey, chocolate chips. Nothing fancy. Nothing hard to find.
- Perfect for after-school hunger: Kids come home starving. These bites give them protein, fiber, and healthy fats without the sugar crash. They actually fill them up.
- Totally customizable: You can swap ingredients based on what you have or what your family likes. I’ll show you how later in this post.
- Kid-approved and parent-approved: My kids eat these without complaint. My husband steals them from the freezer. That’s a win in my book.
What makes this recipe different from other no-bake energy balls is the texture. It’s not too sticky or too dry. It holds together perfectly without being hard. The secret is how you combine the wet ingredients and how long you chill them. I figured that out after a few batches that just didn’t work.
What Ingredients You Will Need
This recipe uses simple, wholesome ingredients that come together to create a satisfying snack. Nothing here is complicated. Most of these are pantry staples you probably already have.
For the Base
- Rolled oats (2 cups): Use old-fashioned rolled oats, not instant oats. They give the best texture. If you need this gluten-free, use certified gluten-free oats. I prefer Bob’s Red Mill for consistency.
- Creamy peanut butter (1 cup): Natural peanut butter works best here. The kind that separates and needs stirring. Avoid the sugary brands with added hydrogenated oils. They make the bites too sweet and greasy. If you have a nut allergy, sunflower seed butter works great.
- Honey (½ cup): This binds everything together and adds natural sweetness. Maple syrup works too, but honey gives a better texture. Local honey is nice if you have it.
- Vanilla extract (1 teaspoon): Pure vanilla extract adds warmth and depth. Imitation vanilla works in a pinch, but pure is better. Trust me on this one.
- Salt (¼ teaspoon): Just a pinch. It balances the sweetness and brings out the flavor of the peanut butter. I use fine sea salt.
For the Mix-Ins
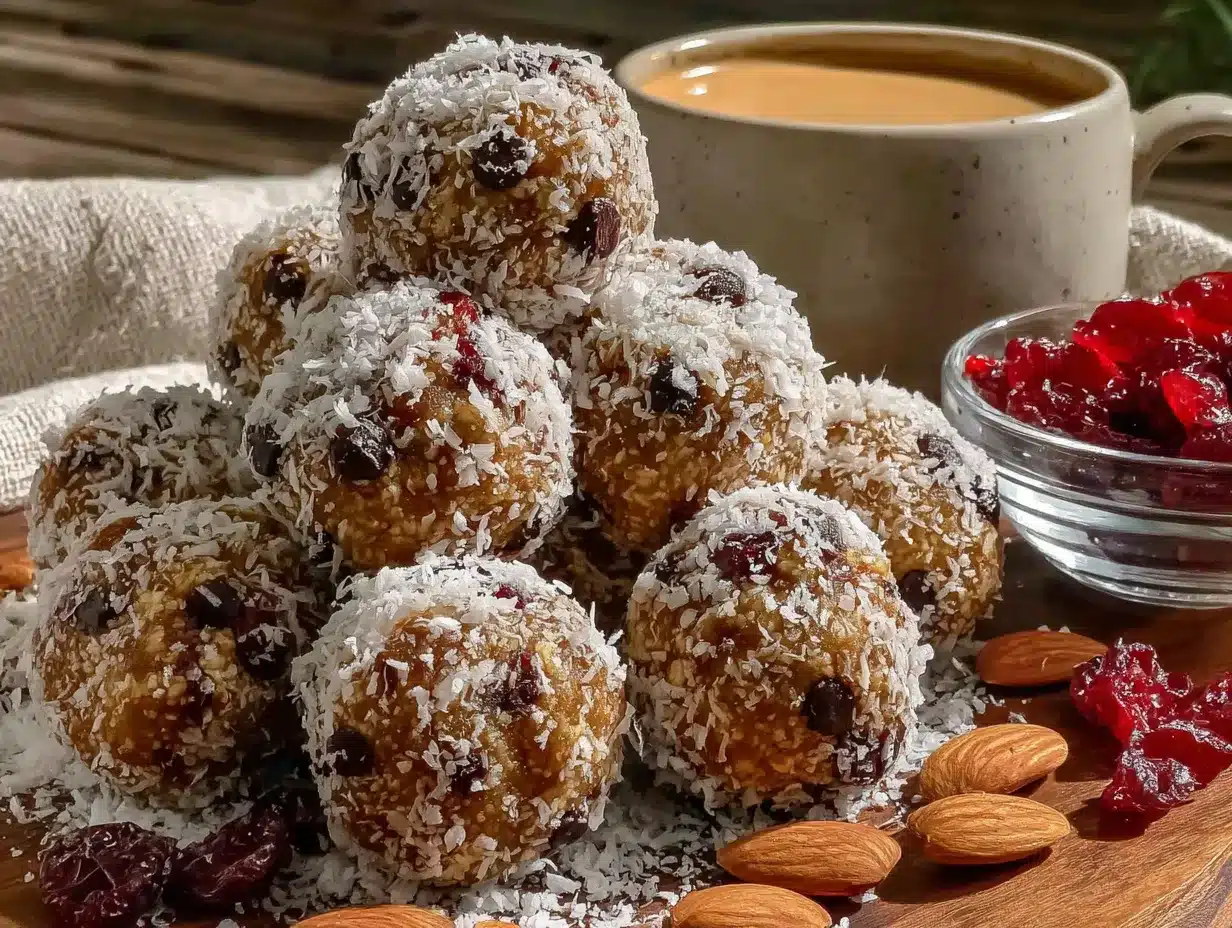
- Mini chocolate chips (½ cup): I use semi-sweet mini chips because they distribute better. Dark chocolate chips work too. If you want a healthier option, try cacao nibs.
- Ground flaxseed (2 tablespoons): This adds fiber and omega-3s without changing the taste. You can skip it if you don’t have it, but I love the nutritional boost. I keep mine in the fridge to keep it fresh.
- Shredded coconut (¼ cup, optional): Adds texture and a little sweetness. Use unsweetened if you want to control the sugar. My kids love the coconut version.
That’s it. Seven ingredients for the base version. You can add other things too. Dried cranberries, chopped nuts, chia seeds, or even a scoop of protein powder. I’ll cover more variations later.
One thing I learned the hard way — don’t use old oats. Check your expiration date. Stale oats make sad snack bites. Fresh oats give you that nice chewy texture.
Equipment Needed
You don’t need much for this recipe. That’s part of what makes it so easy.
- Large mixing bowl: Any bowl works. I use a standard ceramic mixing bowl. Nothing fancy.
- Measuring cups and spoons: For accurate measurements. I recommend using dry measuring cups for the oats and wet measuring cups for the peanut butter and honey.
- Rubber spatula or wooden spoon: For mixing everything together. A spatula makes it easier to scrape the sides.
- Baking sheet or plate: To hold the bites while they chill. Line it with parchment paper for easy cleanup.
- Parchment paper or wax paper: Keeps the bites from sticking to the pan. You can also use a silicone baking mat.
- Cookie scoop or tablespoon: For portioning the bites evenly. I use a 1.5-tablespoon cookie scoop. It makes the process so much faster.
- Plastic wrap or airtight container: For storing the finished bites. Glass containers work great.
If you don’t have a cookie scoop, just use a regular tablespoon. The bites don’t have to be perfect. They just have to taste good. I’ve made these with my hands when I couldn’t find my scoop. Works fine.
Preparation Method
This is where the magic happens. Follow these steps and you will have perfect snack bites every time.
- Combine the dry ingredients. In your large mixing bowl, add the rolled oats, ground flaxseed, and salt. If you are using shredded coconut, add it here too. Stir them together with your spatula so everything is evenly distributed. This takes about 30 seconds.
- Mix the wet ingredients separately. In a small bowl or measuring cup, combine the peanut butter, honey, and vanilla extract. Stir until smooth. If your peanut butter is stiff, microwave it for 10-15 seconds first. It makes mixing much easier. Don’t overheat it though. You just want it softened, not hot.
- Combine wet and dry. Pour the peanut butter mixture into the bowl with the oats. Stir everything together with your spatula. At first it will look dry and crumbly. Keep stirring. It will come together. This takes about 2 minutes of solid mixing. Use a little elbow grease here.
- Add the mix-ins. Once the base mixture is fully combined, fold in the mini chocolate chips. Make sure they are evenly distributed throughout the mixture. You don’t want one bite with five chips and another with none.
- Chill the mixture. Cover the bowl with plastic wrap and place it in the refrigerator for 30 minutes. This step is important. Chilling the mixture makes it much easier to roll into balls. If you skip this, the bites will be too sticky to handle. I learned this the hard way.
- Roll into balls. After chilling, line a baking sheet with parchment paper. Use your cookie scoop or a tablespoon to portion out the mixture. Roll each portion between your palms to form a smooth ball. If the mixture starts sticking to your hands, lightly wet your hands with cold water. This trick works every time.
- Place on the baking sheet. Arrange the rolled bites on the parchment-lined sheet. They should not touch each other. This recipe makes about 20-24 bites depending on how big you roll them.
- Freeze until firm. Place the baking sheet in the freezer for at least 1 hour. This sets the bites and makes them easy to store. Once they are firm, you can transfer them to a freezer-safe container or zip-top bag.
Your kitchen will smell like peanut butter and honey while you work. It’s a good smell. It feels like you are making something special, even though it only took you about 15 minutes of active time.
Cooking Tips & Techniques
I’ve made these snack bites more times than I can count. Here are the things I wish someone had told me the first time.
Don’t Skip the Chill Time
I know you want to rush. I get it. But if you try to roll these right after mixing, you will end up with a sticky mess on your hands. Literally. The 30-minute chill in the fridge makes the mixture firm enough to handle. It also lets the flavors meld together. Trust the process.
Use Room Temperature Ingredients
Cold peanut butter is hard to mix. Cold honey is thick and stubborn. Let your ingredients sit out for 15 minutes before you start. It makes the mixing step so much easier. If you forgot to plan ahead, microwave the peanut butter for 10 seconds and run the honey jar under warm water.
Wet Your Hands
This is my number one tip. When you are rolling the bites, keep a small bowl of cold water nearby. Dip your hands in the water and shake off the excess before rolling each ball. The moisture prevents the mixture from sticking to your palms. It’s a game changer.
Test One Before Rolling All
Roll one bite and check the texture. If it holds together well, proceed with the rest. If it falls apart, add a tablespoon more peanut butter or honey to the mixture. If it is too sticky, add a tablespoon more oats. Adjust as needed. This saves you from rolling a whole batch that doesn’t work.
Make Them Uniform
Use a cookie scoop for consistent sizing. This matters for storage and portion control. Uniform bites also freeze and thaw at the same rate. I use a 1.5-tablespoon scoop and it works perfectly.
Variations & Adaptations
One of the best things about this recipe is how flexible it is. You can change almost everything and still get great results.
Nut-Free Version
Swap the peanut butter for sunflower seed butter or tahini. Sunflower seed butter works best because it has a similar texture. Tahini gives a more savory flavor. Both are nut-free and school-safe. Just note that sunflower seed butter can turn green when combined with baking soda, but since this is no-bake, you are fine.
Gluten-Free Version
Use certified gluten-free rolled oats. That is the only change you need to make. The rest of the ingredients are naturally gluten-free. Check your vanilla extract label if you are very sensitive. Some brands use alcohol derived from wheat.
Vegan Version
Replace the honey with maple syrup or agave nectar. Both work as binders. Maple syrup gives a slightly thinner texture, so you might need to add a tablespoon more oats to compensate. Use vegan chocolate chips too. Enjoy Life makes great ones.
Protein-Packed Version
Add one scoop of vanilla or chocolate protein powder. Reduce the oats by ¼ cup to keep the texture right. You might also need to add an extra tablespoon of honey or peanut butter to balance the dryness. Chocolate protein powder with peanut butter is a fantastic combination.
Seasonal Variations
In the fall, add pumpkin pie spice and dried cranberries instead of chocolate chips. In the summer, use dried cherries and white chocolate chips. For the holidays, add crushed candy canes or peppermint extract. I made a pumpkin version last October and it was a huge hit with the kids.
Serving & Storage Suggestions
These snack bites are best served cold or at room temperature. Take them straight from the freezer and let them sit for 5 minutes before eating. That softens them just enough without making them mushy.
How to Serve
- Straight from the freezer: Perfect for grab-and-go snacks. They are firm but still chewy.
- In lunchboxes: Pack them frozen. They will thaw by lunchtime and keep everything else cool.
- After school: Pull a few out when the kids get home. They are ready in minutes.
- As a quick breakfast: Pair two bites with a piece of fruit and a glass of milk. It’s a balanced meal in under a minute.
Storage Instructions
- Refrigerator: Store in an airtight container for up to 2 weeks. Place parchment paper between layers to prevent sticking.
- Freezer: Store in a freezer-safe zip-top bag or container for up to 3 months. Label the bag with the date so you remember.
- Room temperature: These can sit out for a few hours, but they soften quickly. I don’t recommend storing them at room temperature for more than a day.
Reheating Tips
These don’t need reheating. Just eat them cold or at room temperature. If you want a softer texture, microwave one for 5-7 seconds. Be careful not to overheat or they will fall apart.
Flavors actually get better after a day or two in the freezer. The oats absorb the moisture from the peanut butter and honey, and everything melds together. My kids say they taste better on day two than day one.
Nutritional Information & Benefits
Each snack bite (based on 22 servings) contains approximately:
- Calories: 145
- Protein: 5g
- Carbohydrates: 18g
- Fiber: 3g
- Sugar: 9g
- Fat: 7g
- Saturated Fat: 2g
- Sodium: 75mg
These numbers are estimates. They will vary based on your specific ingredients and portion sizes.
Health Benefits
- Oats provide sustained energy: The complex carbs digest slowly, keeping kids full longer. No sugar crash after school.
- Peanut butter adds protein and healthy fats: This combination supports brain function and muscle recovery. Perfect for growing kids.
- Flaxseed boosts fiber and omega-3s: Most kids don’t get enough fiber. These bites help close that gap without anyone noticing.
- Chocolate chips make it feel like a treat: A little indulgence makes healthy eating sustainable. Balance matters.
These bites are naturally dairy-free if you use dairy-free chocolate chips. They are also egg-free and soy-free. Always check your ingredient labels if you have specific allergies.
Conclusion
These easy freezer-friendly after-school snack bites solve a real problem. They are quick to make, easy to store, and actually good for you. No more crushed granola bars in the bottom of backpacks. No more last-minute trips to the store. Just grab one from the freezer and go.
I love this recipe because it makes me feel prepared. It is one less thing to worry about during the chaos of the school week. And honestly, it feels good to hand my kids something I made myself. Something I know is healthy. Something they actually want to eat.
Try this recipe and make it your own. Swap the chocolate chips for dried fruit. Use almond butter instead of peanut butter. Add a scoop of protein powder for extra staying power. The base recipe is forgiving, and the variations are endless.
I would love to hear how these turn out for you. Drop a comment below and tell me what mix-ins you used. Share a photo of your batch on Pinterest. Tag me so I can see your creation. Happy snacking, friends.
Frequently Asked Questions
Can I use quick oats instead of rolled oats?
You can, but the texture will be different. Quick oats are more finely chopped, so they absorb moisture faster and create a denser, softer bite. Rolled oats give a chewier texture that holds up better in the freezer. If you only have quick oats, reduce the honey by one tablespoon to compensate for the extra absorption.
How long do these snack bites last in the freezer?
These bites stay fresh in the freezer for up to 3 months. Store them in an airtight container or zip-top bag with the air pressed out. Label the bag with the date so you remember when you made them. After 3 months, the texture starts to decline, but they are still safe to eat.
My mixture is too dry. What did I do wrong?
This usually happens when the peanut butter is too thick or the oats are extra absorbent. Fix it by adding one tablespoon of honey or peanut butter at a time until the mixture holds together when pressed. You can also add a teaspoon of coconut oil for extra moisture. Don’t add water — it makes the bites mushy.
Can I make these without chocolate chips?
Absolutely. The chocolate chips are optional. Replace them with dried cranberries, raisins, chopped dried apricots, or chopped nuts. You can also leave them out entirely for a simpler version. The base recipe works fine without any mix-ins.
My kids have nut allergies. What can I use instead of peanut butter?
Sunflower seed butter is the best substitute. It has a similar texture and binds the same way. Tahini works too but gives a more savory flavor. WowButter is another great option that mimics peanut butter closely. Just make sure whatever you use is certified nut-free if your child has severe allergies.
Pin This Recipe!
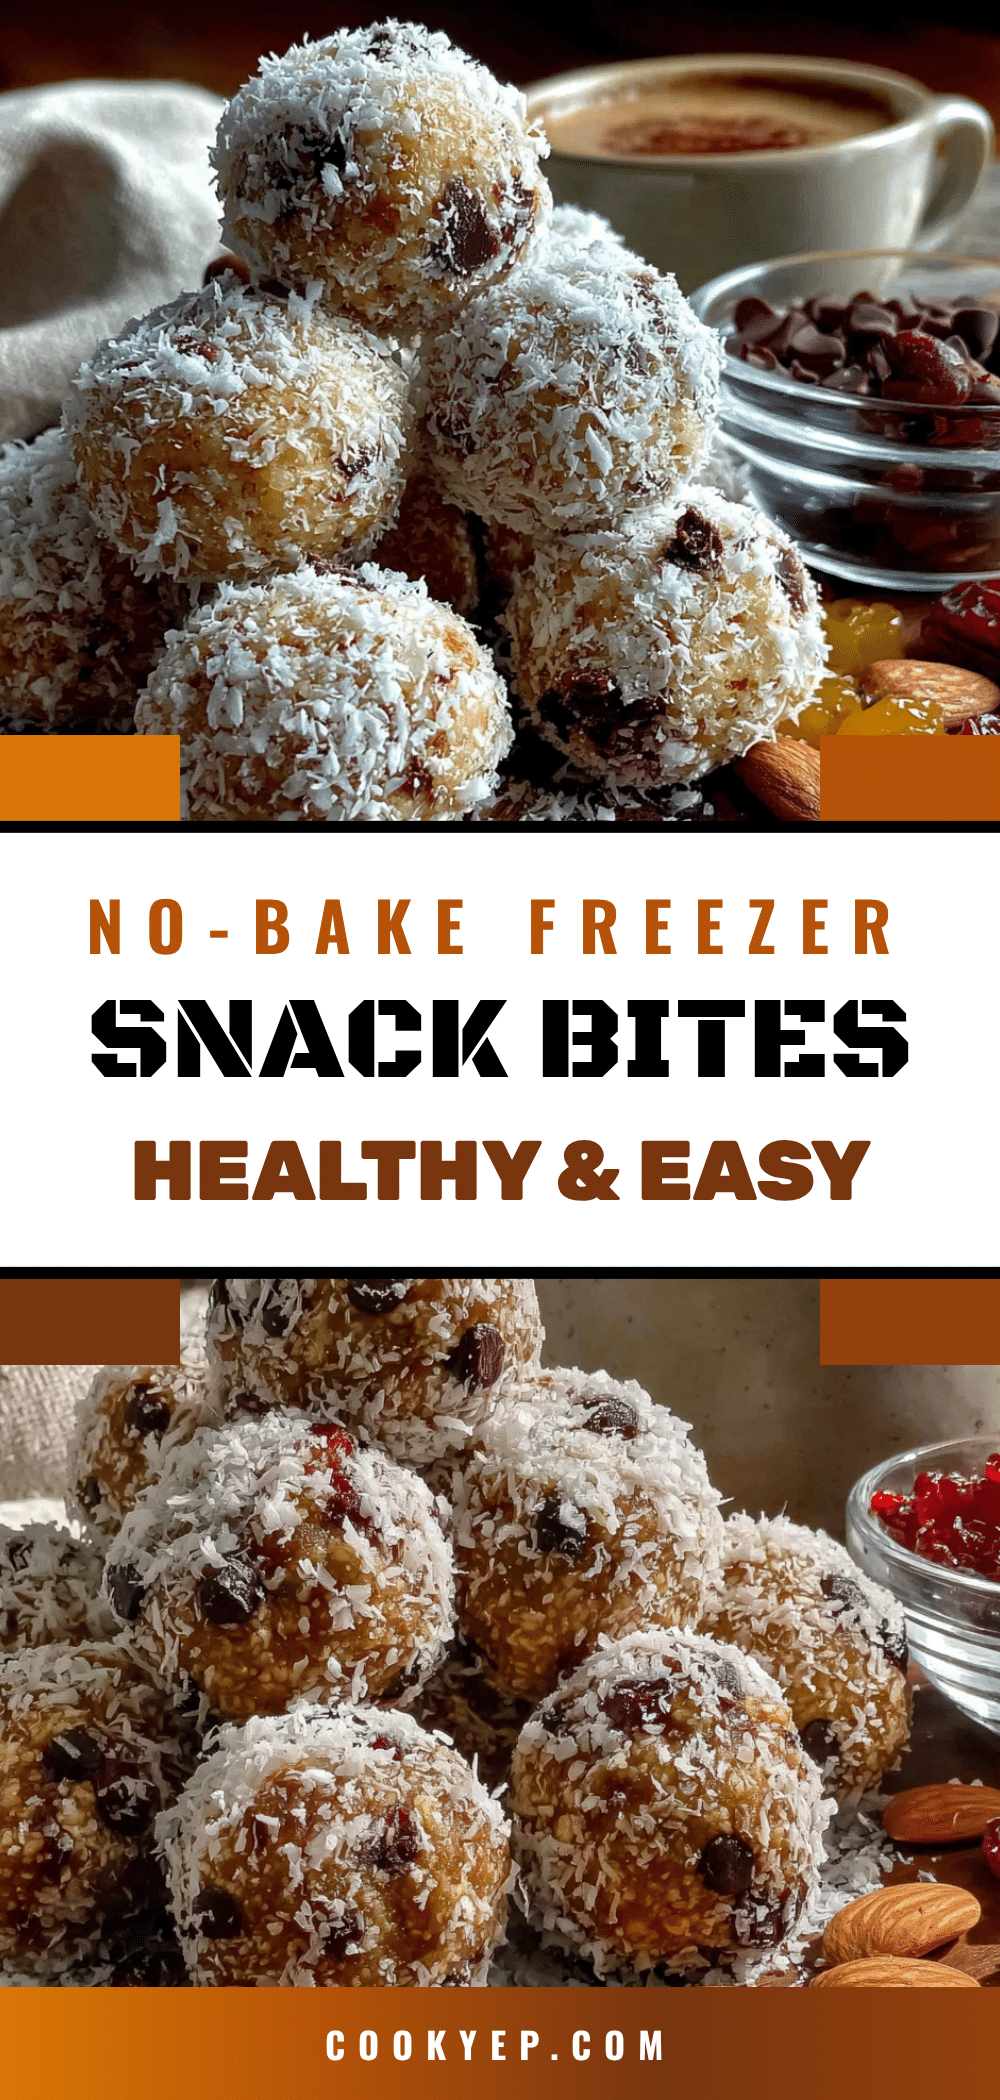
Easy No-Bake Freezer Snack Bites for After School

These easy freezer-friendly after-school snack bites are no-bake, packed with good-for-you ingredients, and they actually taste like a treat. They don’t feel like a compromise. They feel like a win.
- Prep Time: 15 minutes
- Cook Time: 0 minutes
- Total Time: 1 hour 45 minutes (includes 30 minutes chill and 1 hour freeze)
- Yield: 22 servings 1x
- Category: Snack
- Cuisine: American
Ingredients
- 2 cups rolled oats (old-fashioned, not instant)
- 1 cup creamy peanut butter (natural, no added sugar)
- ½ cup honey
- 1 teaspoon vanilla extract
- ¼ teaspoon fine sea salt
- ½ cup mini semi-sweet chocolate chips
- 2 tablespoons ground flaxseed
- ¼ cup shredded coconut (unsweetened, optional)
Instructions
- In a large mixing bowl, combine the rolled oats, ground flaxseed, and salt. If using shredded coconut, add it here. Stir together with a spatula until evenly distributed.
- In a small bowl or measuring cup, combine the peanut butter, honey, and vanilla extract. Stir until smooth. If peanut butter is stiff, microwave for 10-15 seconds to soften.
- Pour the peanut butter mixture into the bowl with the dry ingredients. Stir with a spatula until fully combined. The mixture will look dry and crumbly at first but will come together after about 2 minutes of mixing.
- Fold in the mini chocolate chips until evenly distributed throughout the mixture.
- Cover the bowl with plastic wrap and refrigerate for 30 minutes. This makes the mixture easier to roll.
- Line a baking sheet with parchment paper. Using a cookie scoop or tablespoon, portion out the mixture and roll each portion into a smooth ball between your palms. If sticky, lightly wet your hands with cold water.
- Place the rolled bites on the parchment-lined baking sheet, ensuring they do not touch. This recipe makes about 20-24 bites.
- Freeze the baking sheet for at least 1 hour until firm. Transfer to a freezer-safe container or zip-top bag for storage.
Notes
Don’t skip the chill time—it makes rolling easier. Use room temperature ingredients for easier mixing. Wet your hands with cold water to prevent sticking. Test one bite before rolling all to adjust texture if needed. Store in refrigerator for up to 2 weeks or freezer for up to 3 months. Flavors improve after a day or two.
Nutrition
- Serving Size: 1 snack bite
- Calories: 145
- Sugar: 9
- Sodium: 75
- Fat: 7
- Saturated Fat: 2
- Carbohydrates: 18
- Fiber: 3
- Protein: 5
Keywords: no-bake snack bites, freezer snacks, after-school snacks, energy balls, peanut butter oatmeal bites, healthy snacks for kids, gluten-free snacks, vegan snacks