My sister did not trust peanut butter in a healthy snack. She called it “glorified dessert bait” and ate her almonds plain, thank you very much. I get it — most protein balls are either dry enough to choke on or so sweet they might as well be cookies. So when I showed up at her house with a container of these Easy No-Bake Peanut Butter Protein Balls, she gave me that look. You know the one.
She took a bite anyway. Then another. Then she asked for the recipe without making eye contact — which is basically a confession in our family. These things have that effect. They are chewy without being sticky, sweet without being cloying, and packed with enough protein to actually keep you full through the 3 p.m. slump. No blender required. No oven. Just a bowl and five minutes of patience.
I stumbled onto this combination by accident, honestly. I was out of granola bars and too lazy to go to the store. The pantry gave me peanut butter, oats, and a bag of chocolate chips that was practically begging for attention. I threw things together, rolled them into balls, and ate two standing over the counter. They were better than anything I had bought in a box. That was three months ago, and I have made a batch every week since. These are not a compromise — they are a legit upgrade.
Why You Will Love This Recipe
Let me tell you why these Easy No-Bake Peanut Butter Protein Balls have earned a permanent spot in my fridge. I have tested this recipe at least a dozen times with different oat textures, peanut butter brands, and mix-ins. This version is the one that finally stuck.
- Quick and Easy: Five minutes of hands-on time. That is it. No baking, no chilling before rolling, no complicated steps. Mix, roll, eat. Perfect for those days when you need a snack five minutes ago.
- Simple Ingredients: You probably have everything in your pantry right now. Oats, peanut butter, honey, chocolate chips, and a scoop of protein powder if you have it. No weird ingredients or specialty store trips.
- Perfect for Meal Prep: Make a batch on Sunday and grab them all week. They keep beautifully in the fridge and are portable enough to throw in a bag before running out the door.
- Crowd-Pleaser: I have brought these to picnics, work meetings, and road trips. Kids love them. Adults love them. Even my skeptical sister now keeps a stash in her freezer.
- Unbelievably Delicious: The texture is soft and chewy, not dry or crumbly. The peanut butter flavor is front and center, balanced by just enough sweetness from honey and the occasional chocolate chip surprise.
What makes this recipe different from the dozens of other protein ball recipes out there? It is the ratio. I spent time dialing in the perfect balance of wet to dry ingredients so the balls hold together without being greasy or falling apart. The secret is letting the oats absorb the moisture for a minute before rolling. Simple, but it makes all the difference.
These are the kind of snack that makes you feel good about eating something delicious. They are satisfying without being heavy, and they actually deliver on the protein promise. No empty calories here.
What Ingredients You Will Need
This recipe uses simple, wholesome ingredients that work together to create a snack that is both satisfying and nourishing. Most of these are pantry staples, which makes these Easy No-Bake Peanut Butter Protein Balls perfect for spontaneous snack cravings.
- Rolled oats (1 cup / 90g): Use old-fashioned rolled oats for the best texture. Quick oats work in a pinch but will give you a softer, less chewy ball. I prefer Bob’s Red Mill or Quaker old-fashioned oats. If you are gluten-sensitive, make sure to use certified gluten-free oats.
- Creamy peanut butter (1/2 cup / 128g): Natural peanut butter works great, but make sure it is well-stirred and not too oily. If your peanut butter separates, stir it thoroughly before measuring. I like using a no-stir brand like Jif or Skippy for consistent results. You can also use crunchy peanut butter if you want extra texture.
- Honey (1/4 cup / 85g): Honey acts as the binder and sweetener. Use liquid honey, not crystallized. Maple syrup works as a substitute if you want a vegan option, though the balls will be slightly softer. Local honey adds a nice floral note if you have it.
- Vanilla protein powder (1/4 cup / 30g): This is optional but recommended for a protein boost. I use vanilla whey protein powder for a neutral flavor that complements the peanut butter. Plant-based protein powders work too, though they may make the mixture slightly drier — add a teaspoon of milk or water if needed. If you skip the protein powder, add an extra 1/4 cup of oats to maintain the right consistency.
- Dark chocolate chips (1/4 cup / 45g): Mini chocolate chips distribute better, but regular-sized ones work fine. Use dairy-free chocolate chips if needed. I like Enjoy Life brand for allergen-friendly options. You can also chop up a dark chocolate bar into small pieces.
- Ground flaxseed (1 tablespoon / 7g): This adds fiber and omega-3s while helping bind the mixture. It is almost undetectable in the final product. You can skip it or substitute with chia seeds if desired.
- Pinch of sea salt: A small pinch balances the sweetness and enhances the peanut butter flavor. If your peanut butter is already salted, you can skip this.
Equipment Needed
The beauty of this recipe is that you do not need much equipment at all. Here is what you will need:
- Mixing bowl: Any medium-sized bowl works. Glass or stainless steel is ideal because they do not absorb odors. I use a simple Pyrex mixing bowl.
- Spatula or wooden spoon: For mixing everything together. A silicone spatula makes scraping the bowl easier, but a regular spoon works fine.
- Measuring cups and spoons: Standard measuring cups for the oats, peanut butter, and chocolate chips. A liquid measuring cup for the honey makes pouring easier.
- Cookie scoop (optional): A 1-tablespoon cookie scoop creates uniform balls and speeds up the rolling process. If you do not have one, just use your hands — it takes an extra minute.
- Baking sheet or plate: To hold the rolled balls while you finish shaping them. Line it with parchment paper if you want to prevent sticking, though it is not strictly necessary.
- Airtight container: For storing the finished protein balls in the refrigerator. A glass meal prep container or mason jar works perfectly.
That is it. No food processor, no stand mixer, no specialty tools. If you have a bowl and a spoon, you are ready to go.
Preparation Method
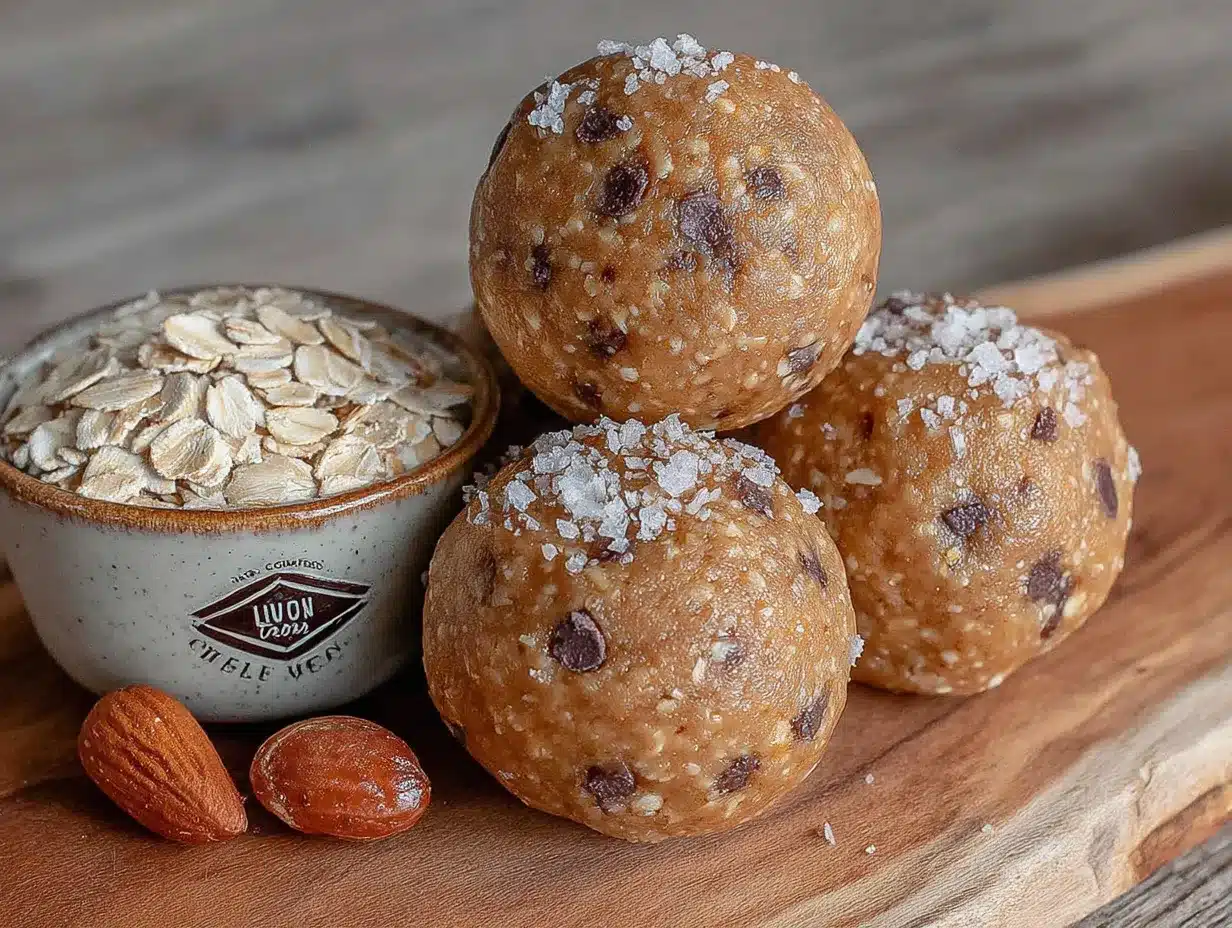
Making these Easy No-Bake Peanut Butter Protein Balls is almost embarrassingly simple. Here is how to do it:
- Combine the dry ingredients: In a medium mixing bowl, add 1 cup (90g) rolled oats, 1/4 cup (30g) vanilla protein powder (if using), 1 tablespoon (7g) ground flaxseed, and a pinch of sea salt. Stir them together with your spatula or spoon until evenly distributed. This step ensures the protein powder and flaxseed are not clumped together.
- Add the wet ingredients: Add 1/2 cup (128g) creamy peanut butter and 1/4 cup (85g) honey to the bowl. The peanut butter should be at room temperature — cold peanut butter is harder to mix. If your peanut butter has been in the fridge, microwave it for 10-15 seconds to soften it slightly.
- Mix thoroughly: Stir everything together until a cohesive dough forms. This takes about one minute of steady mixing. The mixture will look crumbly at first, then suddenly come together as the oats absorb the moisture. If it seems too dry, add a teaspoon of honey or milk. If it seems too wet, add a tablespoon more oats. The texture should be slightly tacky but not sticky — similar to cookie dough.
- Fold in the chocolate chips: Add 1/4 cup (45g) dark chocolate chips and fold them in until evenly distributed. Reserve a few chips to press into the tops of the balls if you want them to look prettier — totally optional but nice for presentation.
- Let the mixture rest: Let the mixture sit for 2-3 minutes. This resting period allows the oats to absorb some of the moisture from the peanut butter and honey, which makes the balls hold together better. Do not skip this step — I learned the hard way that impatient rolling leads to crumbly balls.
- Roll into balls: Using your hands, roll the mixture into 1-inch balls. A cookie scoop helps make them uniform, but your hands work just fine. You should get about 12-14 balls from this recipe. If the mixture sticks to your hands, lightly dampen your palms with water or rub a tiny bit of oil on them.
- Optional: Press chocolate chips on top: If you saved a few chocolate chips, gently press one into the top of each ball. This makes them look more polished and gives you a visible chocolate hit with each bite.
- Chill and enjoy: Place the balls on a plate or baking sheet and refrigerate for at least 30 minutes. This firms them up and makes the texture perfect. You can eat them immediately, but they will be softer and more prone to falling apart. Chilled is better.
Pro tip: If you are making a double batch (which I recommend), use a larger bowl and mix in two stages. The mixture can get stiff, and your arm will thank you for not overworking it.
Cooking Tips and Techniques
After making these Easy No-Bake Peanut Butter Protein Balls more times than I can count, I have picked up a few tricks that make the process smoother and the results more consistent.
Room temperature ingredients matter. Cold peanut butter straight from the fridge is a nightmare to mix. It clumps, it resists blending, and you end up with unevenly distributed ingredients. Let your peanut butter sit out for 15-20 minutes before starting, or give it a quick microwave warm-up. Same goes for honey — if it is crystallized or thick, warm it slightly so it pours easily.
Do not overmix. Once the dough comes together, stop mixing. Overworking the mixture can make the balls dense and tough rather than tender and chewy. You want everything just combined.
Wet hands are your friend. If the mixture sticks to your palms while rolling, wet your hands with a little water. The moisture creates a barrier that prevents sticking without adding oil or extra ingredients. This trick works for energy balls, meatballs, and even cookie dough.
Taste test before rolling. Take a small pinch of the mixture and taste it before you commit to rolling all the balls. This is your chance to adjust sweetness, saltiness, or chocolate chip distribution. I once made a batch where I forgot the salt, and the balls tasted flat — a quick pinch fixed it before I rolled them all.
Chill for texture perfection. I know it is tempting to eat them immediately, but the 30-minute chill is not just for show. It allows the oats to fully hydrate and the flavors to meld. The difference between a room-temperature ball and a chilled one is noticeable — the chilled version is firmer, chewier, and more satisfying.
Storage matters. Keep these balls in an airtight container in the refrigerator. They last up to two weeks, though they rarely survive that long in my house. You can also freeze them for up to three months — just layer them between parchment paper in a freezer-safe container.
One mistake I made early on was using old oats. Oats that have been sitting in the pantry for months lose some of their moisture and texture. Fresh oats make a noticeable difference in how well the balls hold together. If your oats are older, add an extra teaspoon of honey or peanut butter to compensate.
Variations and Adaptations
One of the best things about these Easy No-Bake Peanut Butter Protein Balls is how adaptable they are. I have experimented with countless variations, and here are some of my favorites:
Chocolate peanut butter version: Replace 2 tablespoons of the oats with unsweetened cocoa powder. You get a chocolate-peanut butter combo that tastes like a healthier version of a Reese’s cup. Add an extra teaspoon of honey to balance the bitterness of the cocoa.
Vegan option: Swap the honey for maple syrup or agave nectar. Use a plant-based protein powder instead of whey. Make sure your chocolate chips are dairy-free. The texture will be slightly softer with maple syrup, so add an extra tablespoon of oats to compensate.
Nut-free version: Substitute the peanut butter with sunflower seed butter or tahini. The flavor will be different but still delicious. Sunflower seed butter can react with baking soda in recipes, but since this is no-bake, you are safe. Note that sunflower seed butter balls may turn slightly green over time due to a natural reaction — they are still perfectly safe to eat.
Add-in ideas: Shredded coconut adds texture and tropical flavor. Chopped nuts (almonds, pecans, or walnuts) add crunch. Dried fruit like cranberries or chopped apricots add sweetness and chew. Hemp seeds or chia seeds boost the nutritional profile without altering the flavor much.
Spiced version: Add 1/2 teaspoon of cinnamon and a pinch of nutmeg to the dry ingredients. The warm spices complement the peanut butter beautifully and make these feel more like a cozy fall snack. A dash of cardamom works well too.
I once made a batch with a tablespoon of instant espresso powder mixed in — it gave the balls a subtle coffee flavor that paired surprisingly well with the chocolate chips. Not for everyone, but if you love coffee and chocolate, give it a try.
If you are looking for more healthy snack ideas, you might also enjoy this Fresh Quinoa and Kale Power Salad for a savory option that is equally meal-prep friendly.
Serving and Storage Suggestions
These Easy No-Bake Peanut Butter Protein Balls are incredibly versatile when it comes to serving. Here is how I like to enjoy them:
Serving temperature: Serve them straight from the fridge for the best texture. They are firm, chewy, and satisfying. If you prefer a softer texture, let them sit at room temperature for 5-10 minutes before eating. I do not recommend serving them warm — they lose their structure and become too soft.
Pairing ideas: These balls are perfect on their own, but they also pair beautifully with a glass of cold milk, a cup of coffee, or a smoothie. For a more substantial snack, serve two balls alongside an apple or banana. They are also great crumbled over yogurt or oatmeal for added texture and protein.
When to eat them: I reach for these as a pre-workout snack, a post-workout refuel, or a mid-afternoon pick-me-up. They are also fantastic for road trips, hiking, or packing in lunchboxes. Kids love them as an after-school snack that does not spike their sugar levels.
Storage instructions: Store the balls in an airtight container in the refrigerator for up to two weeks. Layer them between parchment paper if stacking to prevent sticking. For longer storage, freeze them in a single layer on a baking sheet, then transfer to a freezer-safe bag or container. They keep in the freezer for up to three months. Thaw in the refrigerator overnight or at room temperature for 15-20 minutes.
Flavor development: These balls actually taste better after a day or two in the fridge. The flavors meld together, and the texture becomes more uniform. If you can resist eating them all on day one, you will be rewarded on day two.
For a refreshing drink to pair with your snack, try this Refreshing Sparkling Citrus Ginger Mojito Mocktail — it is a perfect non-alcoholic companion for a healthy snack spread.
Nutritional Information and Benefits
These Easy No-Bake Peanut Butter Protein Balls are not just delicious — they are genuinely nutritious. Here is a rough breakdown per ball (based on 12 balls per batch):
- Calories: Approximately 160-180 calories per ball
- Protein: 7-9 grams (depending on protein powder used)
- Carbohydrates: 18-20 grams
- Fiber: 3-4 grams
- Fat: 8-10 grams (mostly healthy fats from peanut butter)
- Sugar: 8-10 grams (from honey and chocolate chips)
Health benefits: The rolled oats provide complex carbohydrates for sustained energy, while the peanut butter delivers healthy monounsaturated fats and plant-based protein. The flaxseed adds omega-3 fatty acids and fiber, which supports digestive health. Dark chocolate chips offer antioxidants in the form of flavonoids, which are good for heart health.
Dietary considerations: This recipe is naturally vegetarian. It can be made vegan by substituting honey with maple syrup. For gluten-free needs, use certified gluten-free oats. For nut-free needs, substitute sunflower seed butter. The recipe is dairy-free if you use dairy-free chocolate chips.
Potential allergens: This recipe contains peanuts and oats. Oats are naturally gluten-free but can be cross-contaminated with wheat during processing. If you have celiac disease or gluten sensitivity, choose certified gluten-free oats. The recipe may also contain dairy depending on your chocolate chip choice.
I love that these balls give me a quick energy boost without the crash that comes from processed snacks. They are a staple in my meal prep rotation for good reason.
Conclusion
These Easy No-Bake Peanut Butter Protein Balls have become a non-negotiable part of my weekly routine. They are proof that healthy snacking does not have to be complicated, expensive, or boring. Five minutes of effort gives you a week’s worth of satisfying, protein-packed snacks that actually taste like a treat.
What I love most about this recipe is how forgiving it is. You can tweak the ingredients based on what you have in your pantry, adjust the sweetness to your liking, or swap in different mix-ins depending on your mood. It is a template, not a rigid formula — and that makes it endlessly useful.
If you have been on the fence about making your own protein balls, let this be your sign. The ingredients are simple, the process is foolproof, and the payoff is genuinely delicious. Make a batch this weekend. Keep them in your fridge. Grab one when hunger strikes. Your future self will thank you.
I would love to hear how yours turn out. Did you add any fun mix-ins? Did you try a different nut butter? Drop a comment below and let me know — your variations might inspire someone else’s next batch. And if you loved this recipe, share it with a friend who needs a quick, healthy snack in their life.
Happy rolling!
Frequently Asked Questions
Can I use quick oats instead of rolled oats?
Yes, you can use quick oats, but the texture will be softer and less chewy. Rolled oats give a better structure and a more satisfying bite. If you only have quick oats, reduce the resting time slightly since they absorb moisture faster.
Why are my protein balls falling apart?
This usually happens when the mixture is too dry. Add a teaspoon of honey or peanut butter at a time until the dough holds together when pressed. Also, make sure you let the mixture rest for 2-3 minutes before rolling — this allows the oats to absorb moisture and bind the ingredients.
Can I make these without protein powder?
Absolutely. Simply omit the protein powder and add an extra 1/4 cup of rolled oats to maintain the right consistency. The protein content will be lower, but they will still be delicious and satisfying.
How long do these protein balls last?
Stored in an airtight container in the refrigerator, they stay fresh for up to two weeks. You can also freeze them for up to three months. Just thaw in the refrigerator or at room temperature before eating.
Can I use almond butter instead of peanut butter?
Yes, almond butter works great as a substitute. The flavor will be milder and slightly nuttier. Keep in mind that different nut butters have varying consistencies — if your almond butter is runnier, you may need to add a tablespoon more oats to compensate.
Pin This Recipe!
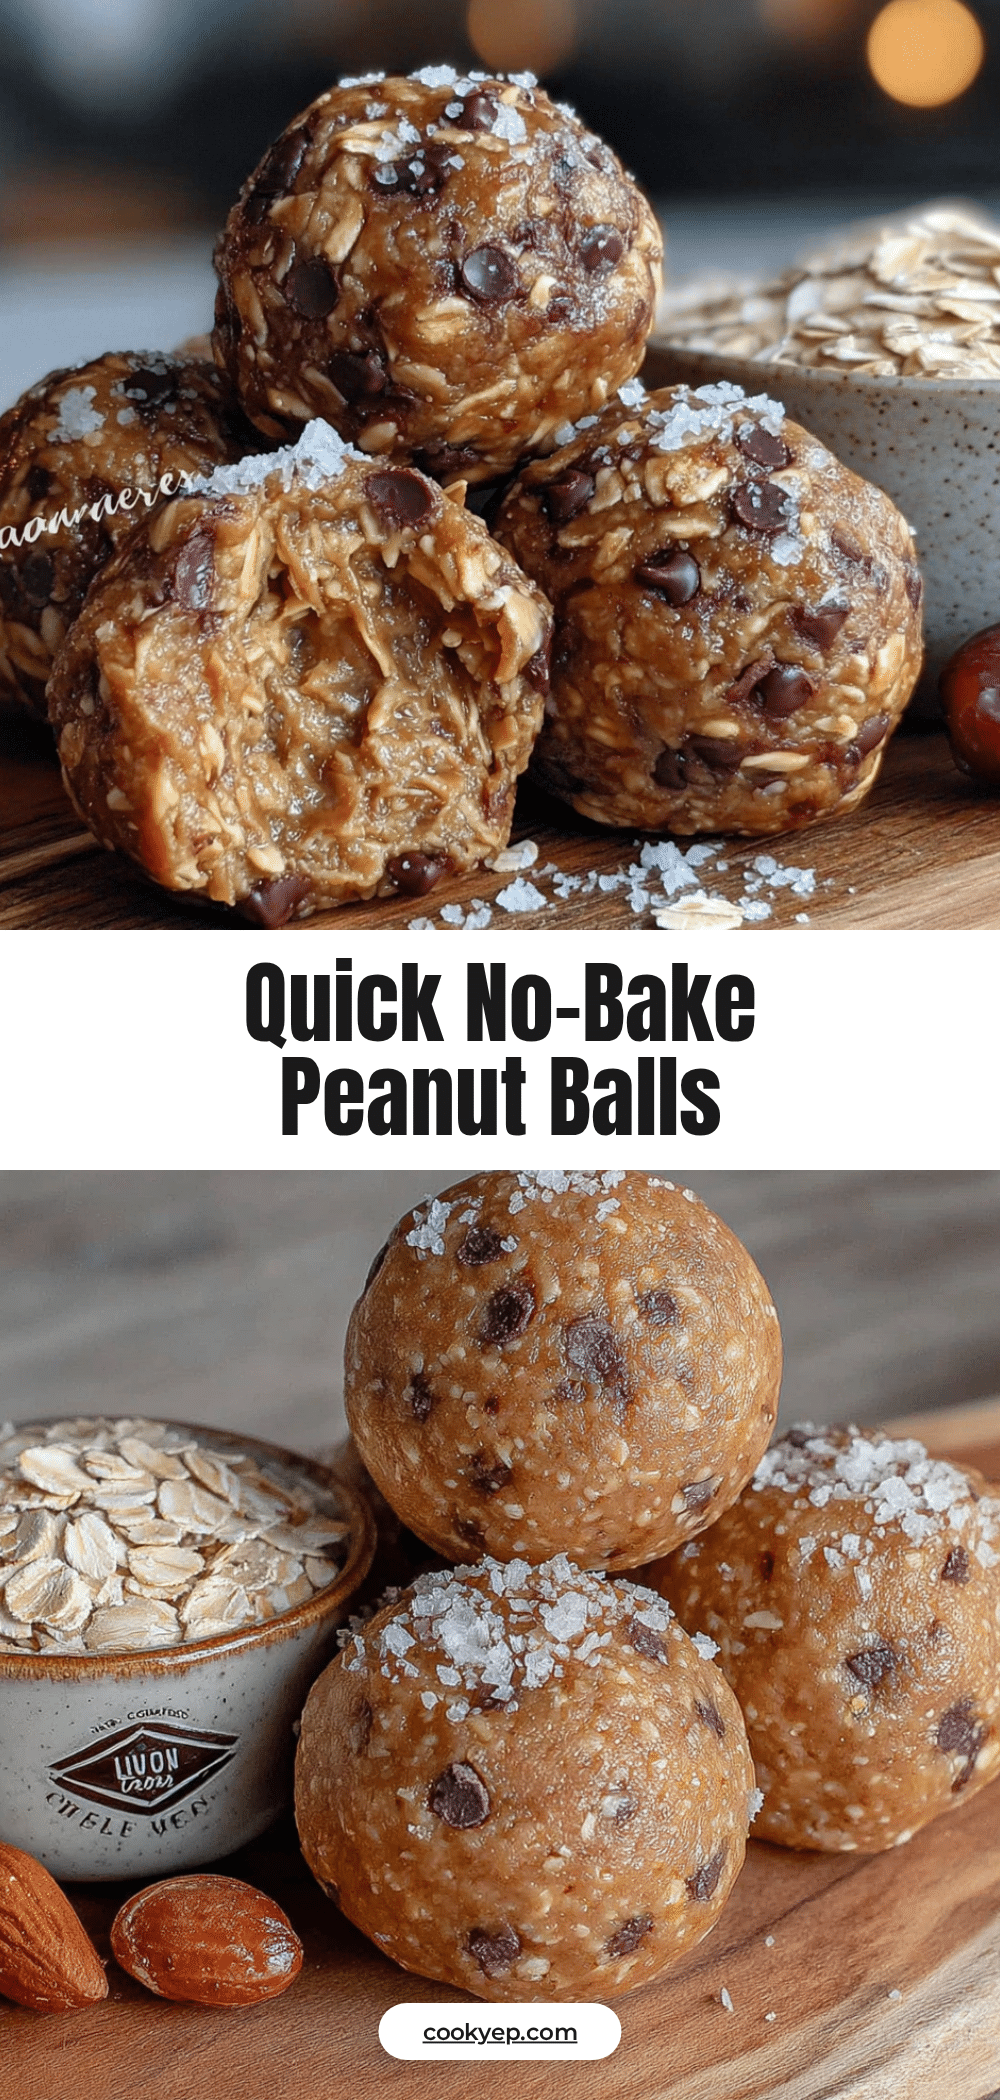
Easy No-Bake Peanut Butter Protein Balls: Best 5-Minute Snack
These Easy No-Bake Peanut Butter Protein Balls are a quick, healthy snack made with simple pantry ingredients. They are chewy, sweet, and packed with protein, perfect for meal prep or a mid-afternoon pick-me-up.
- Prep Time: 5 minutes
- Cook Time: 0 minutes
- Total Time: 35 minutes
- Yield: 12-14 balls 1x
- Category: Snack
- Cuisine: American
Ingredients
- 1 cup (90g) rolled oats
- 1/2 cup (128g) creamy peanut butter
- 1/4 cup (85g) honey
- 1/4 cup (30g) vanilla protein powder (optional)
- 1/4 cup (45g) dark chocolate chips
- 1 tablespoon (7g) ground flaxseed
- Pinch of sea salt
Instructions
- Combine the dry ingredients: In a medium mixing bowl, add 1 cup (90g) rolled oats, 1/4 cup (30g) vanilla protein powder (if using), 1 tablespoon (7g) ground flaxseed, and a pinch of sea salt. Stir together until evenly distributed.
- Add the wet ingredients: Add 1/2 cup (128g) creamy peanut butter and 1/4 cup (85g) honey to the bowl. The peanut butter should be at room temperature.
- Mix thoroughly: Stir everything together until a cohesive dough forms, about one minute. If too dry, add a teaspoon of honey or milk; if too wet, add a tablespoon more oats.
- Fold in the chocolate chips: Add 1/4 cup (45g) dark chocolate chips and fold them in until evenly distributed. Reserve a few chips to press into the tops of the balls if desired.
- Let the mixture rest: Let the mixture sit for 2-3 minutes to allow the oats to absorb moisture.
- Roll into balls: Using your hands, roll the mixture into 1-inch balls. You should get about 12-14 balls. If the mixture sticks, lightly dampen your palms with water.
- Optional: Press chocolate chips on top: If you saved a few chocolate chips, gently press one into the top of each ball.
- Chill and enjoy: Place the balls on a plate or baking sheet and refrigerate for at least 30 minutes before serving.
Notes
Let the mixture rest for 2-3 minutes before rolling to help the balls hold together. For best texture, chill for at least 30 minutes. Store in an airtight container in the refrigerator for up to two weeks, or freeze for up to three months.
Nutrition
- Serving Size: 1 ball
- Calories: 170
- Sugar: 9
- Sodium: 80
- Fat: 9
- Saturated Fat: 2
- Carbohydrates: 19
- Fiber: 3
- Protein: 8
Keywords: no-bake, peanut butter, protein balls, healthy snack, meal prep, gluten-free option, vegan option


