My neighbor showed up at my door holding a bunch of overly ripe bananas, looking slightly guilty. She was headed out of town and didn’t want them to go to waste. I stood there, holding this offering of speckled black fruit, thinking about my afternoon that had just opened up unexpectedly. My plan was to finally clean out the pantry, but instead, I found myself staring at those bananas, a bag of walnuts I’d bought on a whim, and the sudden urge to bake something simple. No mixer, no complicated steps, just a bowl and a spoon.
This easy one-bowl banana bread with walnuts came together in that exact moment of improvisation. I wasn’t trying to create anything special, honestly. I just wanted to use what I had without making a mess. The butter melted in the microwave while I mashed the bananas with a fork, and I didn’t even bother sifting the flour. Twenty minutes later, the kitchen smelled like a bakery, and I had a loaf cooling on the counter that made my neighbor text me from the airport asking for the recipe.
That’s the thing about this bread. It doesn’t need fussing over. It’s the kind of recipe that works when you’re not trying too hard, when you just let the ingredients do what they do best. The walnuts add this little crunch that breaks up the soft, moist crumb, and the banana flavor is front and center, no distractions. I’ve made it at least a dozen times since that afternoon, and it’s never let me down. It’s become my go-to for using up sad-looking bananas, and honestly, it’s better than any complicated version I’ve ever tried.
Why You’ll Love This Recipe
This banana bread has earned a permanent spot in my kitchen rotation, and I think it’ll earn one in yours too. I’ve tested it with different flours, different ripeness levels of bananas, and even different fats, and it holds up every single time. Here’s why it’s worth your time:
- One Bowl, No Fuss: You mix everything in a single bowl. No creaming butter and sugar separately, no dirtying a second bowl for dry ingredients. Less cleanup means you’re more likely to bake it on a whim.
- Simple Pantry Ingredients: You probably have everything you need right now. Flour, sugar, butter, eggs, baking soda, salt, and bananas. The walnuts are optional, but they add a lovely texture.
- Perfect for Overripe Bananas: You know those bananas that sit on the counter until they’re practically black? Those are perfect for this recipe. The riper they are, the sweeter and more flavorful your bread will be.
- Incredibly Moist: The combination of melted butter and mashed bananas creates a tender, moist crumb that stays soft for days. It’s the kind of bread that doesn’t need butter spread on it, though I won’t stop you.
- Freezer-Friendly: This bread freezes beautifully. I often make two loaves at once, one for now and one for later. It’s a lifesaver for busy mornings or unexpected guests.
What makes this version different from the hundreds of banana bread recipes out there? It’s the ratio. I’ve played around with the amounts until I found the sweet spot where the bread is moist but not gummy, sweet but not cloying, and sturdy enough to hold the walnuts without them sinking to the bottom. It’s not just another banana bread. It’s the one you’ll make again and again.
What Ingredients You Will Need
This recipe uses simple, wholesome ingredients that work together to create a loaf that’s moist, tender, and packed with banana flavor. Most of these are pantry staples, so you’re likely already set to bake.
- 3 ripe bananas, mashed (about 1 ½ cups): The riper the better. Look for bananas with lots of brown spots or ones that are almost entirely black. They’re sweeter and easier to mash. I use a fork and leave a few small chunks for texture.
- ⅓ cup melted unsalted butter: Melted butter gives the bread a rich flavor and tender crumb. I use unsalted so I can control the salt level. If you only have salted butter, just reduce the added salt to ¼ teaspoon.
- ¾ cup granulated sugar: White sugar adds sweetness and helps create a soft texture. You can use coconut sugar for a deeper flavor, but the bread will be slightly darker.
- 1 large egg, room temperature: The egg binds everything together and adds structure. Let it sit out for 15 minutes before using, or place it in a bowl of warm water for 5 minutes.
- 1 teaspoon vanilla extract: Pure vanilla extract adds warmth and depth. Imitation vanilla works in a pinch, but the real stuff makes a difference.
- 1 ½ cups all-purpose flour: Regular all-purpose flour gives the bread a light, tender crumb. Spoon and level it into your measuring cup for accuracy. Don’t scoop directly from the bag, or you’ll pack in too much flour.
- 1 teaspoon baking soda: This is the leavening agent that helps the bread rise. Make sure it’s fresh by testing a small amount in vinegar. If it fizzes, it’s good.
- ½ teaspoon salt: Salt balances the sweetness and enhances the banana flavor. I use fine sea salt.
- ½ cup chopped walnuts: Walnuts add a pleasant crunch and nutty flavor. Toast them in a dry skillet for 3-4 minutes before adding to the batter for even more depth. Pecans are a great substitute if that’s what you have on hand.
For the best results, use a light-colored metal loaf pan. Glass or dark pans can cause the edges to brown too quickly before the center is done. I learned that the hard way. Also, if your bananas aren’t quite ripe enough, you can place them on a baking sheet in a 300°F oven for 15-20 minutes until they soften and darken. It’s not quite the same as naturally ripened, but it works in a pinch.
Equipment Needed
You don’t need a fully stocked kitchen to make this bread. Here’s what you’ll need:
- Large mixing bowl: Any medium-to-large bowl will do. I prefer a glass or ceramic bowl because they don’t retain odors.
- Fork or potato masher: For mashing the bananas. A fork works perfectly, but a potato masher is faster.
- Whisk or wooden spoon: For mixing the batter. A whisk works well for smoothing out lumps, but a wooden spoon gets the job done just as easily.
- 9×5-inch loaf pan: This is the standard size. If you use an 8×4-inch pan, your bread will be taller and may need a few extra minutes in the oven.
- Parchment paper (optional): Lining the pan makes it easy to lift the bread out after baking. It’s not essential, but it’s helpful.
- Cooling rack: Allows air to circulate around the bread so it cools evenly. A wire rack is ideal, but you can use a cutting board in a pinch.
- Measuring cups and spoons: For accurate measurements. I recommend using dry measuring cups for flour and sugar, and a liquid measuring cup for the melted butter.
If you don’t have a loaf pan, you can bake the batter in a 9-inch square pan for about 25-30 minutes, or in a muffin tin for about 18-20 minutes. The recipe is forgiving that way.
Preparation Method
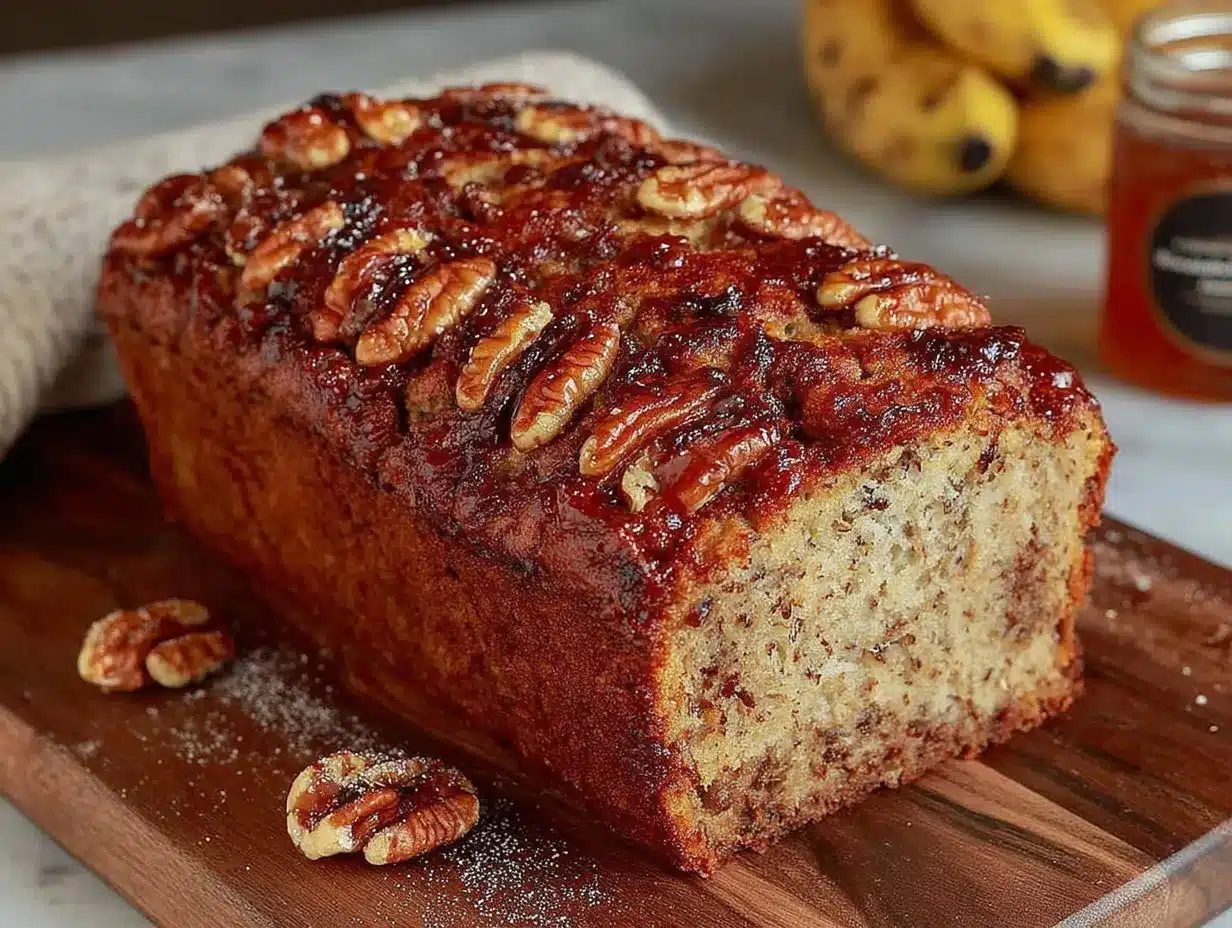
Preheat your oven to 350°F (175°C). Grease a 9×5-inch loaf pan with butter or non-stick spray, or line it with parchment paper, leaving an overhang on two sides for easy removal.
- Mash the bananas: In a large mixing bowl, add the three ripe bananas. Mash them with a fork or potato masher until smooth, leaving a few small chunks if you like texture. You should have about 1 ½ cups of mashed banana.
- Add the melted butter: Pour the ⅓ cup of melted butter over the mashed bananas and stir until combined. The mixture will look a bit separated at first, but keep stirring and it will come together.
- Mix in the sugar, egg, and vanilla: Add the ¾ cup of granulated sugar, 1 large egg, and 1 teaspoon of vanilla extract. Whisk or stir vigorously until the mixture is smooth and well combined. It should look like a thick, glossy batter at this point.
- Add the dry ingredients: Sprinkle the 1 ½ cups of all-purpose flour, 1 teaspoon of baking soda, and ½ teaspoon of salt over the wet mixture. Stir gently with a spatula or wooden spoon until just combined. Do not overmix. A few streaks of flour are okay. Overmixing will develop the gluten and make the bread tough.
- Fold in the walnuts: Add the ½ cup of chopped walnuts to the batter and fold them in with a few gentle strokes. Make sure they’re evenly distributed throughout the batter.
- Pour the batter into the pan: Scrape the batter into the prepared loaf pan and spread it evenly with a spatula. Tap the pan gently on the counter a few times to release any air bubbles.
- Bake: Place the pan in the preheated oven and bake for 55-65 minutes, or until a toothpick inserted into the center comes out clean or with a few moist crumbs attached. The top should be golden brown and cracked. If the top is browning too quickly after 40 minutes, tent it loosely with aluminum foil.
- Cool: Let the bread cool in the pan for 10 minutes. Then, run a knife around the edges if needed, and lift it out using the parchment paper overhang. Transfer it to a wire rack to cool completely before slicing. This is important. Slicing it warm will result in crumbly, gummy pieces.
A few troubleshooting notes: If your bread sinks in the middle, it might have been underbaked or the oven temperature was too low. If the edges are dry but the center is still wet, your oven might be running hot. An oven thermometer is a cheap investment that solves this problem. Also, if you forgot to set out your egg, place it in a bowl of warm water for 5 minutes. It’ll come to room temperature quickly.
Cooking Tips & Techniques
I’ve made this banana bread at least twenty times, and I’ve learned a few things along the way. Here are the tips that make the biggest difference:
Don’t overmix the batter. This is the most common mistake. When you add the flour, stir just until it disappears. Overmixing develops gluten, which makes the bread dense and tough instead of tender and soft. A few lumps are perfectly fine.
Use a light-colored metal pan. Glass and dark non-stick pans absorb more heat, which can cause the edges and bottom to brown too quickly while the center remains undercooked. I use a standard 9×5-inch aluminum loaf pan, and it works perfectly every time.
Check for doneness with a toothpick. Insert a toothpick into the center of the bread. If it comes out clean or with just a few moist crumbs, it’s done. If it’s wet with batter, give it another 5 minutes and check again. The bread should also feel firm to the touch and spring back slightly when pressed.
Let it cool completely. I know it’s tempting to slice into warm banana bread, but it’s worth the wait. The bread continues to set as it cools, and slicing it too early will result in a gummy, crumbly texture. I usually let it cool for at least an hour before cutting.
Toast the walnuts for extra flavor. This is a small step that makes a big difference. Spread the walnuts on a baking sheet and toast them at 350°F for 5-7 minutes until they’re fragrant. Let them cool before adding them to the batter. The nutty flavor becomes much more pronounced.
Measure your flour correctly. Spoon the flour into your measuring cup and level it off with a knife. Scooping directly from the bag can pack in up to 25% more flour, which will make your bread dry. This is one of those little things that really matters.
I once forgot the baking soda in a batch of banana bread, and it came out flat and dense like a brick. It was still edible, but it wasn’t good. Double-check your ingredients before you start mixing. It saves a lot of disappointment.
Variations & Adaptations
This recipe is a great base for experimentation. Here are some variations I’ve tried and loved:
- Chocolate Chip Banana Bread: Swap the walnuts for ½ cup of semi-sweet chocolate chips. The chocolate pairs beautifully with the banana. I’ve also used dark chocolate chips for a less sweet version.
- Gluten-Free Option: Use a 1:1 gluten-free all-purpose flour blend that contains xanthan gum. I’ve tested this with Bob’s Red Mill 1:1 Baking Flour, and it works perfectly. The texture is slightly more delicate, but it’s still delicious.
- Vegan Banana Bread: Replace the butter with melted coconut oil or vegetable oil, and use a flax egg (1 tablespoon ground flaxseed mixed with 3 tablespoons water, left to sit for 5 minutes). The bread will be slightly denser but still moist and flavorful.
- Spiced Banana Bread: Add 1 teaspoon of cinnamon, ½ teaspoon of nutmeg, and ¼ teaspoon of ground ginger to the flour mixture. It gives the bread a warm, cozy flavor that’s perfect for fall. I love making this version when the weather turns cool.
- Streusel Topping: Mix together ¼ cup of flour, ¼ cup of brown sugar, 2 tablespoons of cold butter, and a pinch of cinnamon. Sprinkle it over the batter before baking. It creates a crunchy, buttery topping that’s absolutely irresistible.
I once made a version with dried cranberries and orange zest, and it was surprisingly good. The tartness of the cranberries balanced the sweetness of the bananas. Don’t be afraid to play around with the add-ins. That’s half the fun of baking.
Serving & Storage Suggestions
This banana bread is best served at room temperature, but it’s also delicious warm. I like to slice it and spread a little salted butter on each piece. It’s perfect for breakfast with a cup of coffee, as an afternoon snack, or even as a simple dessert.
For a special treat, toast a slice and drizzle it with honey or maple syrup. You can also serve it with a dollop of whipped cream or a scoop of vanilla ice cream for a more indulgent dessert. It pairs beautifully with a hot cup of tea or a cold glass of milk.
Storage: Store the banana bread wrapped tightly in plastic wrap or in an airtight container at room temperature for up to 4 days. It will stay moist and tender. Do not refrigerate it, as the cold air will dry it out.
Freezing: This bread freezes exceptionally well. Wrap the cooled loaf (or individual slices) tightly in plastic wrap, then in a layer of aluminum foil. Freeze for up to 3 months. To thaw, leave it at room temperature for a few hours or overnight. You can also toast frozen slices directly from the freezer.
The flavor actually improves after a day or two. The banana flavor becomes more pronounced, and the texture becomes even more moist. It’s one of those rare recipes that tastes better on day two than it does on day one.
Nutritional Information & Benefits
Here’s the approximate nutritional information for one slice of banana bread (based on 10 slices):
- Calories: 280
- Fat: 12g
- Carbohydrates: 40g
- Fiber: 2g
- Sugar: 20g
- Protein: 5g
Bananas are a good source of potassium, vitamin B6, and vitamin C. They also provide fiber, which aids digestion. Walnuts are rich in omega-3 fatty acids, which are beneficial for heart health. They also contain antioxidants that help reduce inflammation.
This banana bread is not a health food, but it’s made with real, whole ingredients. It’s a treat, and it’s meant to be enjoyed in moderation. I love that I know exactly what’s in it, and I can feel good about sharing it with my family.
If you’re watching your sugar intake, you can reduce the sugar to ½ cup without significantly affecting the texture. The bread will be less sweet, but the bananas will still provide plenty of natural sweetness. You can also use a sugar substitute like monk fruit or stevia, but I haven’t tested those myself.
Conclusion
This easy one-bowl banana bread with walnuts is the kind of recipe that becomes a staple. It’s simple, reliable, and incredibly satisfying. It turns overripe bananas into something wonderful, and it fills your kitchen with the best kind of smell. I’ve made it for breakfasts, snacks, and last-minute gifts, and it’s always a hit.
I hope you give this recipe a try. Don’t be afraid to make it your own. Add chocolate chips, swap the walnuts for pecans, or throw in some dried fruit. The beauty of this bread is that it’s forgiving and adaptable. It’s hard to mess up, and even if you do, it’ll probably still taste great.
If you make it, I’d love to hear how it turns out. Leave a comment below and let me know if you tried any variations. And if you’re looking for more easy baking recipes, check out my best homemade zucchini bread with walnuts or these easy perfect chocolate chip pumpkin muffins. Happy baking!
Frequently Asked Questions
Can I use frozen bananas for this recipe?
Yes, absolutely. Thaw the bananas completely, then drain off any excess liquid before mashing. The texture might be slightly softer, but the flavor will be just as good.
Why did my banana bread sink in the middle?
This usually happens when the bread is underbaked or the oven temperature is too low. Make sure your oven is fully preheated, and use an oven thermometer if you’re unsure. Also, avoid opening the oven door during the first 40 minutes of baking.
Can I make this recipe without walnuts?
Of course. Simply omit the walnuts, or replace them with an equal amount of chocolate chips, pecans, or dried fruit. The bread will still be delicious.
How do I know when the banana bread is done?
Insert a toothpick into the center of the bread. If it comes out clean or with just a few moist crumbs, it’s done. The top should be golden brown and cracked, and the edges should be pulling away from the pan slightly.
Can I double this recipe?
Yes, you can double the ingredients to make two loaves. Just make sure you have a large enough bowl to mix everything. The baking time will be about the same, but you may need to rotate the pans halfway through for even baking.
Pin This Recipe!
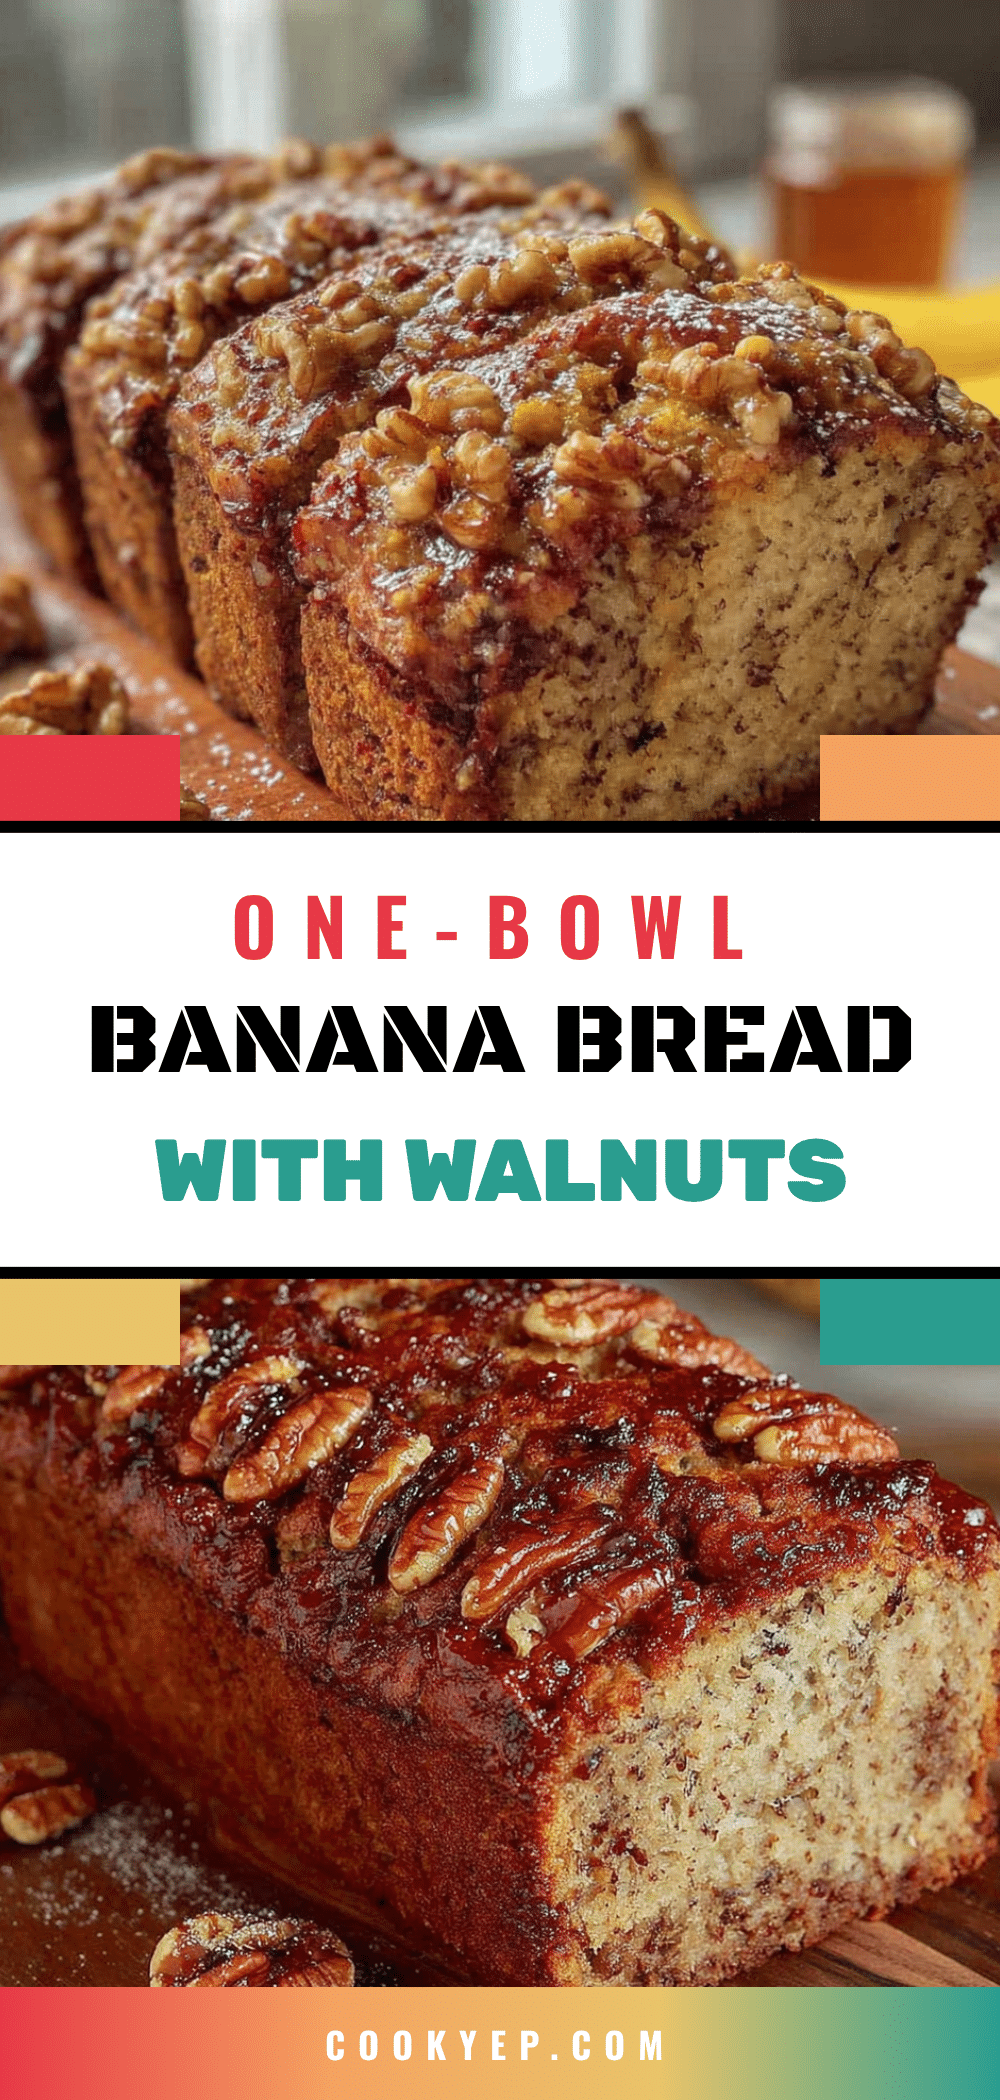
Easy One-Bowl Banana Bread with Walnuts: Best Homemade Recipe
This easy one-bowl banana bread with walnuts is a simple, reliable recipe that turns overripe bananas into a moist, tender loaf with a crunchy nutty topping. It’s perfect for using up sad-looking bananas and fills your kitchen with the best kind of smell.
- Prep Time: 15 minutes
- Cook Time: 55-65 minutes
- Total Time: 1 hour 10 minutes - 1 hour 20 minutes
- Yield: 10 servings 1x
- Category: Dessert
- Cuisine: American
Ingredients
- 3 ripe bananas, mashed (about 1 ½ cups)
- ⅓ cup melted unsalted butter
- ¾ cup granulated sugar
- 1 large egg, room temperature
- 1 teaspoon vanilla extract
- 1 ½ cups all-purpose flour
- 1 teaspoon baking soda
- ½ teaspoon salt
- ½ cup chopped walnuts
Instructions
- Preheat your oven to 350°F (175°C). Grease a 9×5-inch loaf pan with butter or non-stick spray, or line it with parchment paper, leaving an overhang on two sides for easy removal.
- In a large mixing bowl, mash the bananas with a fork or potato masher until smooth, leaving a few small chunks if desired.
- Pour the melted butter over the mashed bananas and stir until combined.
- Add the sugar, egg, and vanilla extract. Whisk or stir vigorously until the mixture is smooth and well combined.
- Sprinkle the flour, baking soda, and salt over the wet mixture. Stir gently with a spatula or wooden spoon until just combined. Do not overmix.
- Fold in the chopped walnuts with a few gentle strokes until evenly distributed.
- Pour the batter into the prepared loaf pan and spread it evenly. Tap the pan gently on the counter a few times to release air bubbles.
- Bake for 55-65 minutes, or until a toothpick inserted into the center comes out clean or with a few moist crumbs. If the top browns too quickly, tent with foil after 40 minutes.
- Let the bread cool in the pan for 10 minutes, then transfer to a wire rack to cool completely before slicing.
Notes
For best results, use a light-colored metal loaf pan. Do not overmix the batter. Let the bread cool completely before slicing to avoid a gummy texture. Toast the walnuts for extra flavor. The bread can be frozen for up to 3 months.
Nutrition
- Serving Size: 1 slice
- Calories: 280
- Sugar: 20
- Sodium: 200
- Fat: 12
- Saturated Fat: 5
- Carbohydrates: 40
- Fiber: 2
- Protein: 5
Keywords: banana bread, easy banana bread, one-bowl banana bread, banana walnut bread, homemade banana bread, moist banana bread, simple banana bread