My husband took one bite, stopped chewing, and just stared at the container. Not in a dramatic way, more like he was processing something he didn’t quite trust. “Did you buy this?” he finally asked, and I shook my head. “You made this?” He scooped another spoonful, then another, and I watched him eat nearly half the pint standing at the kitchen counter without saying another word. That was the moment I knew this easy no-churn salted caramel ice cream was going to become a problem in our house—the kind of problem you don’t actually want to solve.
I had been testing ice cream bases for weeks, trying to nail that perfect creamy texture without needing a machine. Some batches came out icy. Some were too sweet. A few just tasted like frozen cream with no soul. But this one? This one hit different. The caramel swirl stays soft even after freezing. The salt cuts through the sweetness just enough to make you take another bite before you’ve finished the last one. And the best part? You don’t need an ice cream maker, a thermometer, or any special skills to pull it off.
Honestly, I almost didn’t share this recipe because it felt too simple to be worth writing down. But then I made it for a friend’s backyard gathering, and three people asked for the recipe before the bowl was empty. So here we are. This is the kind of homemade ice cream that makes you wonder why you ever bought the store-bought stuff in the first place.
Why You’ll Love This Recipe
This easy no-churn salted caramel ice cream isn’t just another recipe floating around the internet. It’s the one I’ve tested six times to make sure the texture stays creamy, the caramel doesn’t freeze into hard chunks, and the salt hits at exactly the right moment. Here’s why it works so well:
- No Machine Required – You don’t need an ice cream maker, a stand mixer with a freezing bowl, or any expensive gadget. Just a hand mixer and a freezer-safe container.
- Simple Pantry Ingredients – Heavy cream, sweetened condensed milk, vanilla, sugar, butter, and salt. That’s it. No eggs, no custard base, no complicated steps.
- Better Than Store-Bought – The texture is richer and creamier than most premium brands. Plus, you control the sweetness and salt level exactly how you like it.
- Ready in Under 15 Minutes of Active Time – The hardest part is waiting for it to freeze. The actual hands-on work takes less time than watching a single episode of your favorite show.
- Perfect for Any Occasion – Summer barbecues, holiday dessert tables, late-night cravings, or just because it’s Tuesday. This ice cream fits every occasion without feeling fussy.
What makes this version different from other no-churn recipes is the caramel technique. Instead of using store-bought caramel sauce (which often contains preservatives that affect freezing), you make a quick homemade caramel that stays soft and scoopable even after hours in the freezer. The salt isn’t just sprinkled on top either—it’s layered into the caramel itself and sprinkled between the swirls, so every bite has that perfect sweet-salty balance.
I’ve made this for birthday parties, movie nights, and even a small dinner party where I served it alongside a warm apple crisp. Every single time, someone asks for the recipe. It’s the kind of dessert that makes people think you spent hours in the kitchen when really, you just whipped cream and stirred sugar into a pan. Let’s keep that our little secret.
What Ingredients You Will Need
This recipe uses simple, everyday ingredients to create something that tastes anything but ordinary. The magic happens when these basic components come together in just the right way. Here’s what you’ll need and why each one matters:
For the Ice Cream Base
- 2 cups heavy cream (also called heavy whipping cream) – This is the backbone of your no-churn ice cream. The high fat content (36-40%) is what gives you that creamy, scoopable texture without needing a machine. Don’t substitute with half-and-half or milk, or you’ll end up with ice crystals instead of ice cream.
- 1 can (14 ounces) sweetened condensed milk – This replaces the sugar and stabilizers you’d find in traditional ice cream bases. It adds sweetness, creaminess, and helps prevent ice crystals from forming. I prefer the brand Eagle Brand or Borden for consistent results.
- 1 teaspoon vanilla extract – Use real vanilla extract, not imitation. It adds depth and rounds out the caramel flavor beautifully. You can also use vanilla bean paste if you want those tiny vanilla specks throughout.
- ¼ teaspoon salt – A small amount in the base helps balance the sweetness and enhances the overall flavor. Don’t skip it.
For the Salted Caramel Swirl
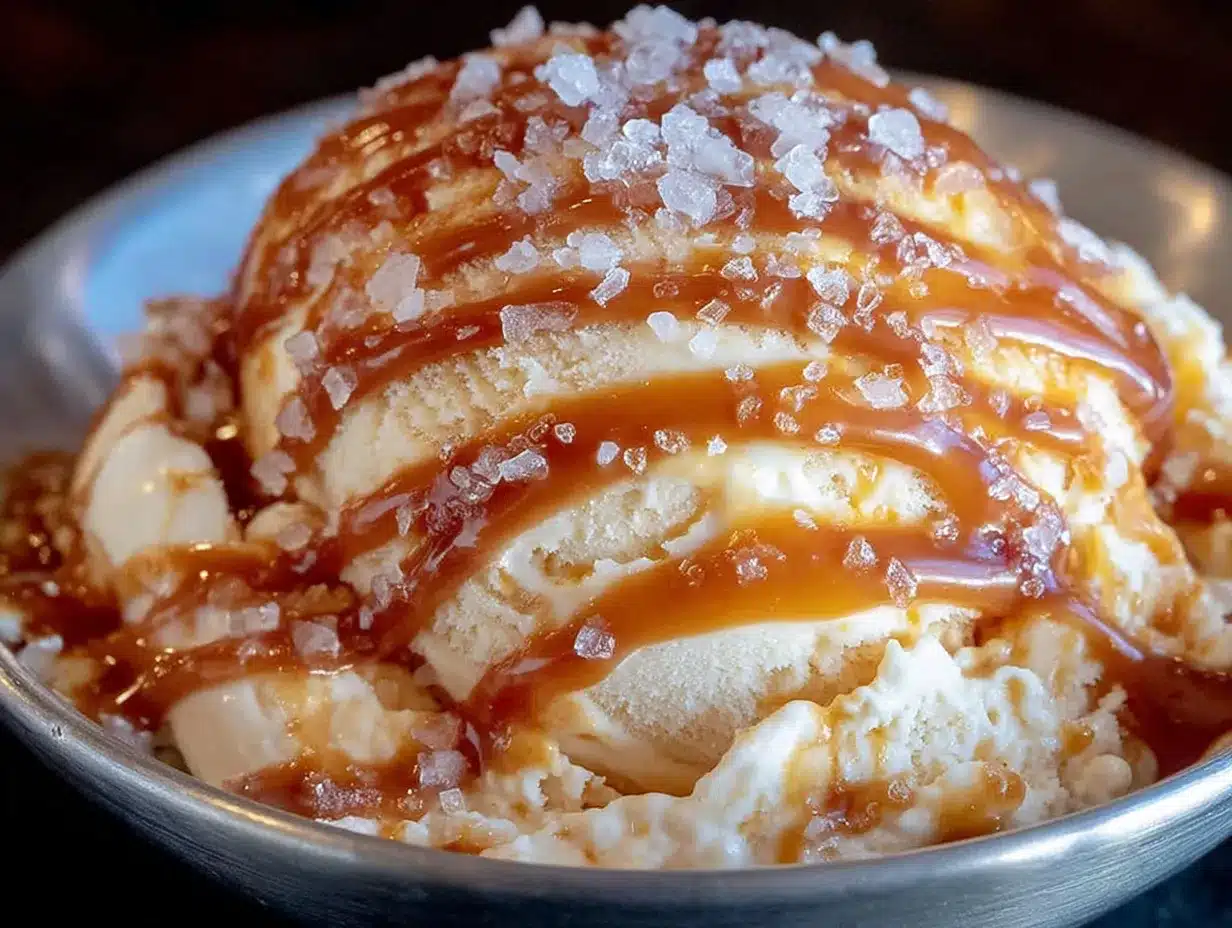
- 1 cup granulated sugar – Regular white sugar works best for caramel. Don’t use brown sugar here, as it contains molasses and will change the flavor and texture of the caramel.
- 6 tablespoons unsalted butter, cut into pieces – Use unsalted so you can control the salt level. The butter adds richness and helps keep the caramel soft even after freezing.
- ½ cup heavy cream – This gets added to the caramel at the end. Make sure it’s at room temperature to prevent the caramel from seizing up when you add it.
- 1½ teaspoons flaky sea salt (plus more for sprinkling) – Maldon or another flaky sea salt is ideal here. The flakes dissolve slowly on your tongue, giving you little bursts of saltiness that contrast with the sweet caramel. Regular table salt will work in a pinch, but use half the amount and expect a more intense salt hit.
Ingredient Tips from My Kitchen: When I first started making no-churn ice cream, I used whatever heavy cream was on sale. But I’ve found that brands with higher fat content (look for 36% or higher) consistently produce creamier results. For the sweetened condensed milk, check the expiration date before you start—old condensed milk can develop an off flavor that ruins the whole batch. And please, please use a real vanilla extract. I learned this the hard way after a batch of ice cream that tasted like artificial vanilla candles. Trust me on this one.
Equipment Needed
One of the best things about this recipe is how little equipment it requires. You probably already have most of this in your kitchen:
- Large mixing bowl – A stainless steel or glass bowl works best. Make sure it’s large enough to hold the whipped cream as it doubles in volume.
- Hand mixer or stand mixer – A hand mixer is perfectly fine here. You just need to whip the cream to stiff peaks. If you’re using a stand mixer, use the whisk attachment.
- Medium saucepan – For making the caramel. A light-colored pan (stainless steel or enameled) is ideal because you can see the color of the sugar as it caramelizes.
- Candy thermometer (optional but helpful) – While you can make caramel by color alone, a thermometer takes the guesswork out. You’re aiming for 340-350°F (170-177°C) for a deep amber caramel.
- 9×5-inch loaf pan or 2-quart freezer-safe container – A standard loaf pan works perfectly. You can also use a metal or glass container with a tight-fitting lid.
- Rubber spatula – For folding the whipped cream into the condensed milk and for swirling the caramel.
- Plastic wrap or wax paper – To press directly onto the surface of the ice cream before freezing. This prevents freezer burn and ice crystals from forming on top.
A Note on Pans: I’ve made this in metal loaf pans, glass containers, and even a plastic deli container in a pinch. Metal pans conduct cold better, meaning your ice cream freezes faster and has a slightly smoother texture. But honestly? Use what you have. The ice cream will still be delicious.
Preparation Method
This recipe comes together in three simple stages. Take your time with the caramel—it’s the star of the show and deserves your full attention.
Step 1: Make the Salted Caramel
- Place a medium saucepan over medium heat. Add the 1 cup of granulated sugar in an even layer. Don’t stir yet—just let it sit and start melting around the edges.
- Once the edges start turning liquid and golden, gently swirl the pan (don’t stir) to help the sugar melt evenly. This takes about 5-7 minutes total. Watch closely—caramel can go from perfect to burnt in seconds.
- When the sugar is completely melted and reaches a deep amber color (like the color of a copper penny), remove the pan from heat immediately. The sugar will be around 340-350°F if you’re using a thermometer.
- Add the 6 tablespoons of unsalted butter pieces. The mixture will bubble up violently—this is normal. Whisk gently until the butter is completely melted and incorporated.
- Slowly drizzle in the ½ cup of room-temperature heavy cream while whisking constantly. The caramel will bubble up again, so be careful. Keep whisking until the sauce is smooth and glossy.
- Remove from heat and stir in 1 teaspoon of the flaky sea salt. Let the caramel cool for about 15-20 minutes at room temperature, then transfer to a heat-safe container and refrigerate until completely cool (about 45 minutes). It will thicken as it cools.
My First Caramel Disaster: The first time I made caramel for this recipe, I walked away to answer a text message and came back to smoking sugar that smelled like burnt popcorn. Don’t be like me. Stay by the stove, keep your phone in your pocket, and watch that sugar like it owes you money. Your nose will tell you when it’s done—you’re looking for a nutty, toasty aroma, not a bitter, acrid one.
Step 2: Make the Ice Cream Base
- In a large mixing bowl, combine the entire can of sweetened condensed milk, 1 teaspoon vanilla extract, and ¼ teaspoon salt. Whisk together until smooth. Set aside.
- In a separate large mixing bowl (chill it in the freezer for 10 minutes if you want extra volume), pour in the 2 cups of cold heavy cream.
- Using a hand mixer or stand mixer with the whisk attachment, beat the cream on medium-high speed until stiff peaks form. This takes about 3-5 minutes. You’ll know it’s ready when you lift the beaters and the cream stands up in firm peaks that don’t droop. Be careful not to over-whip, or you’ll end up with butter.
- Gently fold about one-third of the whipped cream into the condensed milk mixture using a rubber spatula. This lightens the base and makes it easier to fold in the rest without deflating everything.
- Add the remaining whipped cream and fold gently until no white streaks remain. Work slowly and deliberately—you want to keep as much air in the mixture as possible. That air is what gives no-churn ice cream its creamy texture.
Step 3: Layer and Swirl
- Spread about one-third of the ice cream base evenly into your loaf pan or freezer container.
- Drizzle about one-third of the cooled caramel over the base. Use about half of the remaining flaky sea salt to sprinkle over the caramel layer.
- Repeat with another third of the ice cream base, another third of the caramel, and the remaining salt.
- Finish with the final third of the ice cream base. Reserve the last bit of caramel for the top.
- Take a butter knife or skewer and gently swirl it through the layers. Don’t over-swirl—you want distinct ribbons of caramel, not a homogeneous brown mixture. Think figure-eight motions, not frantic stirring.
- Drizzle the remaining caramel over the top and give it one or two gentle swirls for presentation.
- Press a piece of plastic wrap or wax paper directly onto the surface of the ice cream. This prevents ice crystals from forming on top.
- Freeze for at least 6 hours, but preferably overnight. The wait is hard, I know. But the texture improves dramatically after a full 8-12 hours in the freezer.
Cooking Tips & Techniques
After making this recipe more times than I care to count, I’ve picked up a few tricks that make the difference between good ice cream and unforgettable ice cream.
Temperature Matters More Than You Think. Your heavy cream needs to be cold—straight from the refrigerator cold. If it warms up while you’re whipping, it won’t hold stiff peaks as well, and your ice cream will be denser. If your kitchen is warm, chill your bowl and beaters in the freezer for 10 minutes before starting.
Don’t Rush the Caramel. I know it’s tempting to crank up the heat and get it done faster, but medium heat is your friend here. High heat can cause the sugar to seize up or burn before it’s fully melted. Be patient. Swirl the pan gently instead of stirring with a spoon, which can cause the sugar to crystallize and turn grainy.
The Salt Timing Trick. I add flaky salt both inside the caramel and between the layers. Why? The salt in the caramel dissolves and seasons the entire sauce evenly. The salt sprinkled between layers stays more intact, giving you those little crunchy bursts of salt that make each bite interesting. It’s a small detail, but it makes a big difference.
What to Do If Your Caramel Seizes. It happens to the best of us. If your caramel turns into a hard, grainy mess when you add the butter or cream, don’t panic. Return the pan to low heat and whisk gently. The heat will help everything come back together. If it’s still grainy, add a tablespoon of warm water and whisk until smooth. Your caramel will be slightly thinner, but it’ll still taste amazing.
The Soft Serve Hack. Want to eat this immediately instead of waiting 6 hours? After you’ve swirled everything together, pour the mixture into a shallow metal pan (like a brownie pan) and freeze for just 2 hours. The shallow pan allows it to freeze faster, and you’ll get a soft-serve consistency that’s absolutely dreamy. I’ve done this when guests showed up early and it worked perfectly.
Variations & Adaptations
This easy no-churn salted caramel ice cream is wonderfully adaptable. Here are some of my favorite variations:
Chocolate Salted Caramel Ice Cream: Add ¼ cup of unsweetened cocoa powder to the sweetened condensed milk before folding in the whipped cream. The chocolate and salted caramel combination is absolutely decadent. I made this for a birthday party and it disappeared faster than the original version.
Vegan Version: Substitute the heavy cream with full-fat coconut cream (chilled overnight, then whipped) and use a vegan sweetened condensed coconut milk. Use vegan butter in the caramel. The coconut flavor pairs surprisingly well with salted caramel—almost like a tropical twist. The texture won’t be quite as creamy, but it’s still delicious.
Boozy Salted Caramel: Add 2 tablespoons of bourbon or dark rum to the caramel after you remove it from the heat. The alcohol won’t freeze solid, so your ice cream will stay softer and scoopable straight from the freezer. Plus, bourbon and caramel are a match made in dessert heaven.
Nutty Caramel Crunch: Toast ½ cup of chopped pecans or walnuts and fold them into the ice cream base before layering. The toasted nuts add a wonderful crunch and earthy flavor that balances the sweetness. I do this version every Thanksgiving and serve it alongside warm apple pie.
Mocha Salted Caramel: Dissolve 1 tablespoon of instant espresso powder in 1 tablespoon of hot water and add it to the sweetened condensed milk. The coffee flavor intensifies the caramel notes and adds a grown-up complexity. This is my personal go-to when I need an afternoon pick-me-up disguised as dessert.
Serving & Storage Suggestions
Serving: Let the ice cream sit at room temperature for 5-10 minutes before scooping. This softens it just enough for easy scooping without melting into soup. Serve in chilled bowls or cones for the best experience. A drizzle of extra warm caramel sauce on top never hurts either.
This ice cream pairs beautifully with warm desserts. Try it alongside a slice of apple fritter bread for a fall-inspired treat, or scoop it over a warm fall vegetable soup for a sweet-savory contrast (trust me, it works). For a cozy night in, serve it with a mug of roasted apple cider margarita for a dessert-and-drink combo that feels fancy but takes almost no effort.
Storage: Keep the ice cream in a tightly sealed container with plastic wrap pressed directly onto the surface. Stored properly, it will stay fresh for up to 2 weeks. After that, the texture starts to degrade and ice crystals may form. Not that it ever lasts that long in my house.
Freezer Tips: If your ice cream develops ice crystals on top (usually from temperature fluctuations in the freezer), just scrape off the top layer before serving. The ice cream underneath will still be perfect. Also, store the container toward the back of the freezer where the temperature is most stable, not in the door where it’s warmer.
Re-freezing: If your ice cream melts completely (say, you left it on the counter overnight—we’ve all been there), don’t re-freeze it. The texture will be icy and unpleasant. Better to eat it as a milkshake or discard it and make a fresh batch.
Nutritional Information & Benefits
Let’s be honest—this is a treat, not a health food. But here’s the nutritional breakdown for a ½-cup serving (approximately):
- Calories: 380
- Total Fat: 26g
- Saturated Fat: 16g
- Carbohydrates: 34g
- Sugar: 31g
- Protein: 4g
- Sodium: 280mg
On the plus side, this recipe contains no artificial preservatives, stabilizers, or high-fructose corn syrup like many store-bought ice creams. The heavy cream provides a good source of vitamin A and healthy fats that help you feel satisfied with a smaller portion. The sweetened condensed milk adds calcium and protein, though admittedly in smaller amounts.
If you’re watching your sugar intake, you can reduce the caramel by half or use a sugar substitute in the ice cream base (though the texture will change). For a lower-fat version, substitute half the heavy cream with whole milk, but expect a less creamy texture and more ice crystals.
Dietary Notes: This recipe contains dairy and is not suitable for vegans (unless using the substitutions listed above). It’s naturally gluten-free and contains no eggs. If you’re lactose intolerant, you can try using lactose-free heavy cream and lactose-free sweetened condensed milk, though the texture may vary slightly.
Conclusion
This easy no-churn salted caramel ice cream has become my go-to dessert for almost every occasion. It’s the kind of recipe that makes people think you’re a kitchen wizard when really, you just whipped some cream and stirred sugar in a pan. The caramel stays soft and swirly, the salt hits at all the right moments, and the texture is so creamy you’ll forget you didn’t use a machine.
What I love most about this recipe is how forgiving it is. If your caramel gets a little too dark, it’s fine. If you over-swirl the layers, it’s still delicious. If you eat half the batch straight from the container at 11 PM? I’m not here to judge. This ice cream is meant to be enjoyed, not perfected.
I’d love to hear how yours turns out. Did you try one of the variations? Did you add something unexpected? Drop a comment below and let me know. And if you share a photo on social media, tag me—I want to see your beautiful caramel swirls. Now go make some ice cream. You deserve it.
Frequently Asked Questions
Can I make this without a hand mixer?
Yes, you can whip the cream by hand with a whisk, but it’ll take about 8-10 minutes of vigorous whisking. Your arm will get a workout, but the results are the same. Alternatively, you can use a stand mixer with the whisk attachment.
Why did my ice cream turn out icy?
Icy ice cream usually means one of three things: you didn’t whip the cream to stiff peaks (trapping air is essential for creaminess), the caramel wasn’t cool enough when you added it (warm caramel melts the whipped cream), or the container wasn’t sealed properly (air exposure causes ice crystals). Check these three things next time and you should get a creamier result.
Can I use store-bought caramel sauce instead of making my own?
You can, but I don’t recommend it. Most store-bought caramel sauces contain preservatives and stabilizers that affect how they freeze. They often become hard and icy in the freezer, rather than staying soft and swirly like homemade caramel. If you’re short on time, look for a high-quality caramel sauce without preservatives, but homemade is really worth the extra 10 minutes.
How long does this ice cream last in the freezer?
Properly stored (with plastic wrap pressed onto the surface and a tight-fitting lid), this ice cream stays fresh for up to 2 weeks. After that, the texture starts to decline and ice crystals may form. In my experience, it rarely lasts more than a few days before someone finishes it off.
Can I double this recipe?
Absolutely. Double all the ingredients and use a larger container (a 9×13-inch pan works well). Just make sure your mixing bowl is large enough to hold the whipped cream—it doubles in volume. You may need to whip the cream in batches if your mixer can’t handle that much volume at once.
Pin This Recipe!
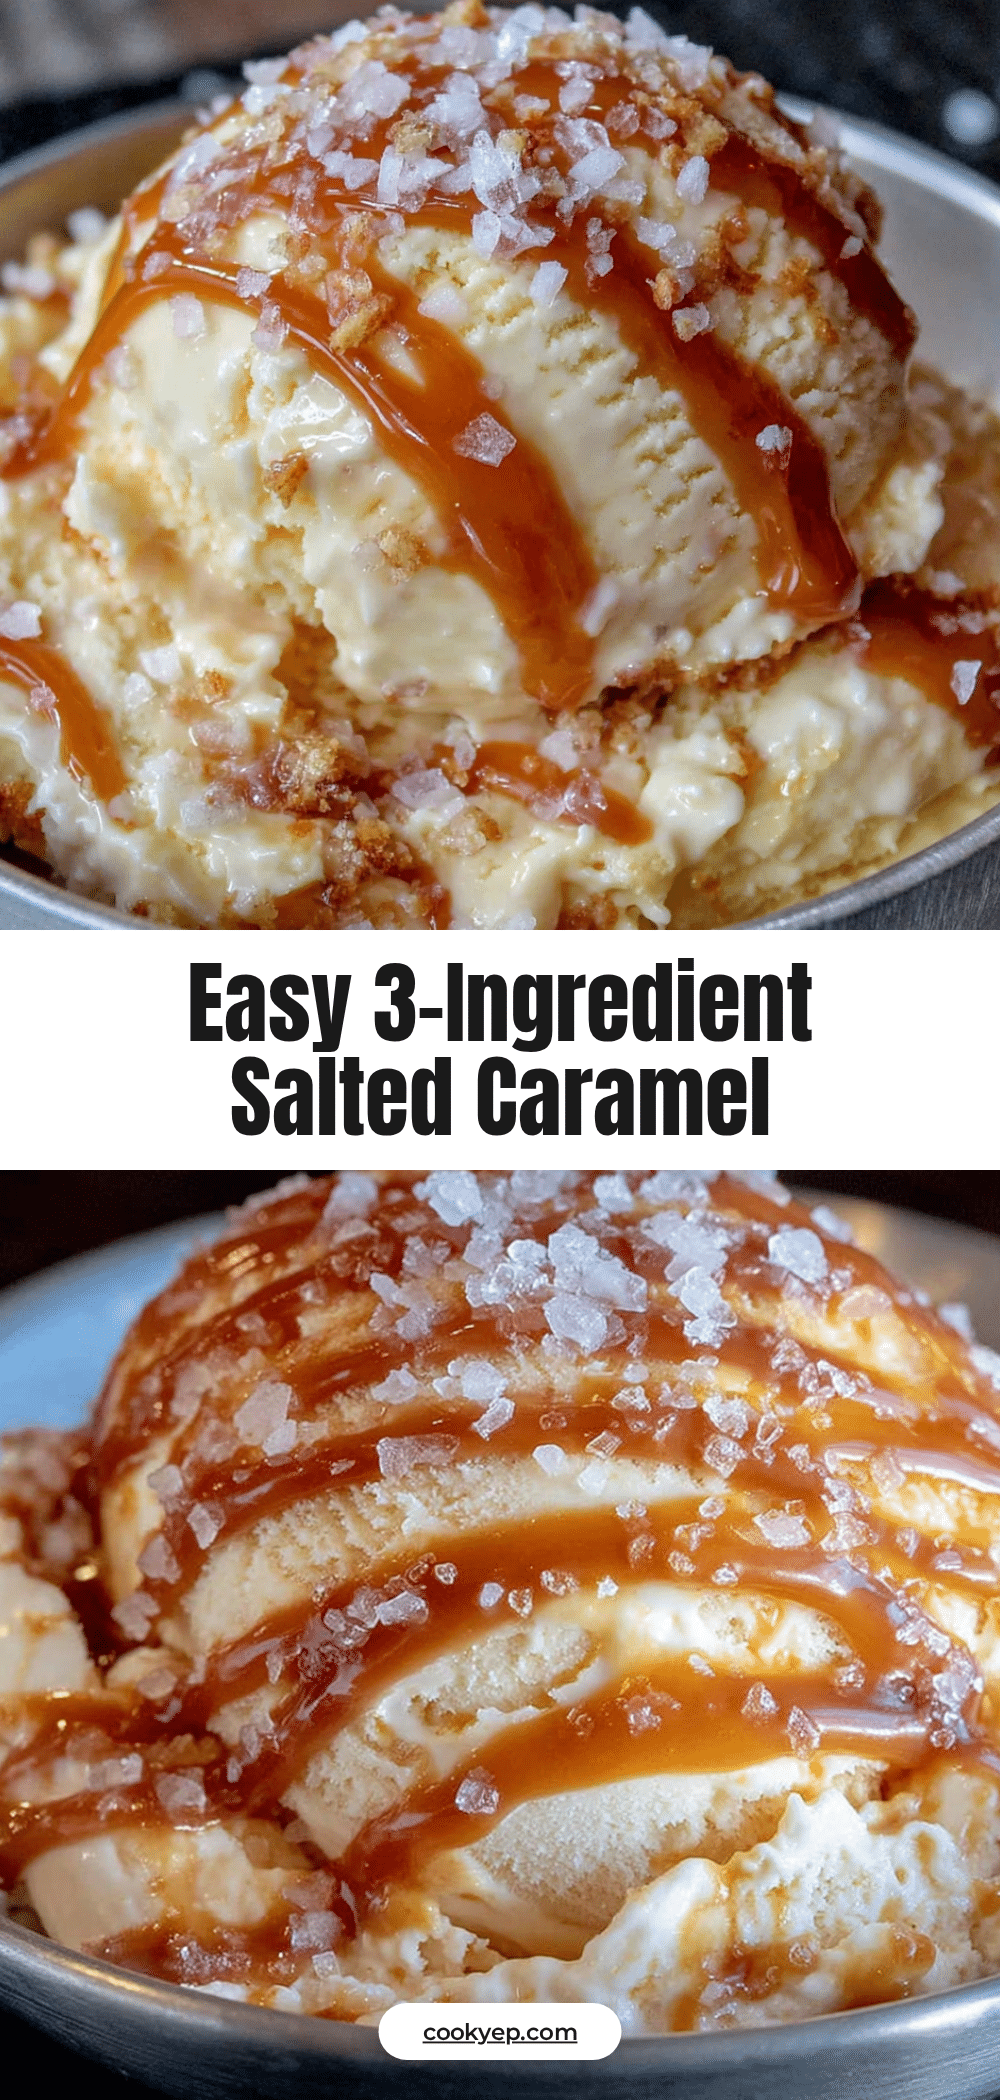
Easy No-Churn Salted Caramel Ice Cream – Best Homemade Recipe

This easy no-churn salted caramel ice cream is incredibly creamy and rich, with a soft caramel swirl and perfect sweet-salty balance. No ice cream maker required, just simple pantry ingredients and 15 minutes of active time.
- Prep Time: 15 minutes
- Cook Time: 10 minutes
- Total Time: 6 hours 25 minutes (includes freezing)
- Yield: 8 servings 1x
- Category: Dessert
- Cuisine: American
Ingredients
- 2 cups heavy cream (also called heavy whipping cream)
- 1 can (14 ounces) sweetened condensed milk
- 1 teaspoon vanilla extract
- ¼ teaspoon salt
- 1 cup granulated sugar
- 6 tablespoons unsalted butter, cut into pieces
- ½ cup heavy cream (room temperature)
- 1½ teaspoons flaky sea salt (plus more for sprinkling)
Instructions
- Make the salted caramel: Place a medium saucepan over medium heat. Add the 1 cup of granulated sugar in an even layer. Let it sit until the edges start melting and turning golden, then gently swirl the pan (do not stir) until the sugar is completely melted and reaches a deep amber color (about 5-7 minutes). Remove from heat immediately.
- Add the 6 tablespoons of unsalted butter pieces. The mixture will bubble up; whisk gently until the butter is completely melted and incorporated.
- Slowly drizzle in the ½ cup of room-temperature heavy cream while whisking constantly until the sauce is smooth and glossy.
- Remove from heat and stir in 1 teaspoon of the flaky sea salt. Let cool for 15-20 minutes at room temperature, then refrigerate until completely cool (about 45 minutes).
- Make the ice cream base: In a large mixing bowl, combine the sweetened condensed milk, 1 teaspoon vanilla extract, and ¼ teaspoon salt. Whisk until smooth. Set aside.
- In a separate large mixing bowl (chilled if desired), pour in the 2 cups of cold heavy cream. Beat with a hand mixer or stand mixer on medium-high speed until stiff peaks form (about 3-5 minutes).
- Gently fold about one-third of the whipped cream into the condensed milk mixture to lighten it. Then fold in the remaining whipped cream until no white streaks remain.
- Layer and swirl: Spread about one-third of the ice cream base into a 9×5-inch loaf pan or 2-quart freezer-safe container. Drizzle about one-third of the cooled caramel over the base and sprinkle with some of the remaining flaky sea salt.
- Repeat with another third of the ice cream base, another third of the caramel, and more salt. Finish with the final third of the ice cream base.
- Take a butter knife or skewer and gently swirl through the layers in figure-eight motions (do not over-swirl). Drizzle the remaining caramel over the top and give one or two gentle swirls.
- Press a piece of plastic wrap or wax paper directly onto the surface of the ice cream. Freeze for at least 6 hours, preferably overnight.
Notes
For best texture, freeze overnight. If caramel seizes, return to low heat and whisk gently. For a soft-serve consistency, freeze in a shallow pan for 2 hours. Store with plastic wrap pressed onto surface to prevent ice crystals.
Nutrition
- Serving Size: ½ cup
- Calories: 380
- Sugar: 31
- Sodium: 280
- Fat: 26
- Saturated Fat: 16
- Carbohydrates: 34
- Protein: 4
Keywords: no-churn ice cream, salted caramel ice cream, homemade ice cream, easy ice cream, no machine ice cream